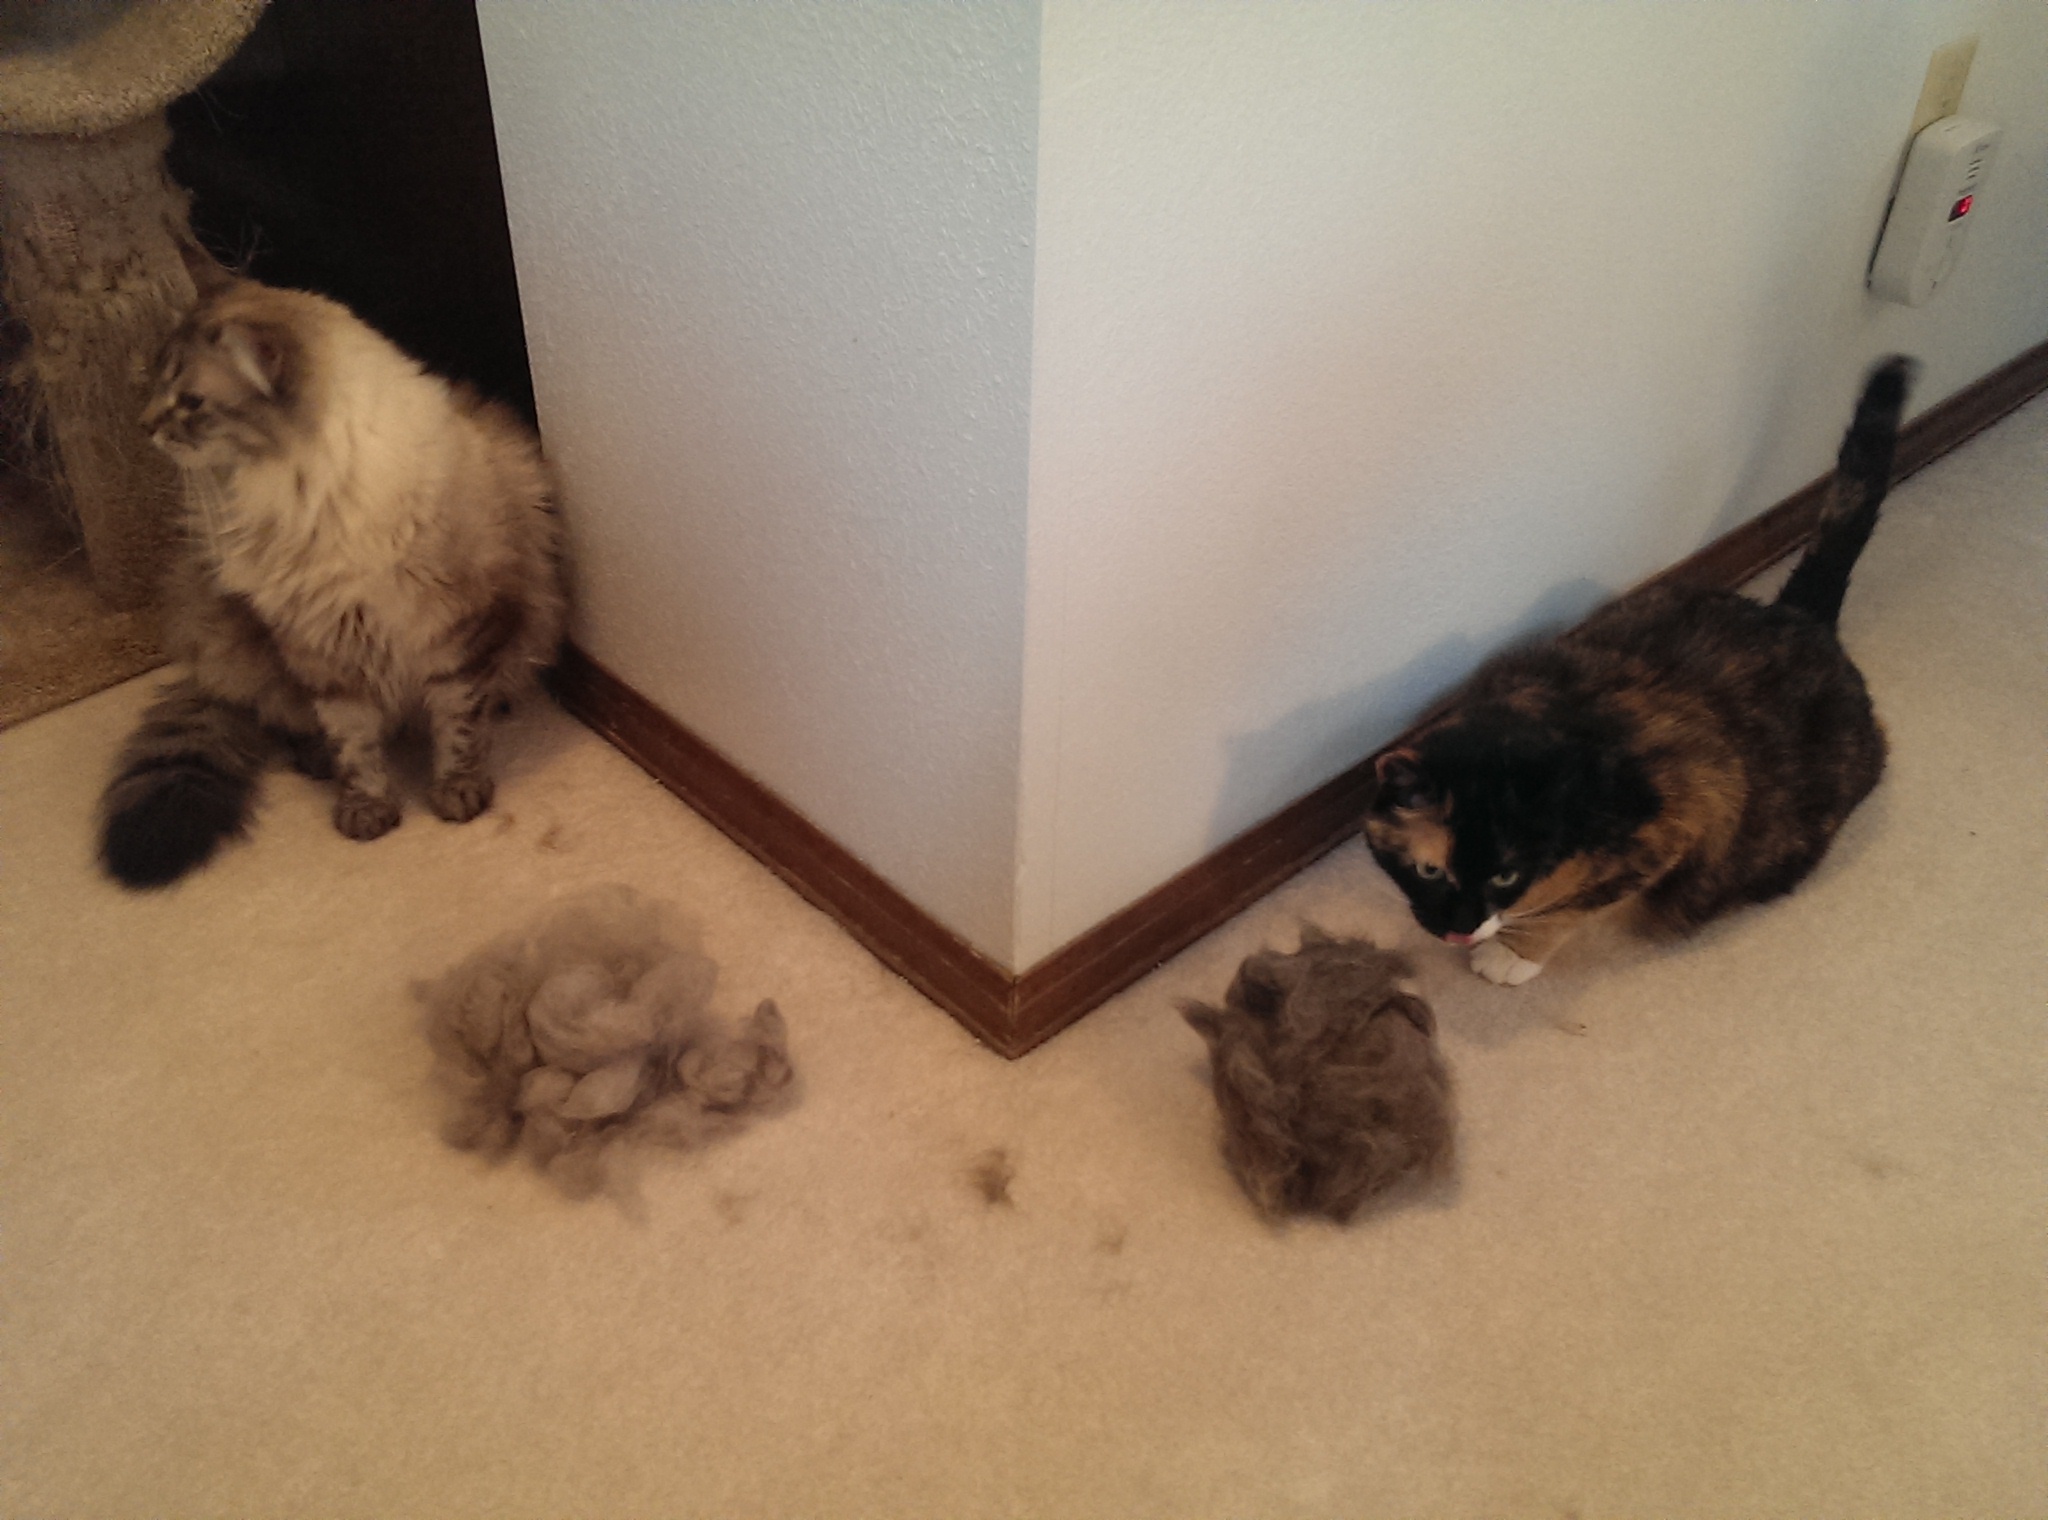
When I first got my 3d printer I just had my filament spools hung on a bar put between two chairs. That worked reasonably well, but Dash kept trying to chew on the filament as it unwound from the spool during printing so I clearly needed a better storage solution.
Other desired features of storage:
- Able to feed filament directly from storage to the printer
- Cat-proof
- As airtight as possible to keep filament like nylon from having any moisture to absorb when including a desiccant
- Built-in filament cleaner
- Big enough to hold several spools of filament
Solution:
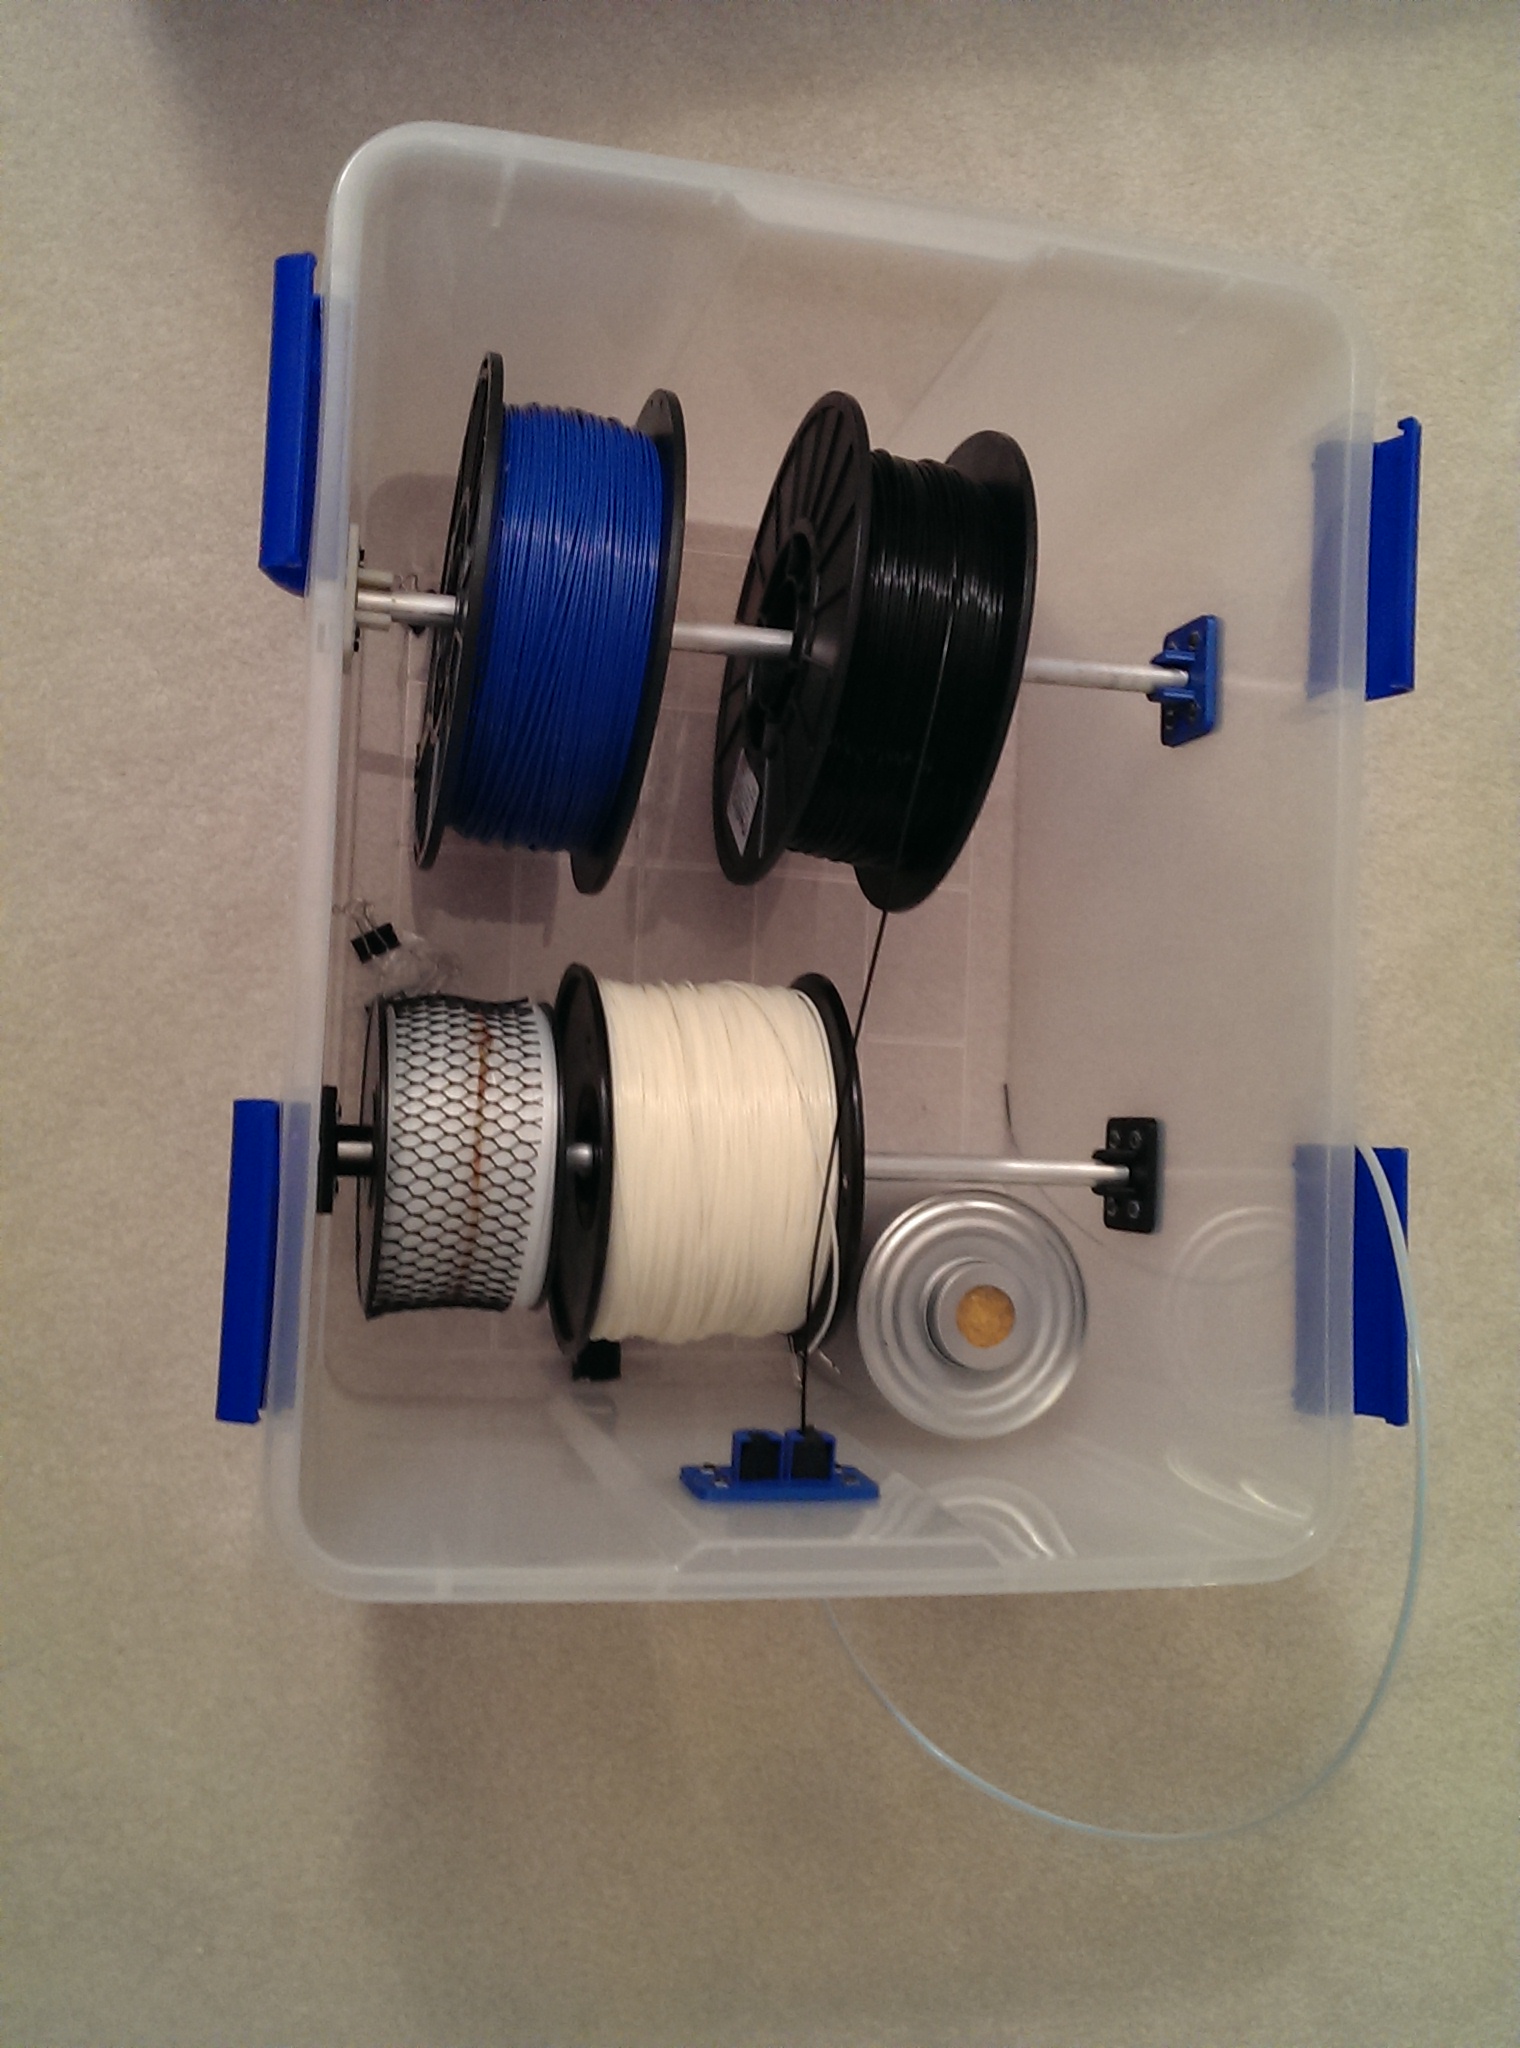
I think it will hold six or seven large-diameter spools with the silica gel canister as pictured, though I think it will work best with smaller-diameter spools on the front row. It’s also “weather-proof”, which I’m taking to mean largely air-tight, and I have it set up so the first place filament is exposed to open air is as it feeds into the extruder on my printer.
Since I’d just gotten a 3d printer clearly I wanted to print what made sense, which ended up being all the brackets for mounting in a bin I got at Wal-Mart. I’ll link to the printed part files later in this post, as well as list all the non-printed parts with links.
The first parts that I designed and printed were brackets to mount bars to hang spools of filament on:
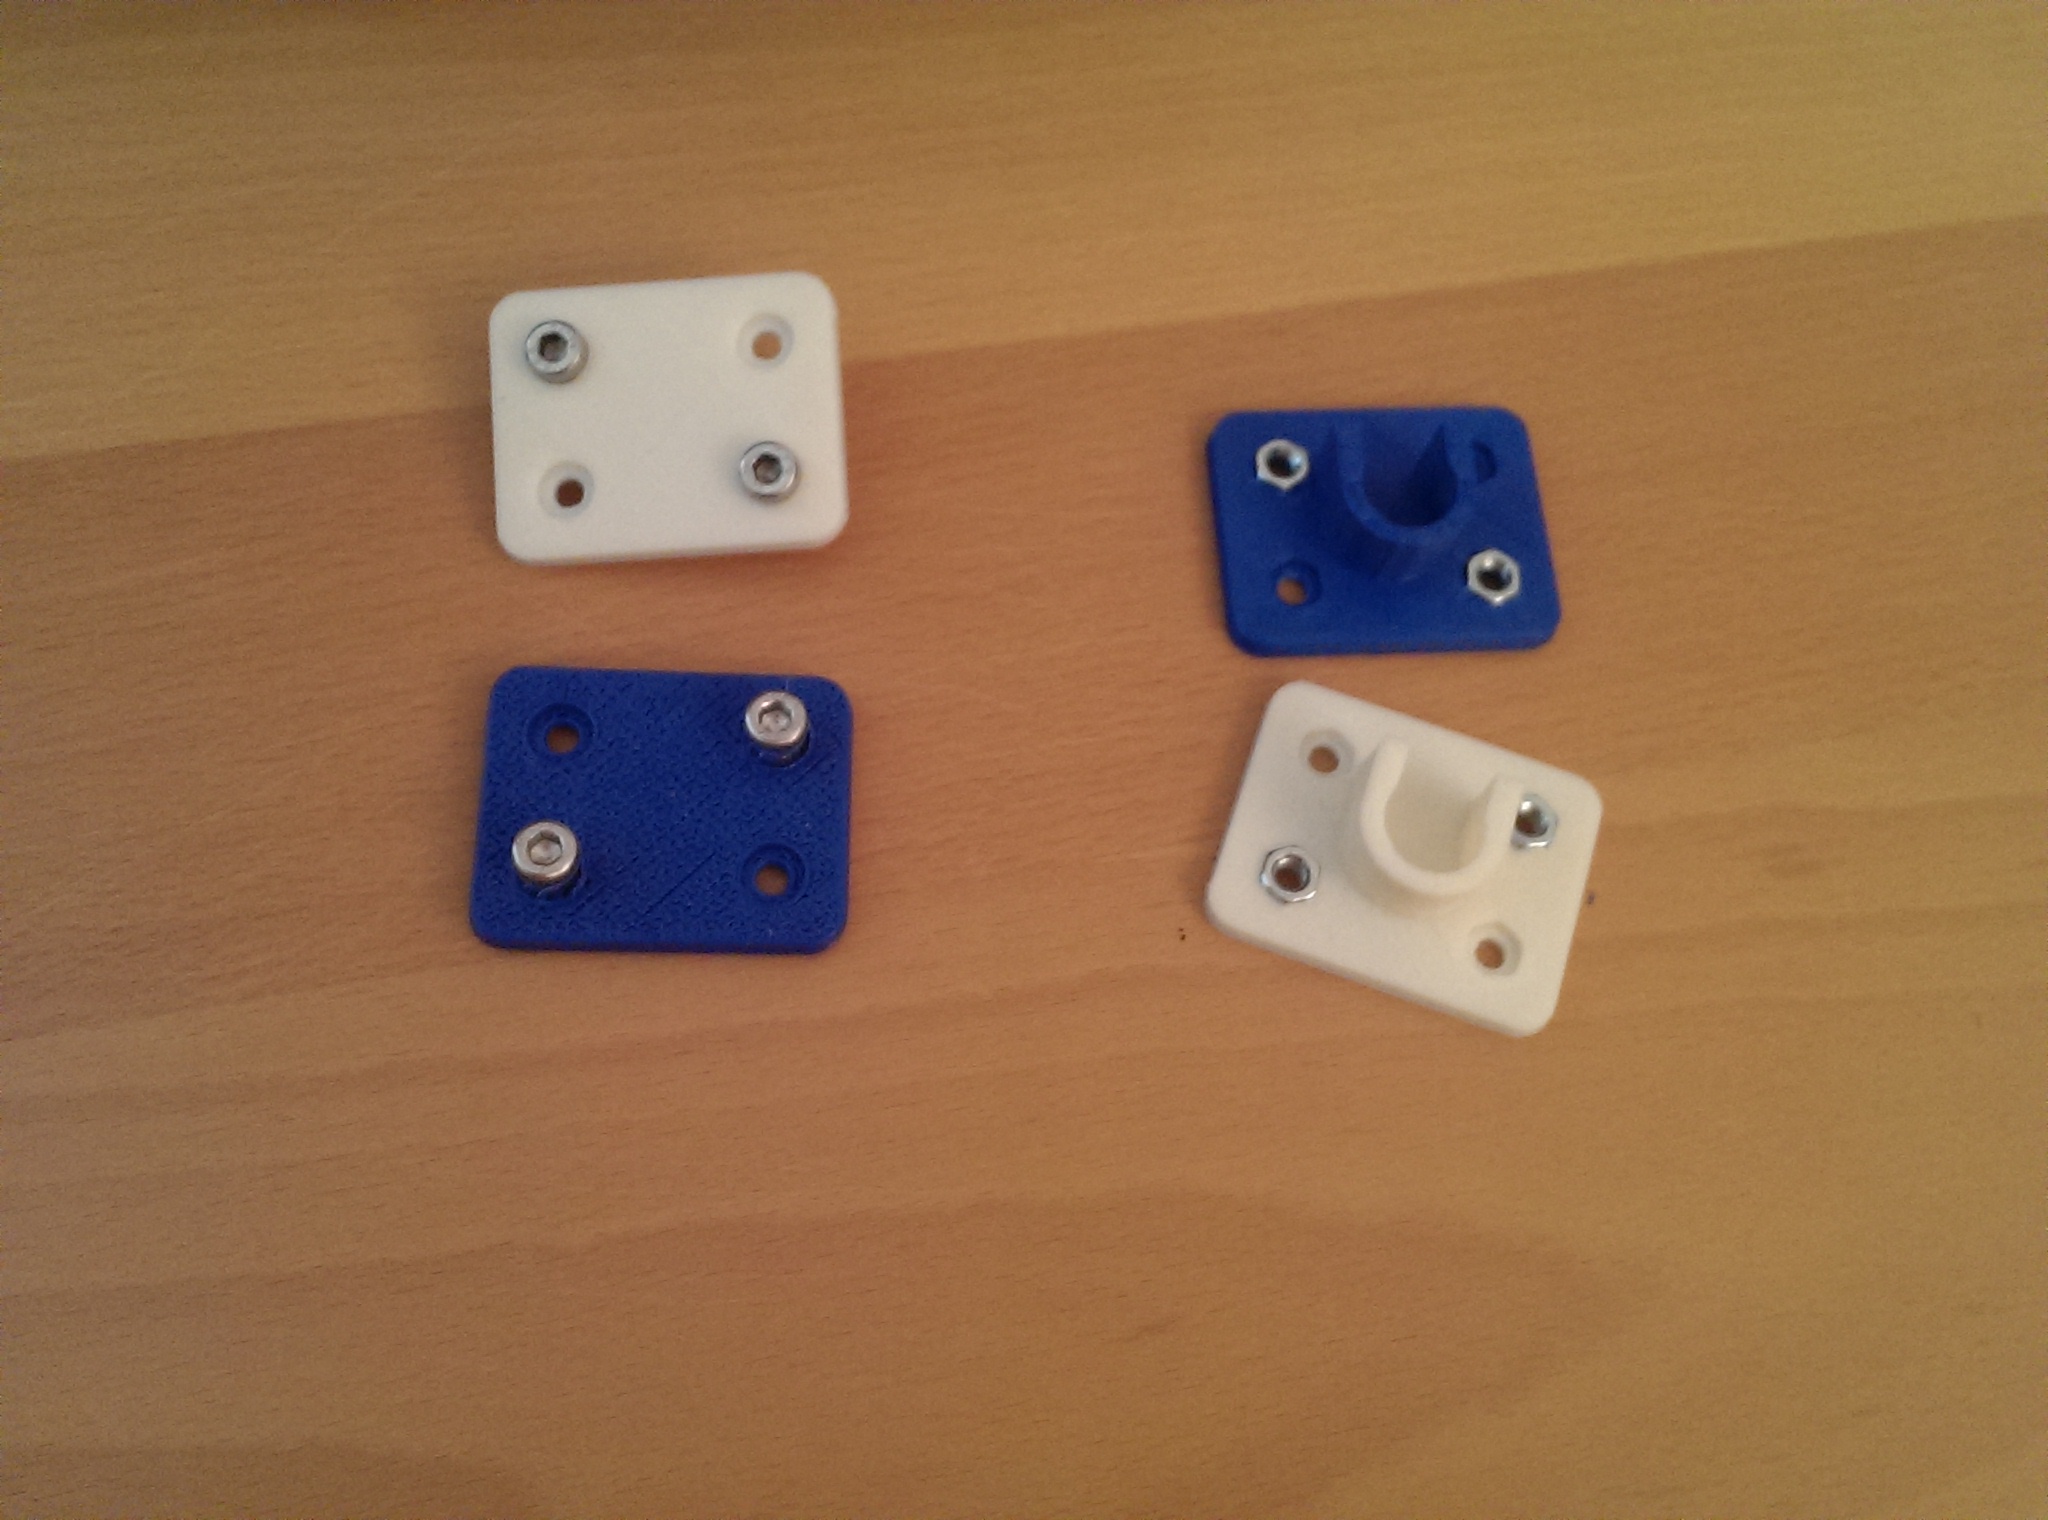
All screw holes are sized to fit M5-10 (5mm thread diameter, 10mm long shaft) bolts and I tried to size the nut cutout such that it would hold the nuts in place when tightening the bolt. The screw holes are a bit tight so the screws bite into the plastic a bit during assembly, but I didn’t trust that to hold it together.
The rod bracket was angled to try to match the slope of the sides of the bin I got, and the slot the rod fits in is sized to match the rod diameter so there’s some friction getting it into place. There’s a larger cutout at the bottom of the slot so the rod can move freely there, but it won’t pop out of the slot unintentionally.
The rod I used was a half-inch-diameter aluminum rod from Home Depot that I cut to the lengths I wanted (just long enough to bow the sides of the bin out to make sure they wouldn’t flex far enough for the rod to slip out of the brackets). The iron rod was cheaper but I didn’t know what I’d do with the last few inches; with aluminum I can at least melt it down and cast something with it.
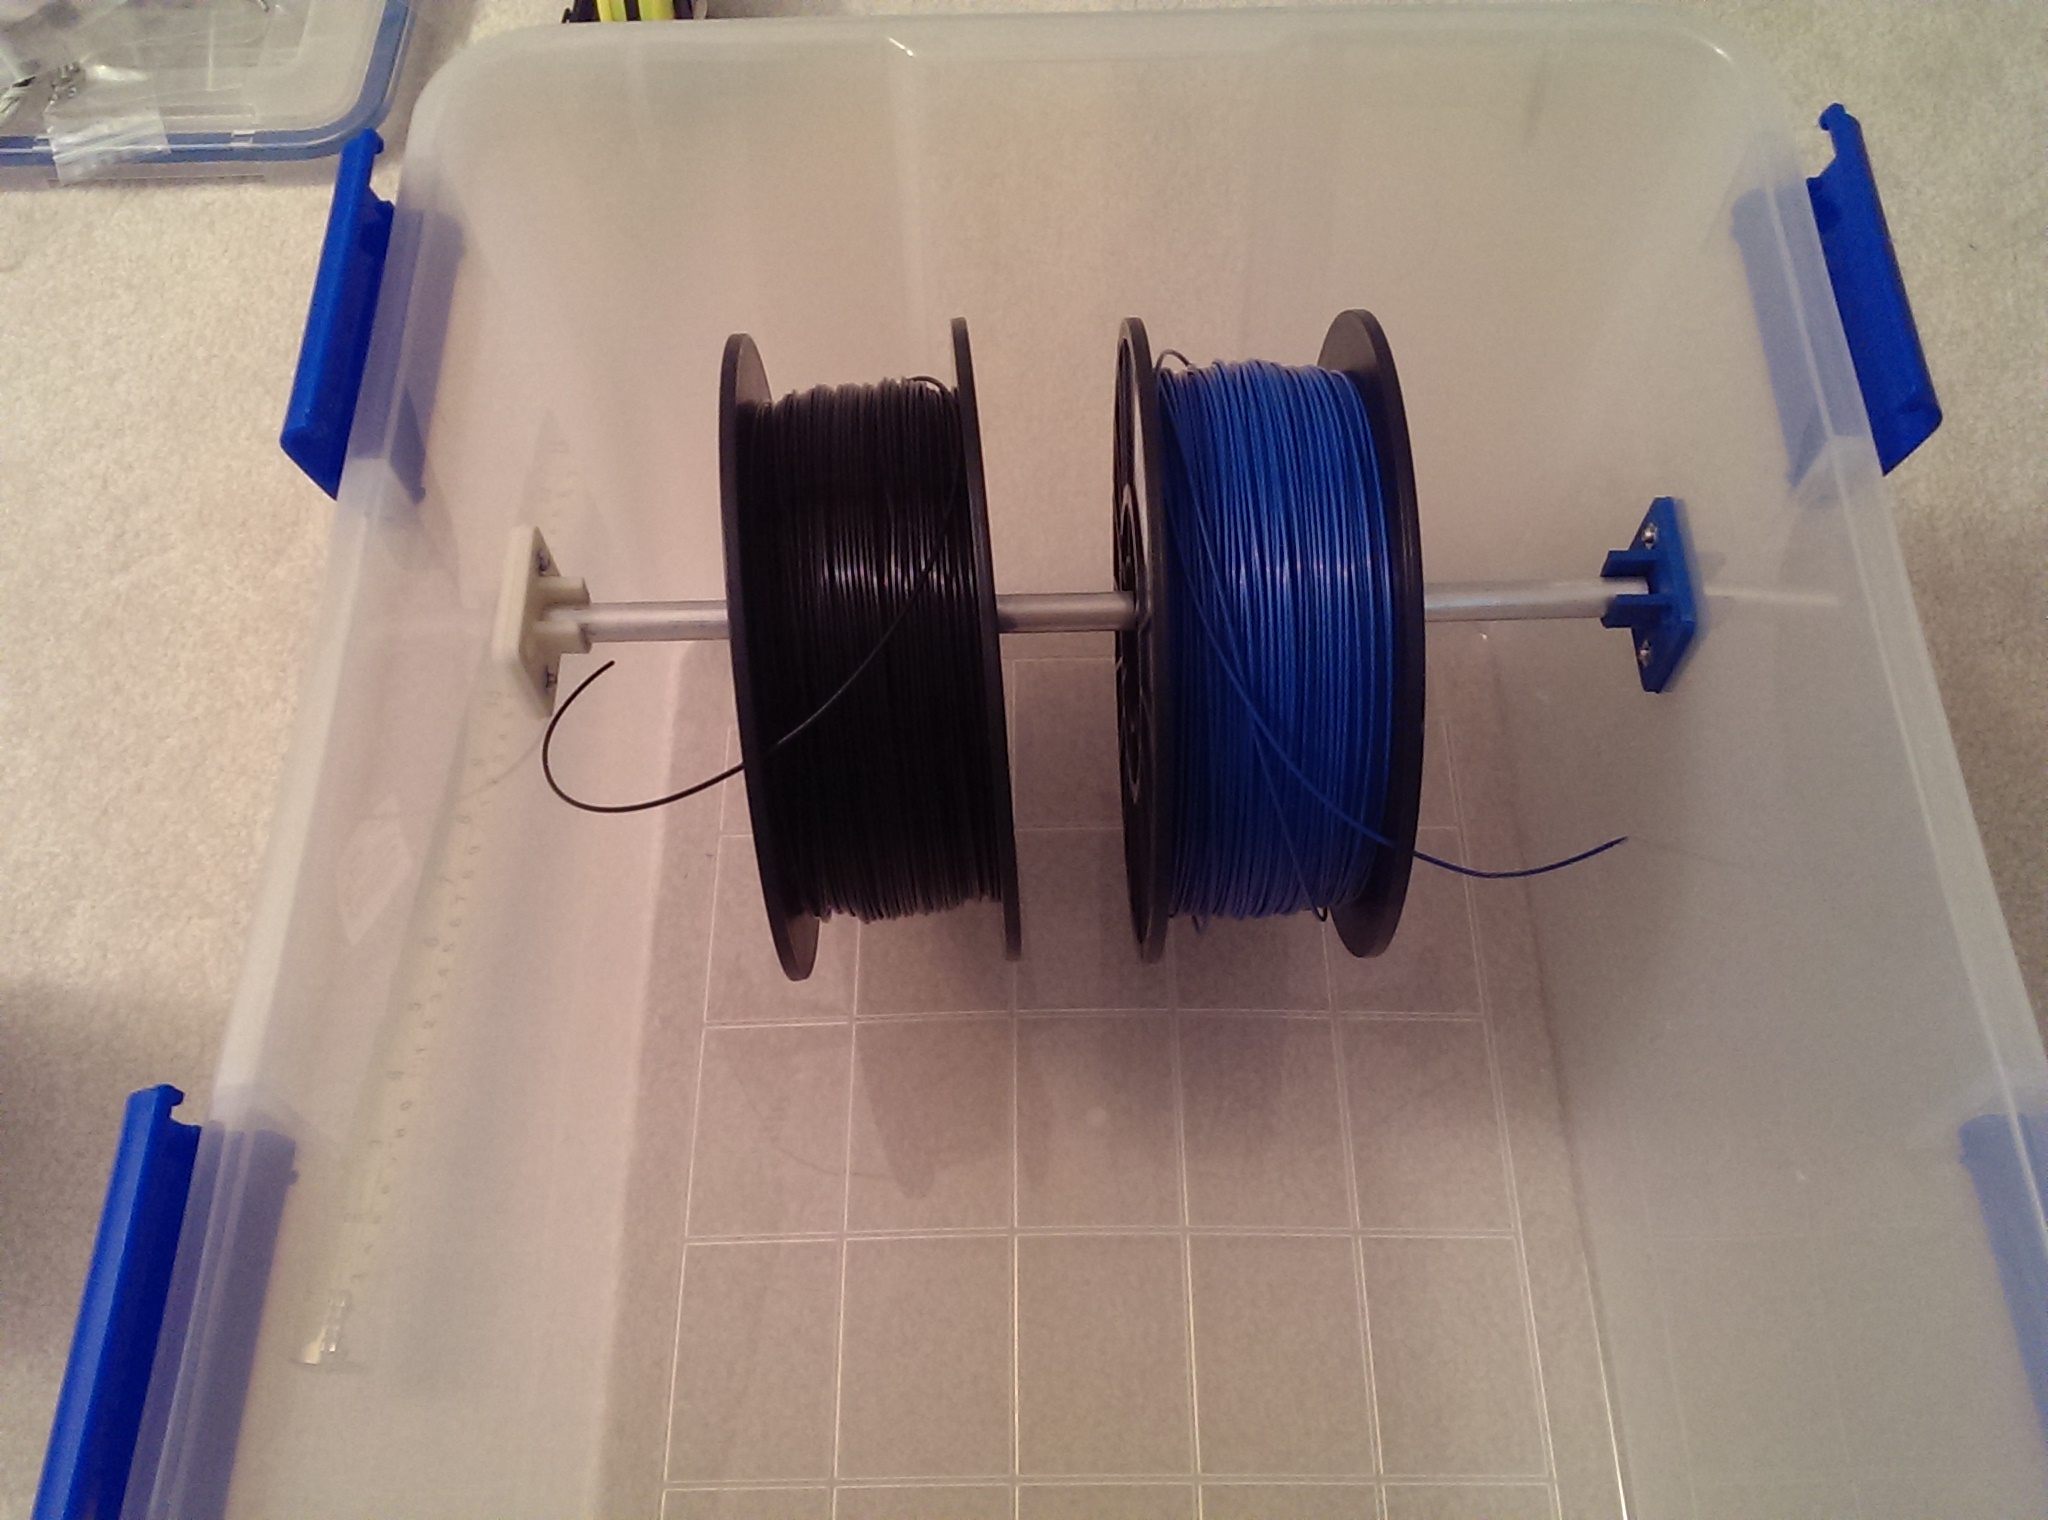
The back rod I mounted high enough to hang the larger spools I got such that they wouldn’t quite touch the bottom of the bin. Not only do the spools have a large outer diameter, but the inner diameter is large enough that my 1/2 in rod had to be mounted well above half-way up the sides of the bin for the spools to hang like I wanted.
I mounted the front rod just under half the wall height so that the spools in the front wouldn’t obstruct the back spools from the filament outlet holes. Large diameter spools can be put on that rod for storage, but they’ll be sitting on the bottom of the bin so I don’t plan to print from large diameter spools while they’re on the front rod.
Once I was happy with the rod brackets I moved on to a filament cleaner that feeds into a push-fit tube fitting to go through the side of the bin:
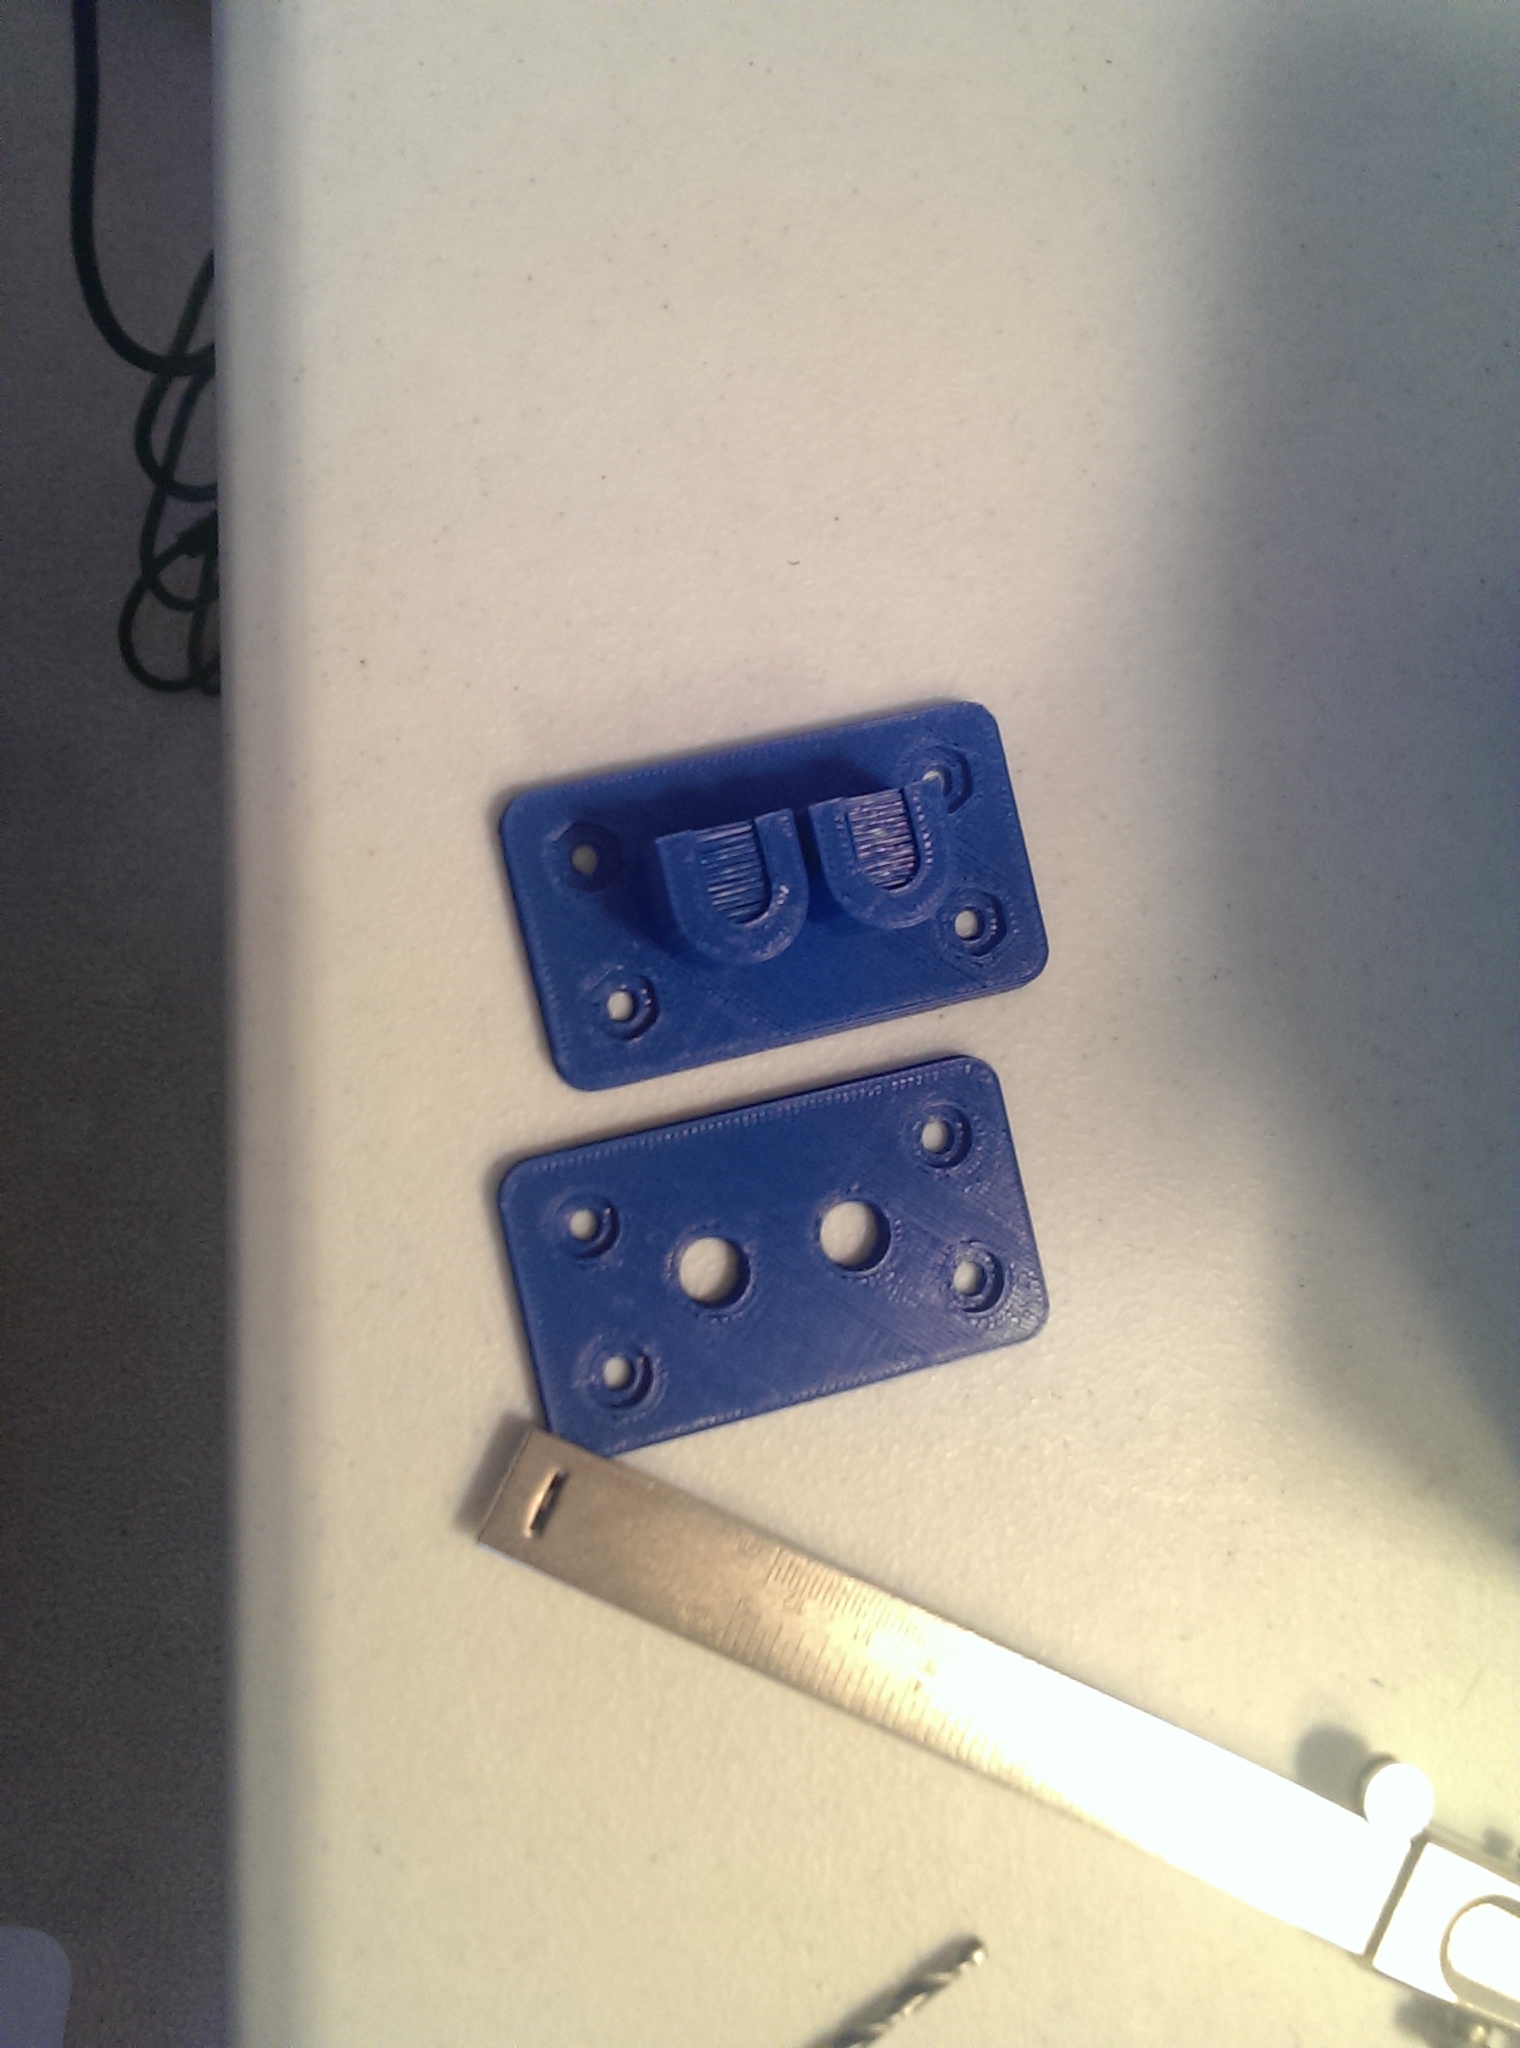
I’m planning to upgrade to dual extruders at some point so I printed out the bracket with two cleaners/fittings, though I only actually have one fitting installed currently.
As pictured the filament cleaner needs a bit of post processing: I designed the top to bridge all the way across for one layer to give the last few layers a firm base to print on. Once the single layer of plastic is cut from the front of the U shape a bit of sponge can be placed in the hole and filament feeds through the opening in the front. The sponge I used was cut from a sponge paintbrush: it’s soft enough to flex without being damp and I had some that Dash had stolen and chewed on.

Once the bracket was bolted into place I ground out the hole for the push-connect fitting with my dremel tool. It turned out the hole through the printed piece was a touch too small, so I tapered it a bit with the dremel. The fitting is only held in place by tapping into the plastic so I tried to only trim the inside bracket just enough for the threads to get far enough to catch.
Files for printed pieces
BOM
| Price | Part |
|---|---|
| $14 | Ziploc weathertight box small deep (15 3/4 in W x 19 11/16 in D x 11 3/4 in H) – bought at Wal-Mart but I couldn’t find a link to it on their website |
| $7.96 | 1/2 in. x 48 in. Aluminum Round Rod |
| $19.61 | Dry-Packs 750 Gram Silica Gel Canister Dehumidifier – Moisture Indicating |
| $1.45 x2 | SMC KQ2H04-01AS Brass Push-to-Connect Tube Fitting, 4 mm Tube OD x 1/8″ BSPT Male (or here if sourcing the rest from MTW) |
| $1.25 per foot | 2mm ID bowden tubing (make sure you select the correct size) |
| $3.95 for 25, use 20 | M5-10 socket head cap screws |
| $5.95 for 100, use 20 | M5 thin nuts |
It’s only been a month or two but it appears Home Depot no longer sells the size rod I used. I linked to a 48-in long aluminum rod, but what I used started out as 36 inches long for a bit cheaper. It’s also listed as online-only but I got mine in-store.
I also got my PTFE tubing from amazon at a price/length that’s no longer available and my bolts/nuts in bulk from the promotion Misumi had on reddit last month, but Makers Tool Works sells both for reasonable prices so I linked there. Now that I look, MTW also has a Push-to-Connect fitting, no picture but the dimensions listed make it sound like it’ll fit my bracket (make sure you pick the right size to match the tubing).
Extras:
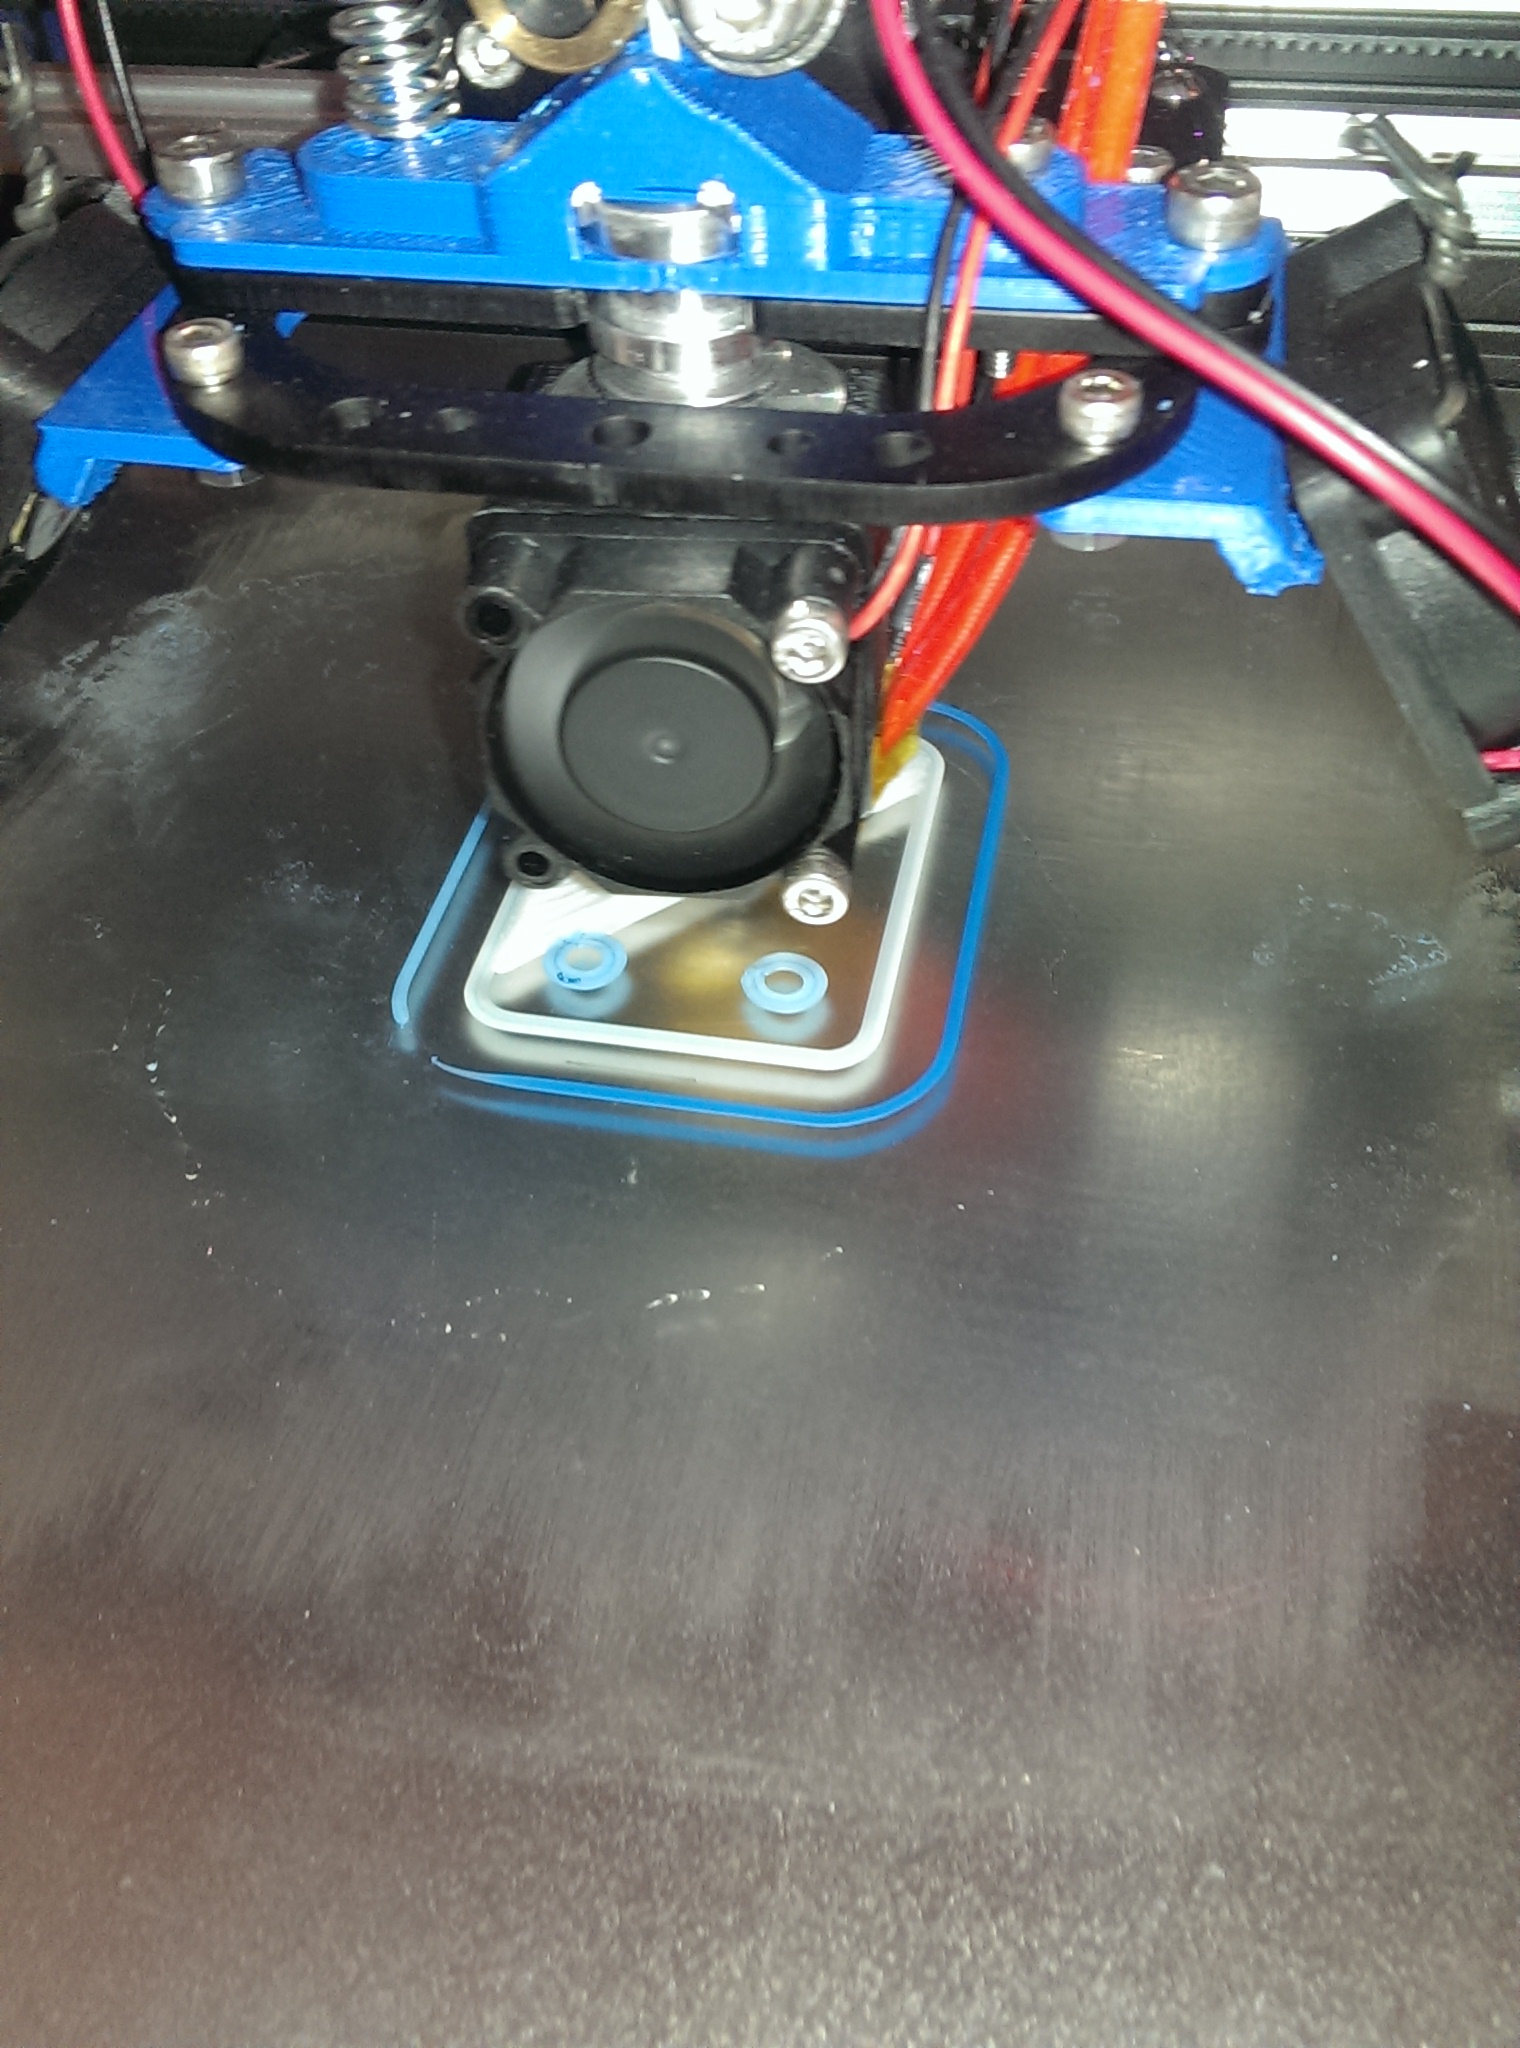
The brackets made a good sample piece for tuning parameters for my different filaments: they just need holes in the right places to function, surface finish doesn’t really matter and any warp gets flattened out when bolting them in place. Here’s where I swapped filaments but didn’t purge the remains of the blue before starting the next print:
Here’s the filament bin installed on the shelf below my printer:
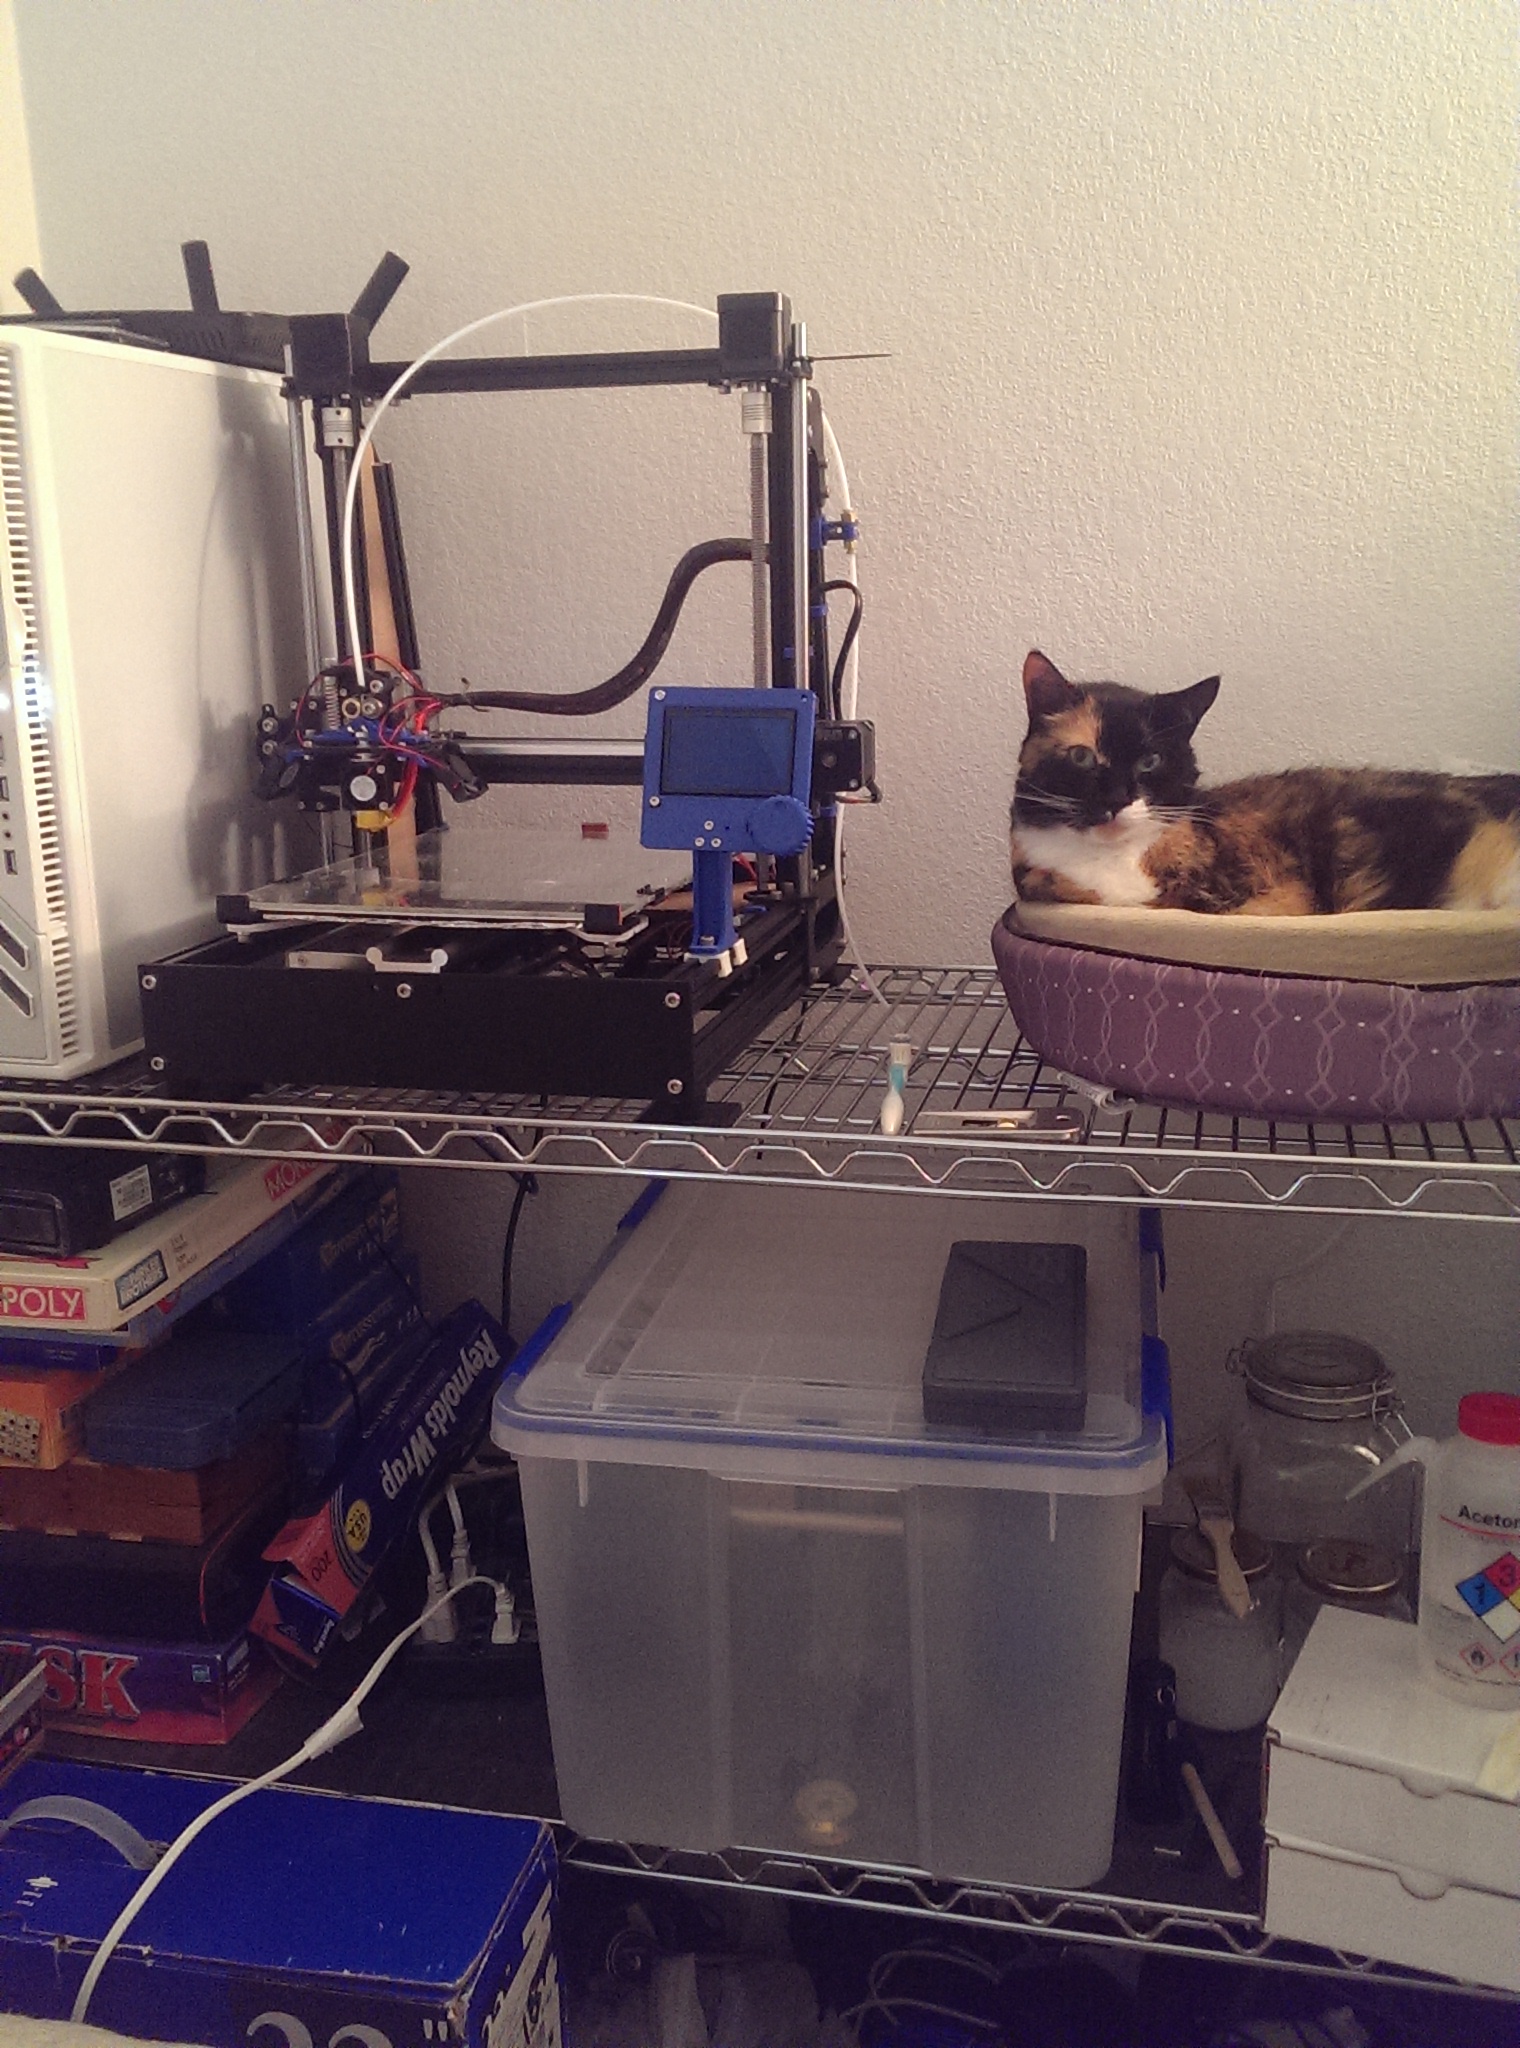
I have the filament feeding out toward the wall – you can see the bowden tubing coming up the right side of the printer to where it connects to the tubing I have there to guide filament to the extruder. Even with Talore often sleeping right next to the printer while it’s in action I haven’t noticed any problems with cat hair in prints since I enclosed my filament.
When I ordered the silica gel I also picked up a hygrometer so I can monitor the moisture inside the bin. I didn’t bother calibrating the hygrometer so it could be off by a bit, but it currently reads 5% humidity, which is well below what it read in my house before I’d assembled the bin.