Success!

Against all odds my first print was a success (using ABS even):

First Print

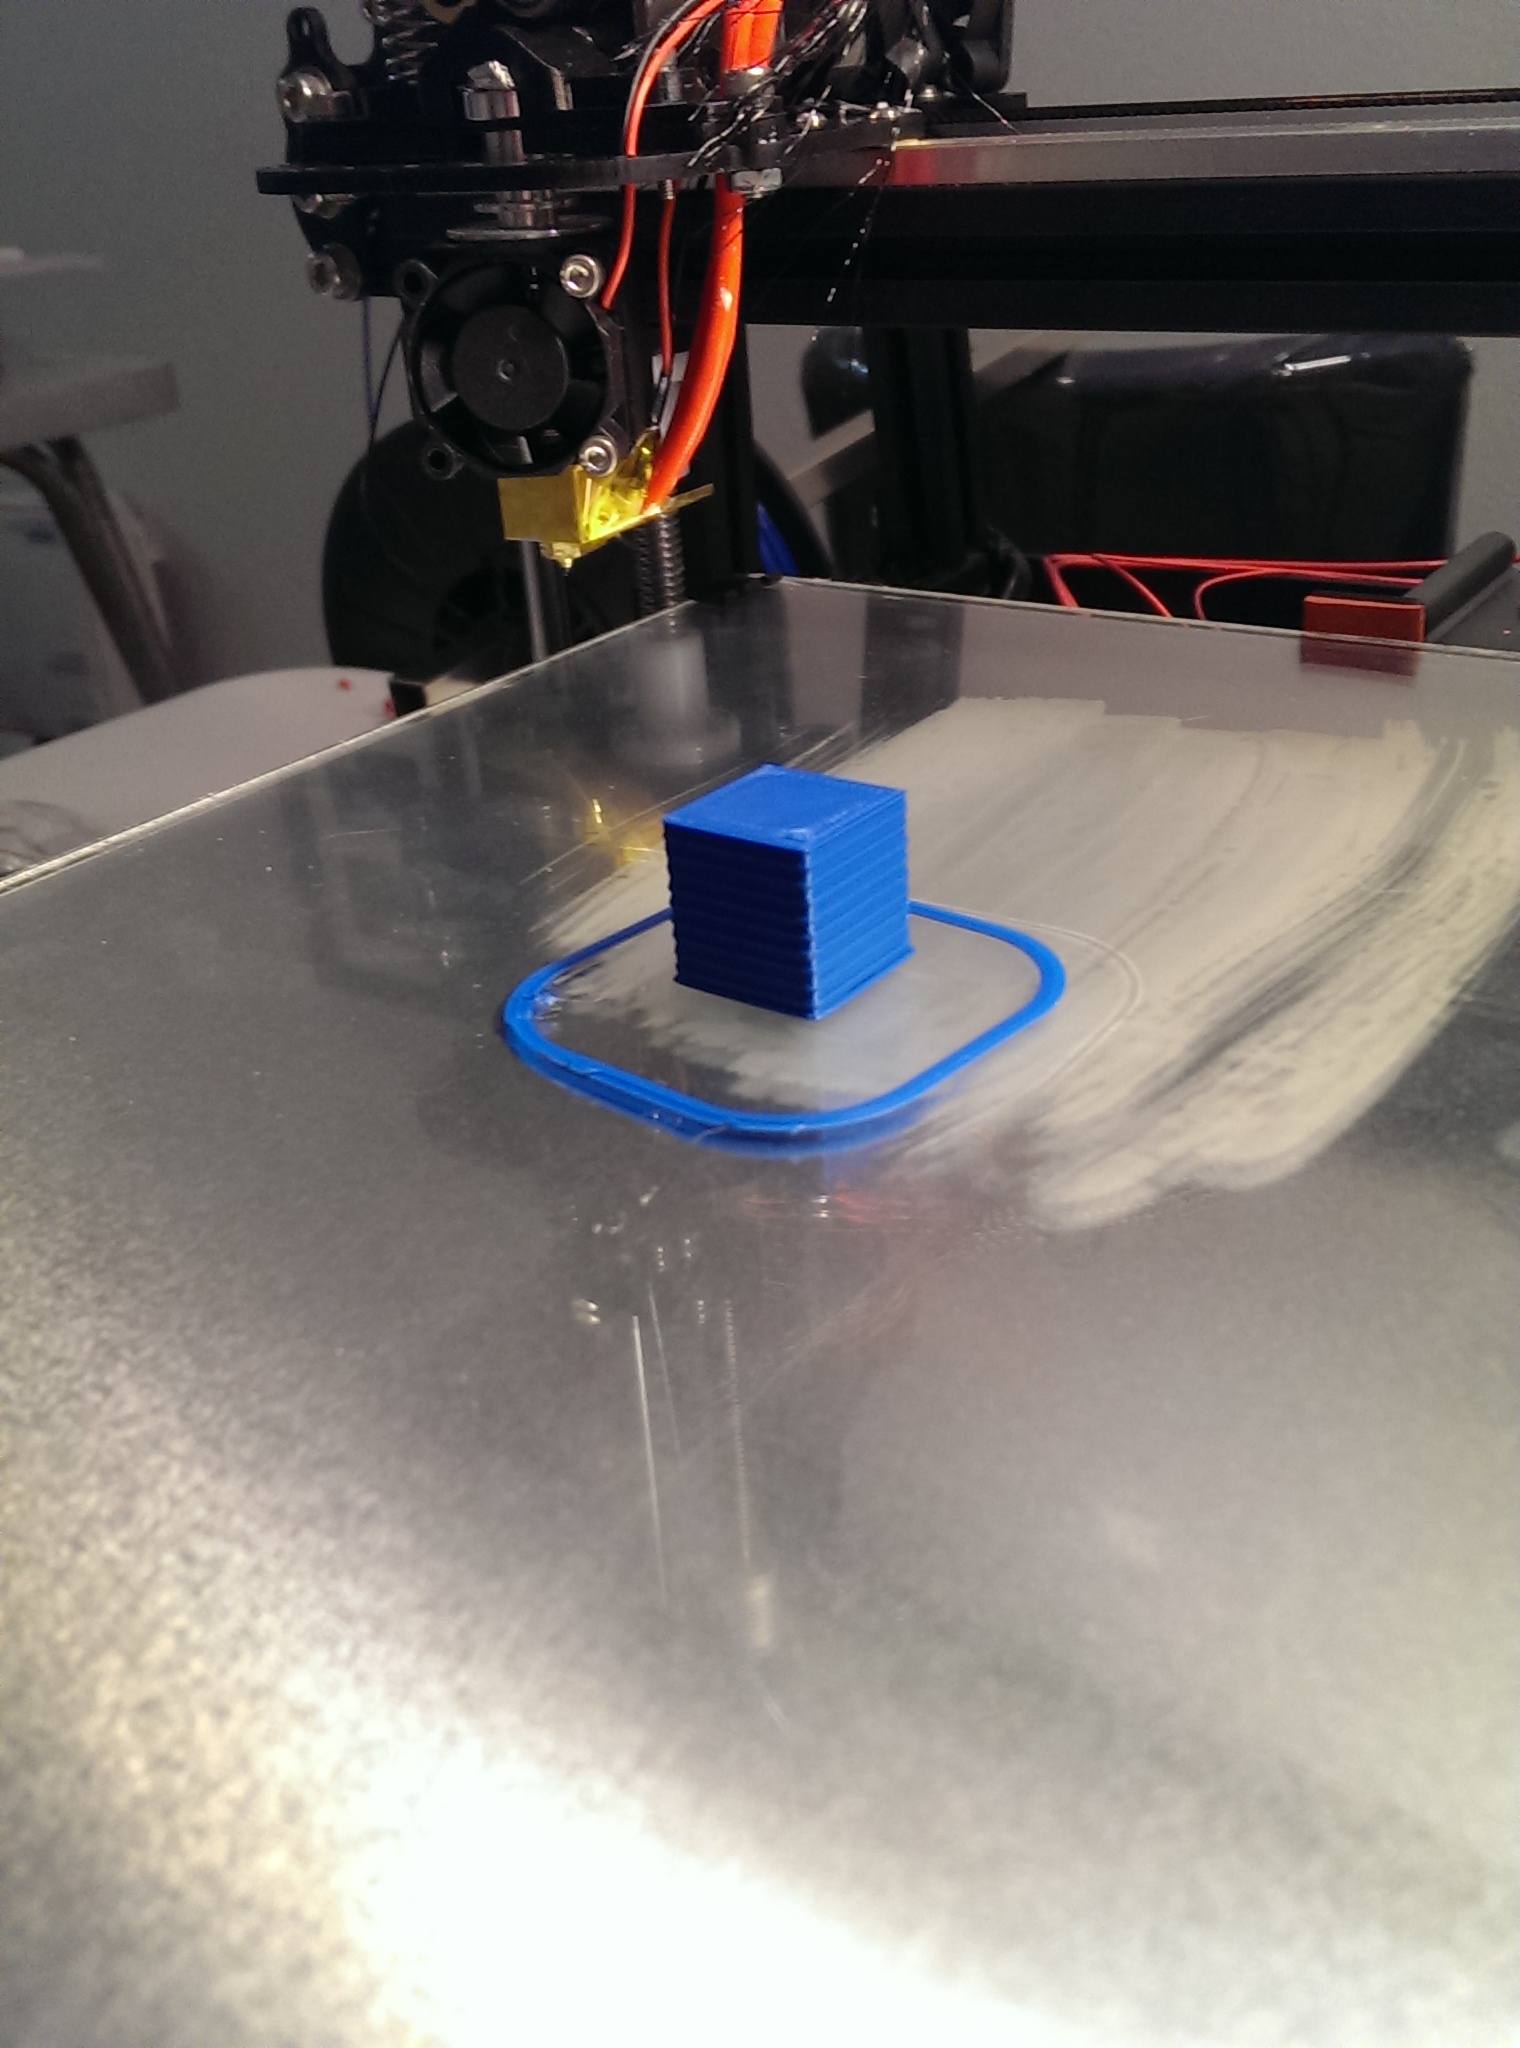
That’s after everything cooled down a bit, you can faintly see the traces on the bed where the pieces were before they popped loose (due to the bed shrinking as it cooled at a different rate than the plastic) and I moved them. It’s decidedly not a perfect print (horizontal banding, some spots where the perimeter pulled apart between layers, some waviness on one corner where I’m guessing the layer started), but considering the ambient temperature in my living room is 18C I’m surprised I got a successful print on my first try.

Interestingly, the quality of this piece is actually good enough for the first couple things I was planning to print so I may do some printing before I dive into further calibration.

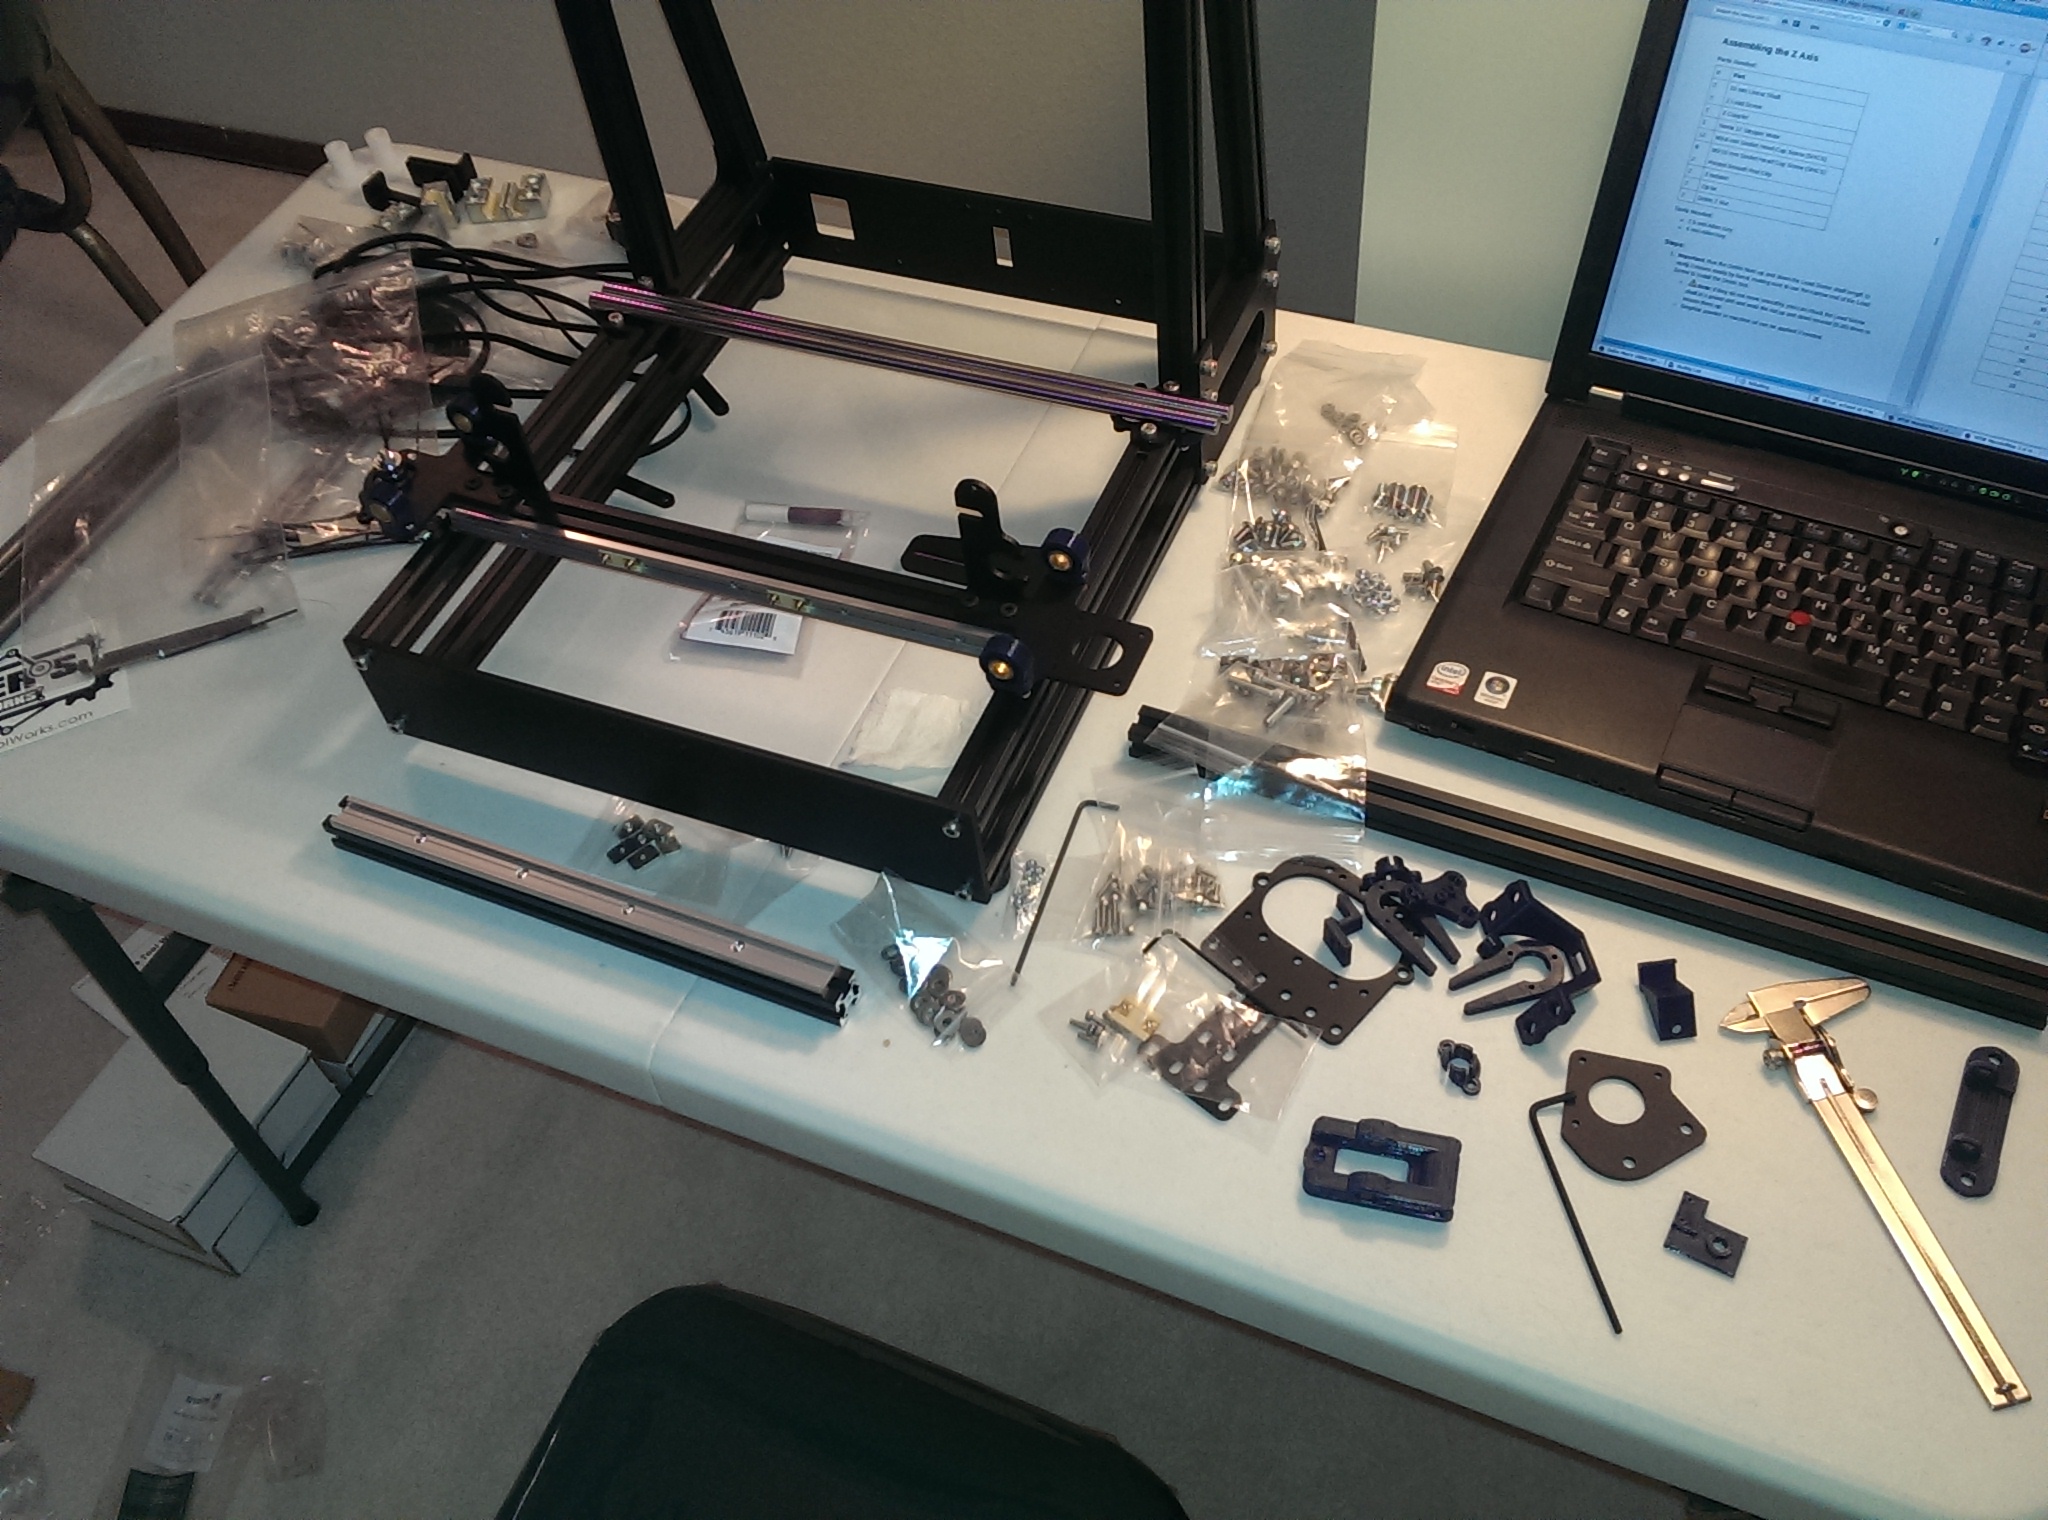
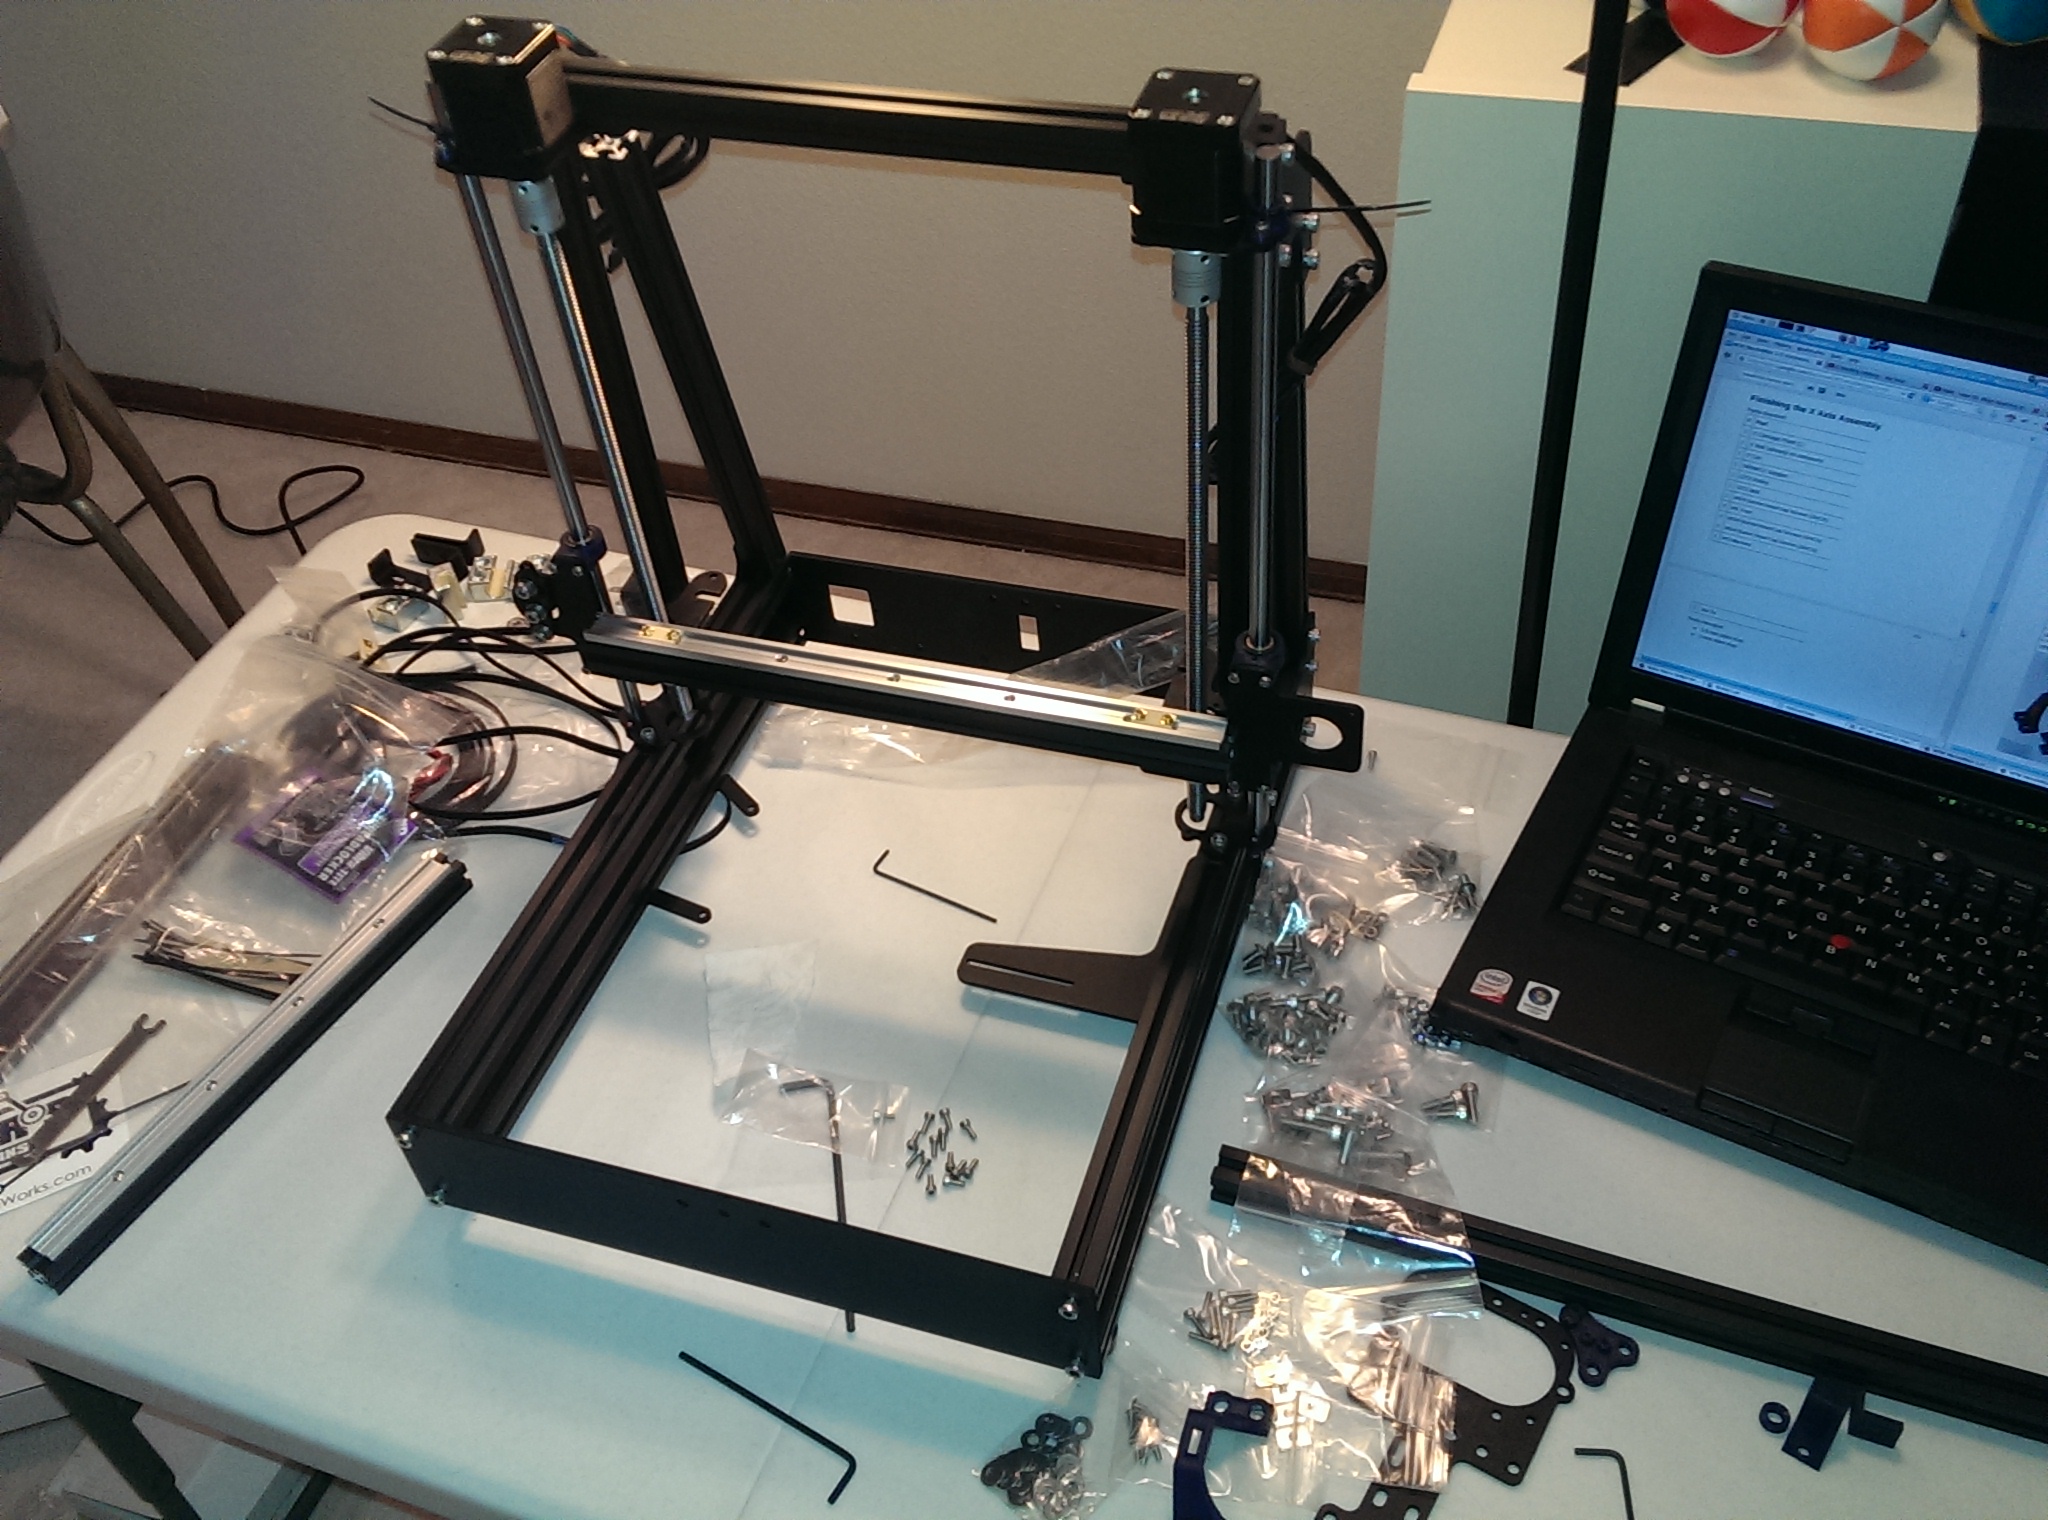
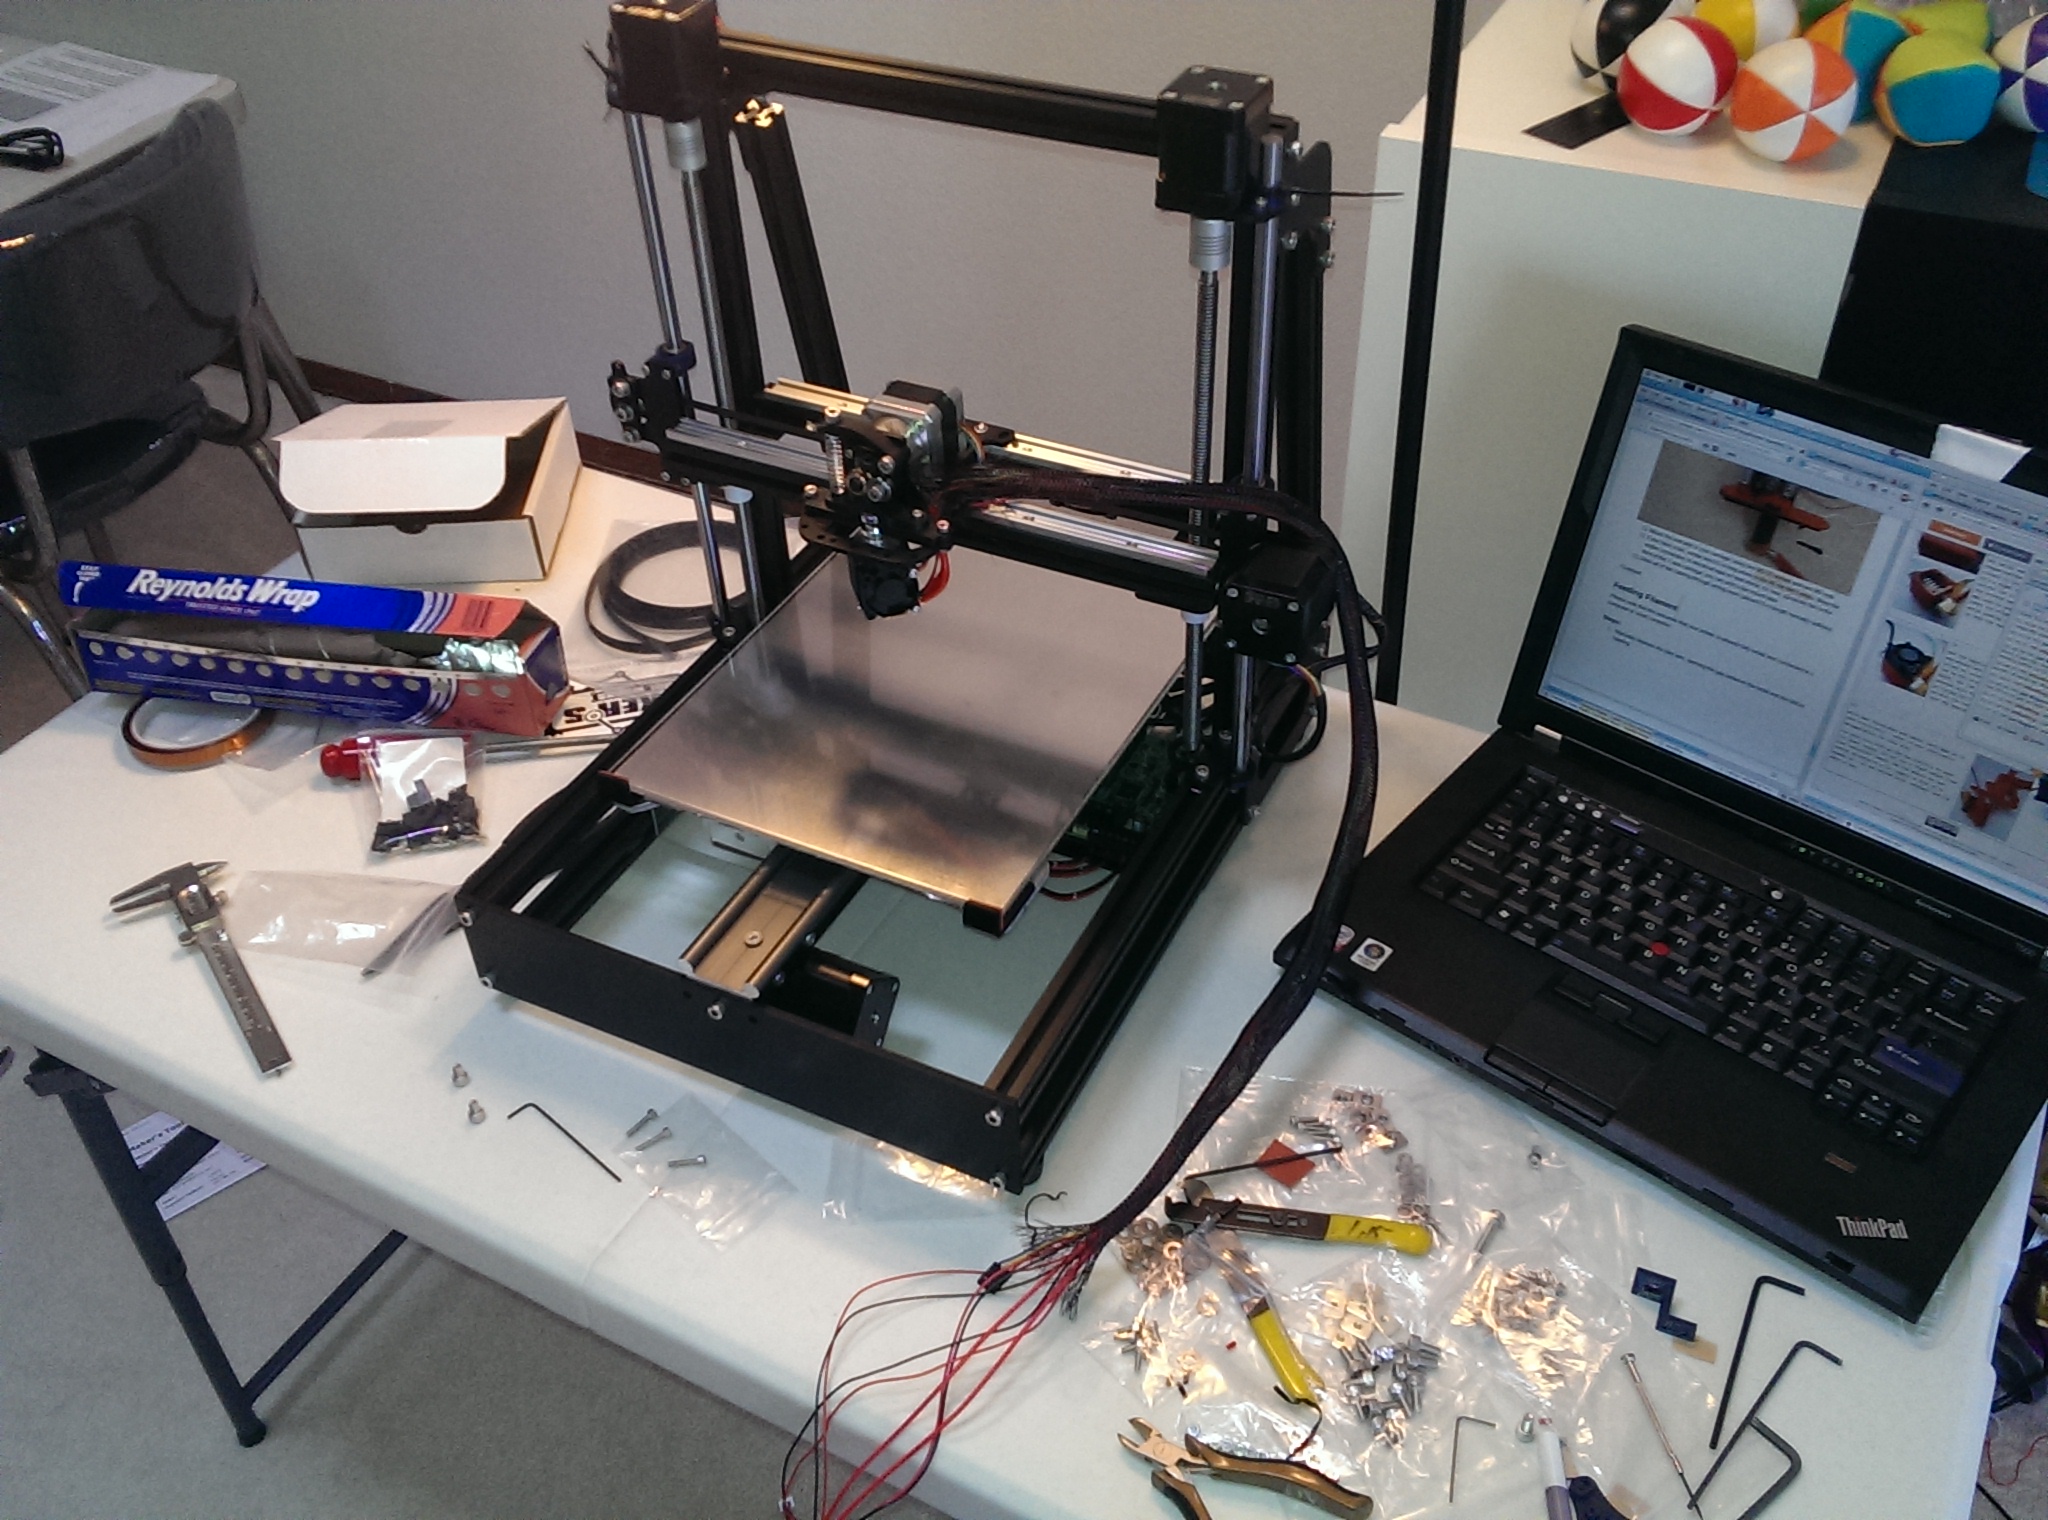
As promised, here are pictures of the build process:
Entire Kit
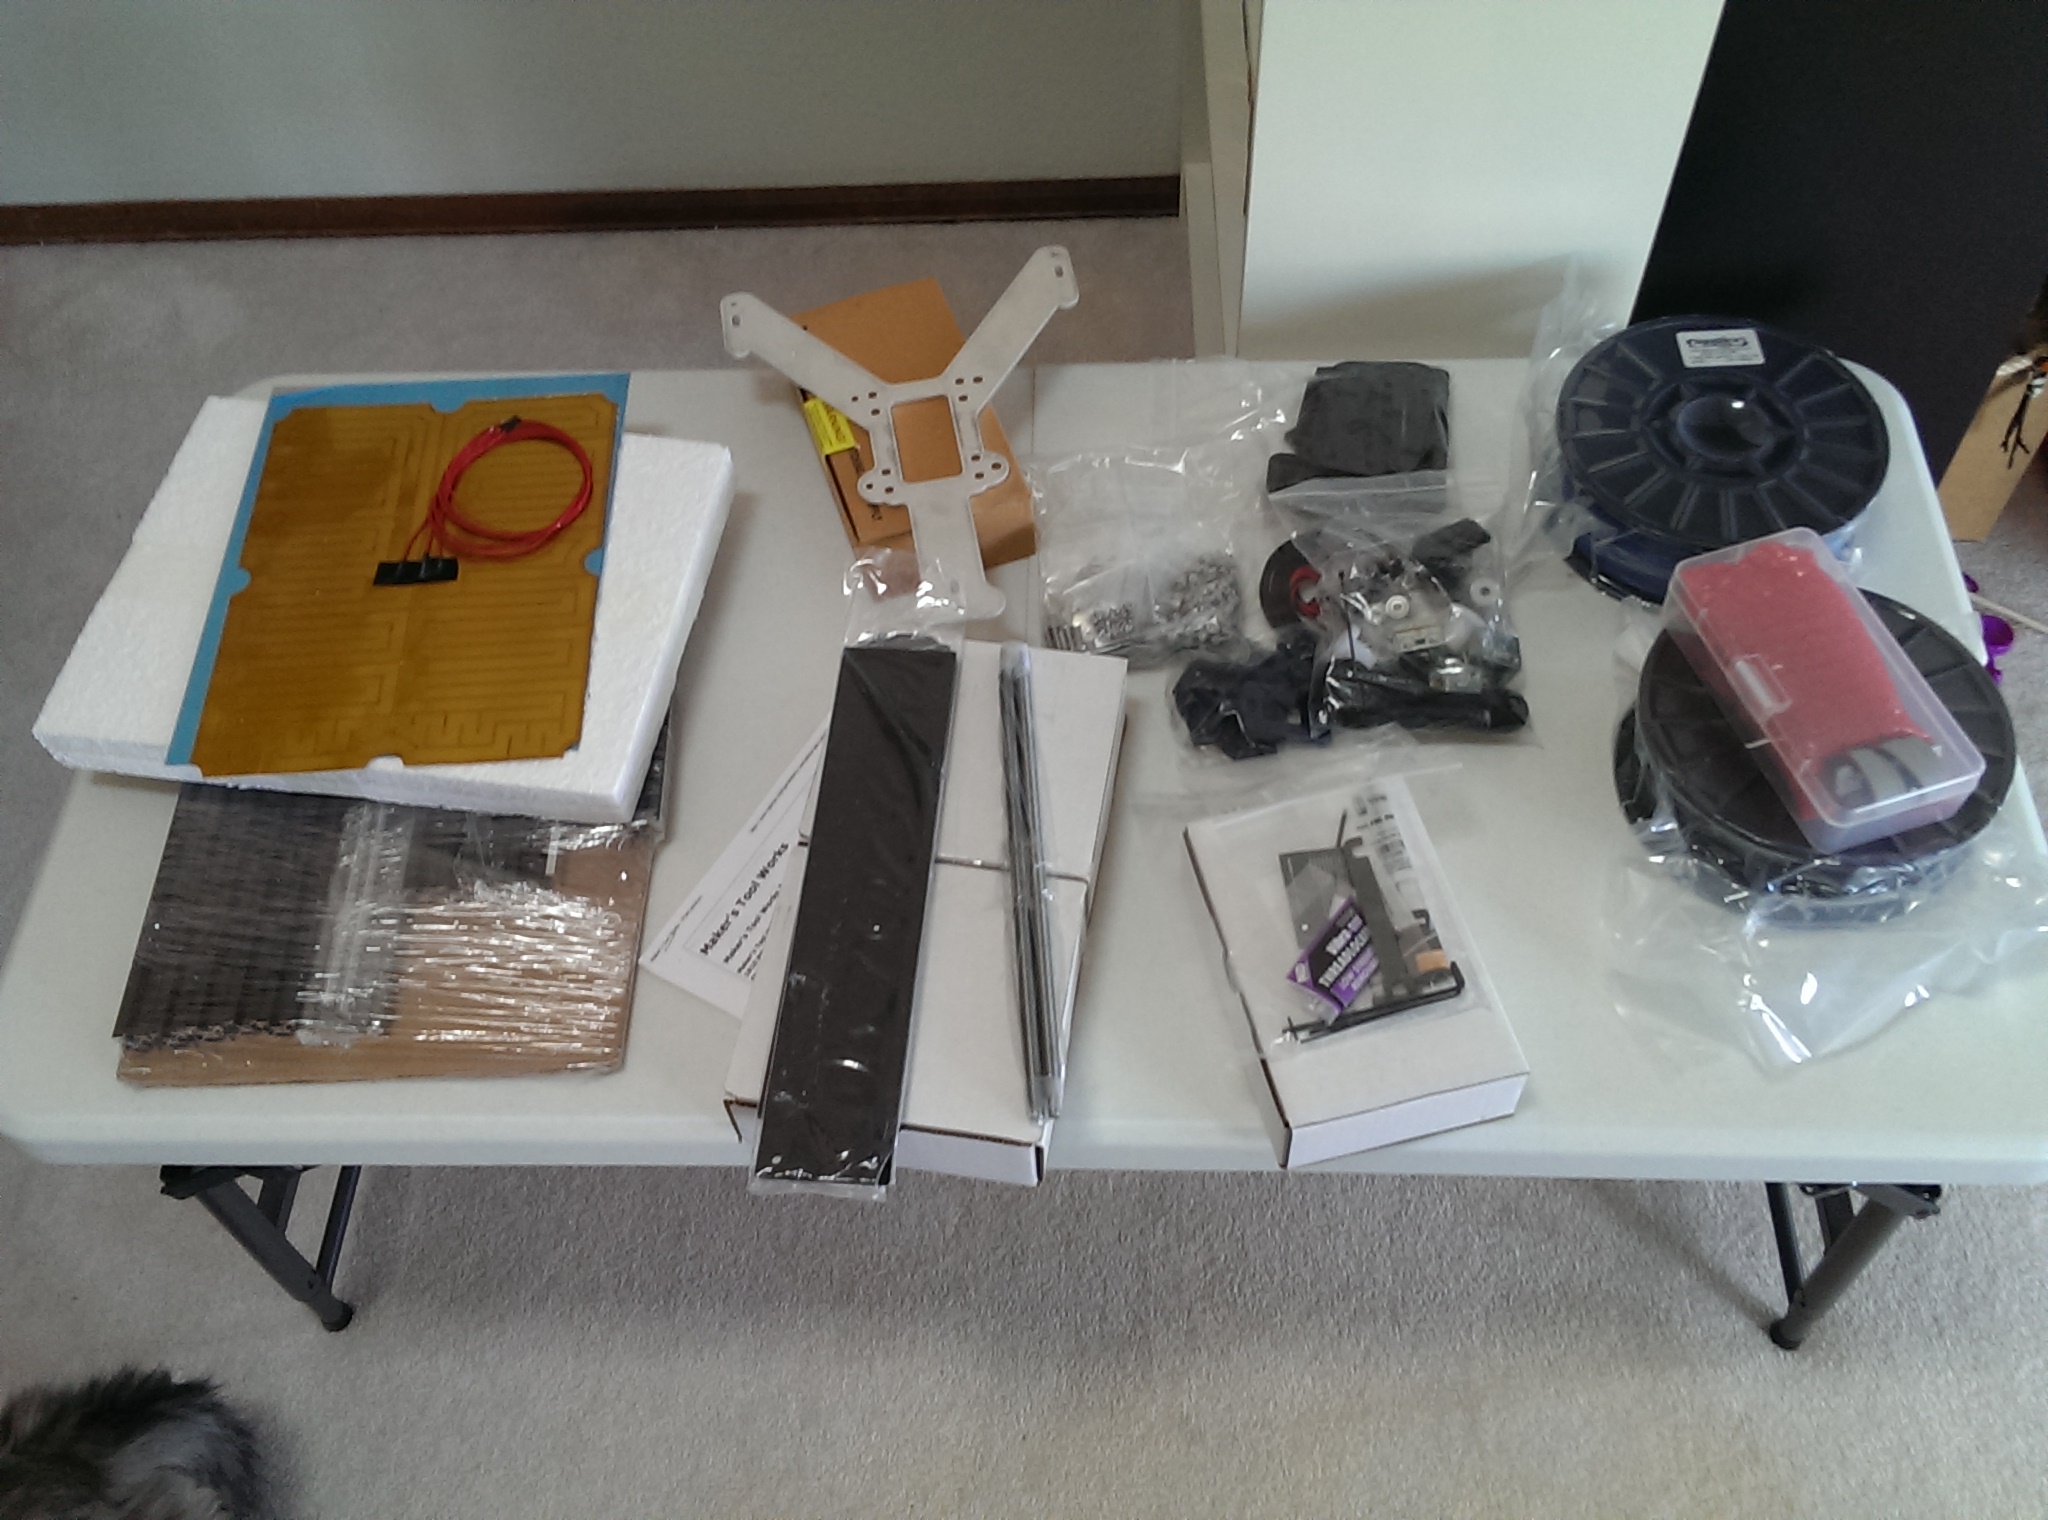
Entire kit laid out on my project table.

Base Frame Assembled
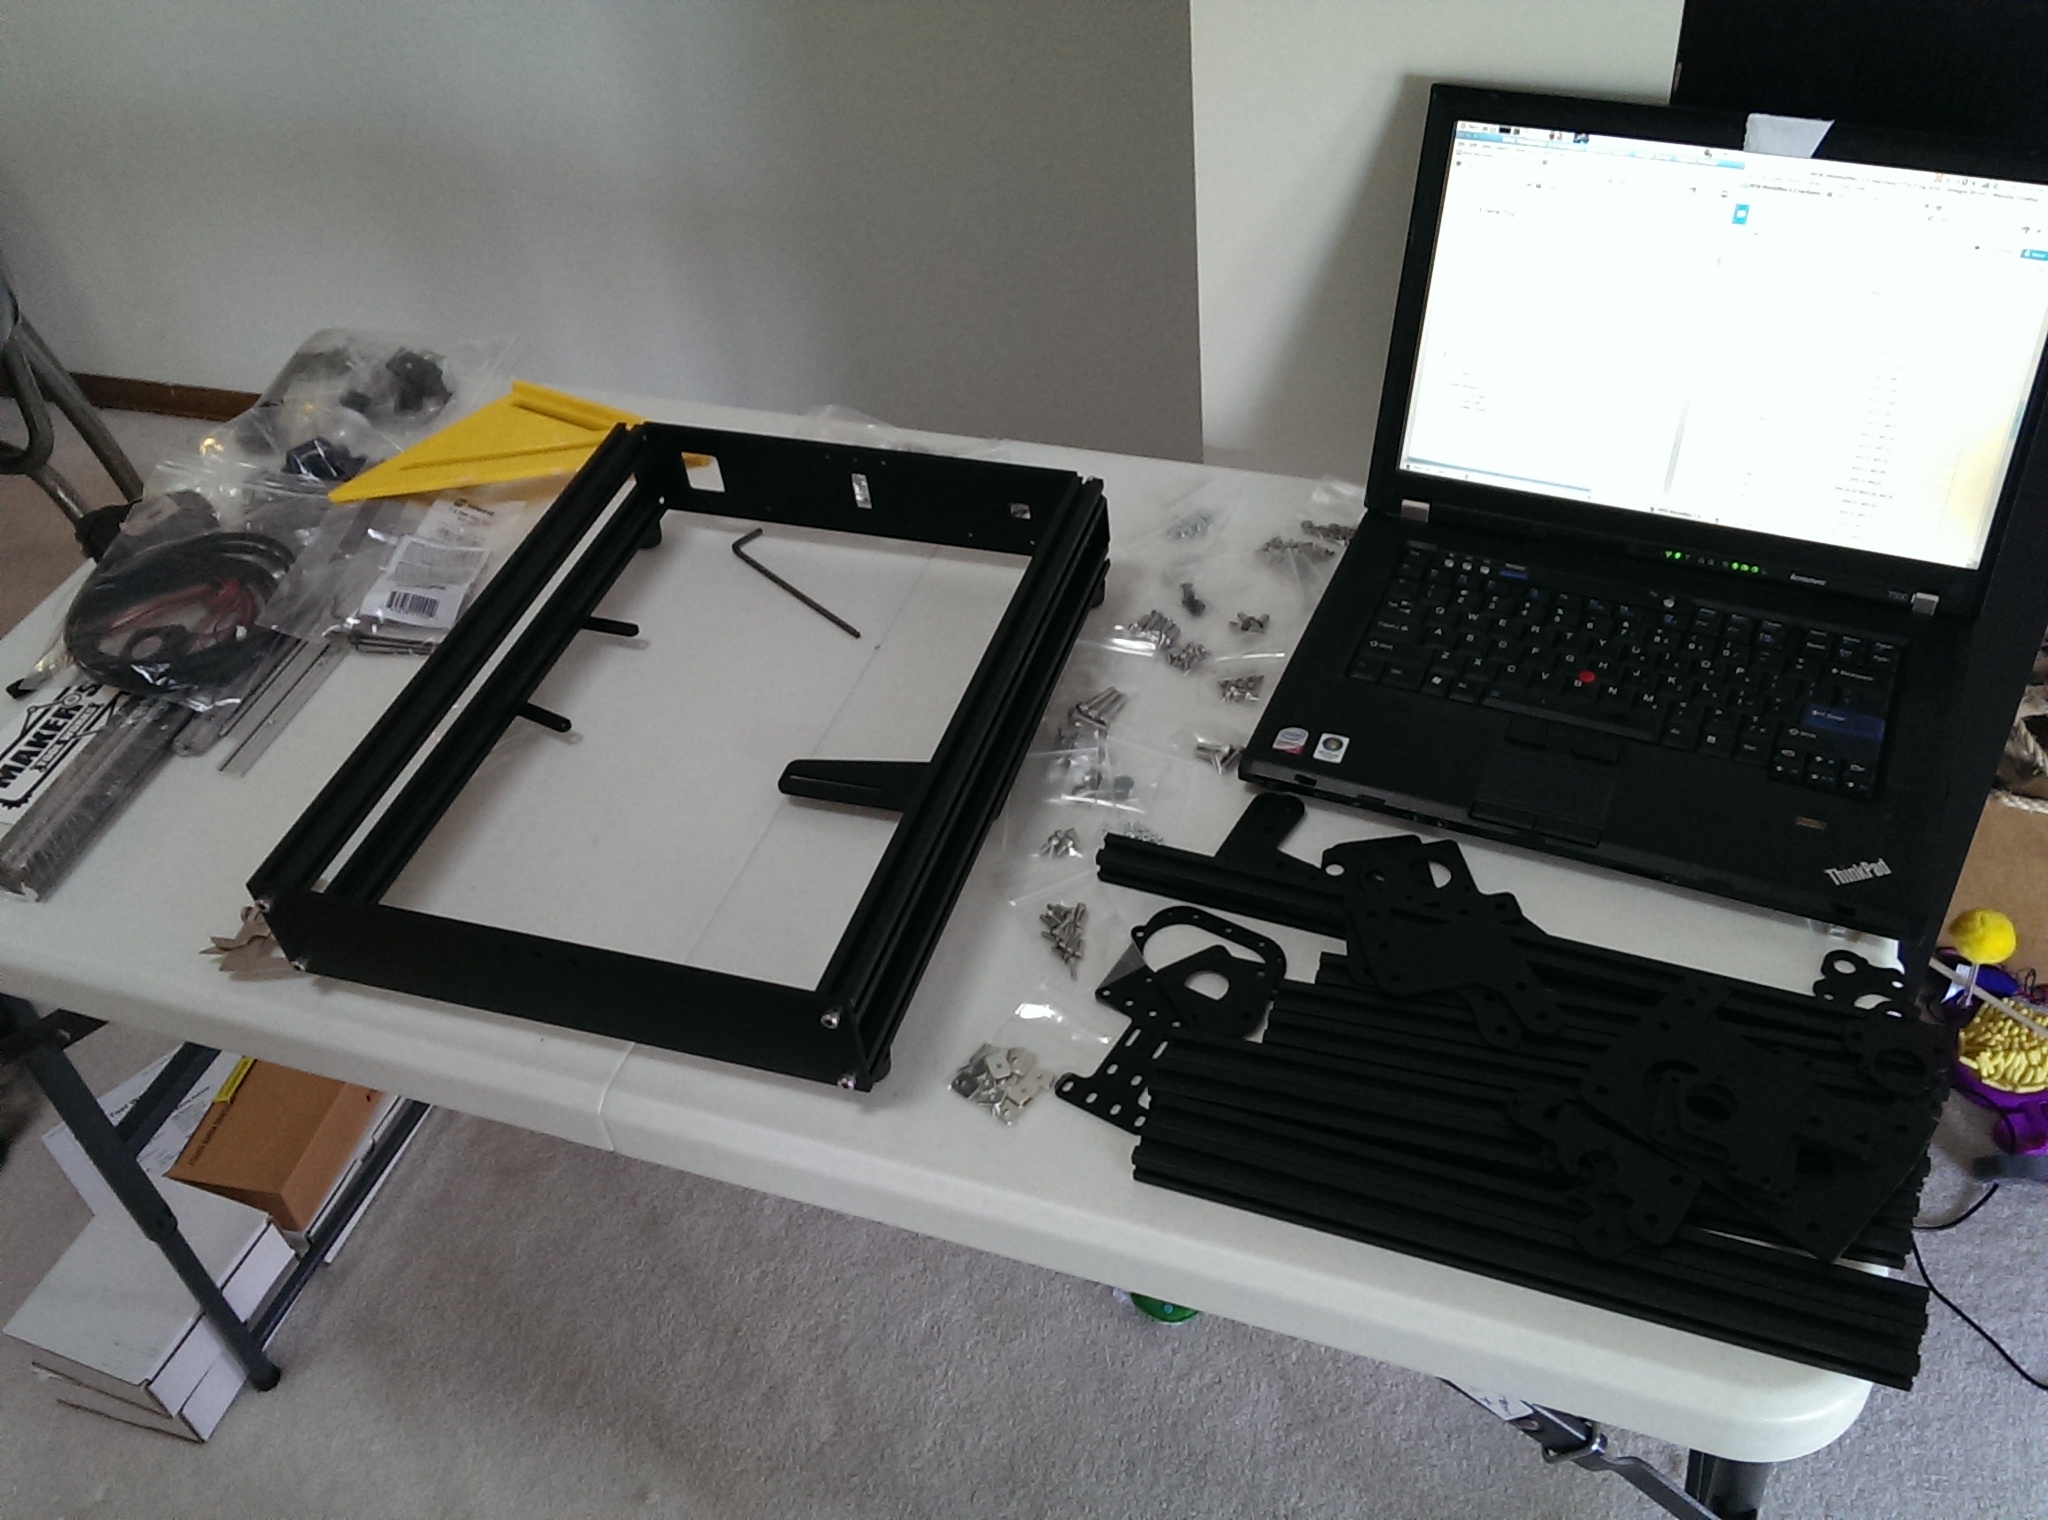
Base frame assembled

Upright Frame Assembled
Upright frame assembled/installed
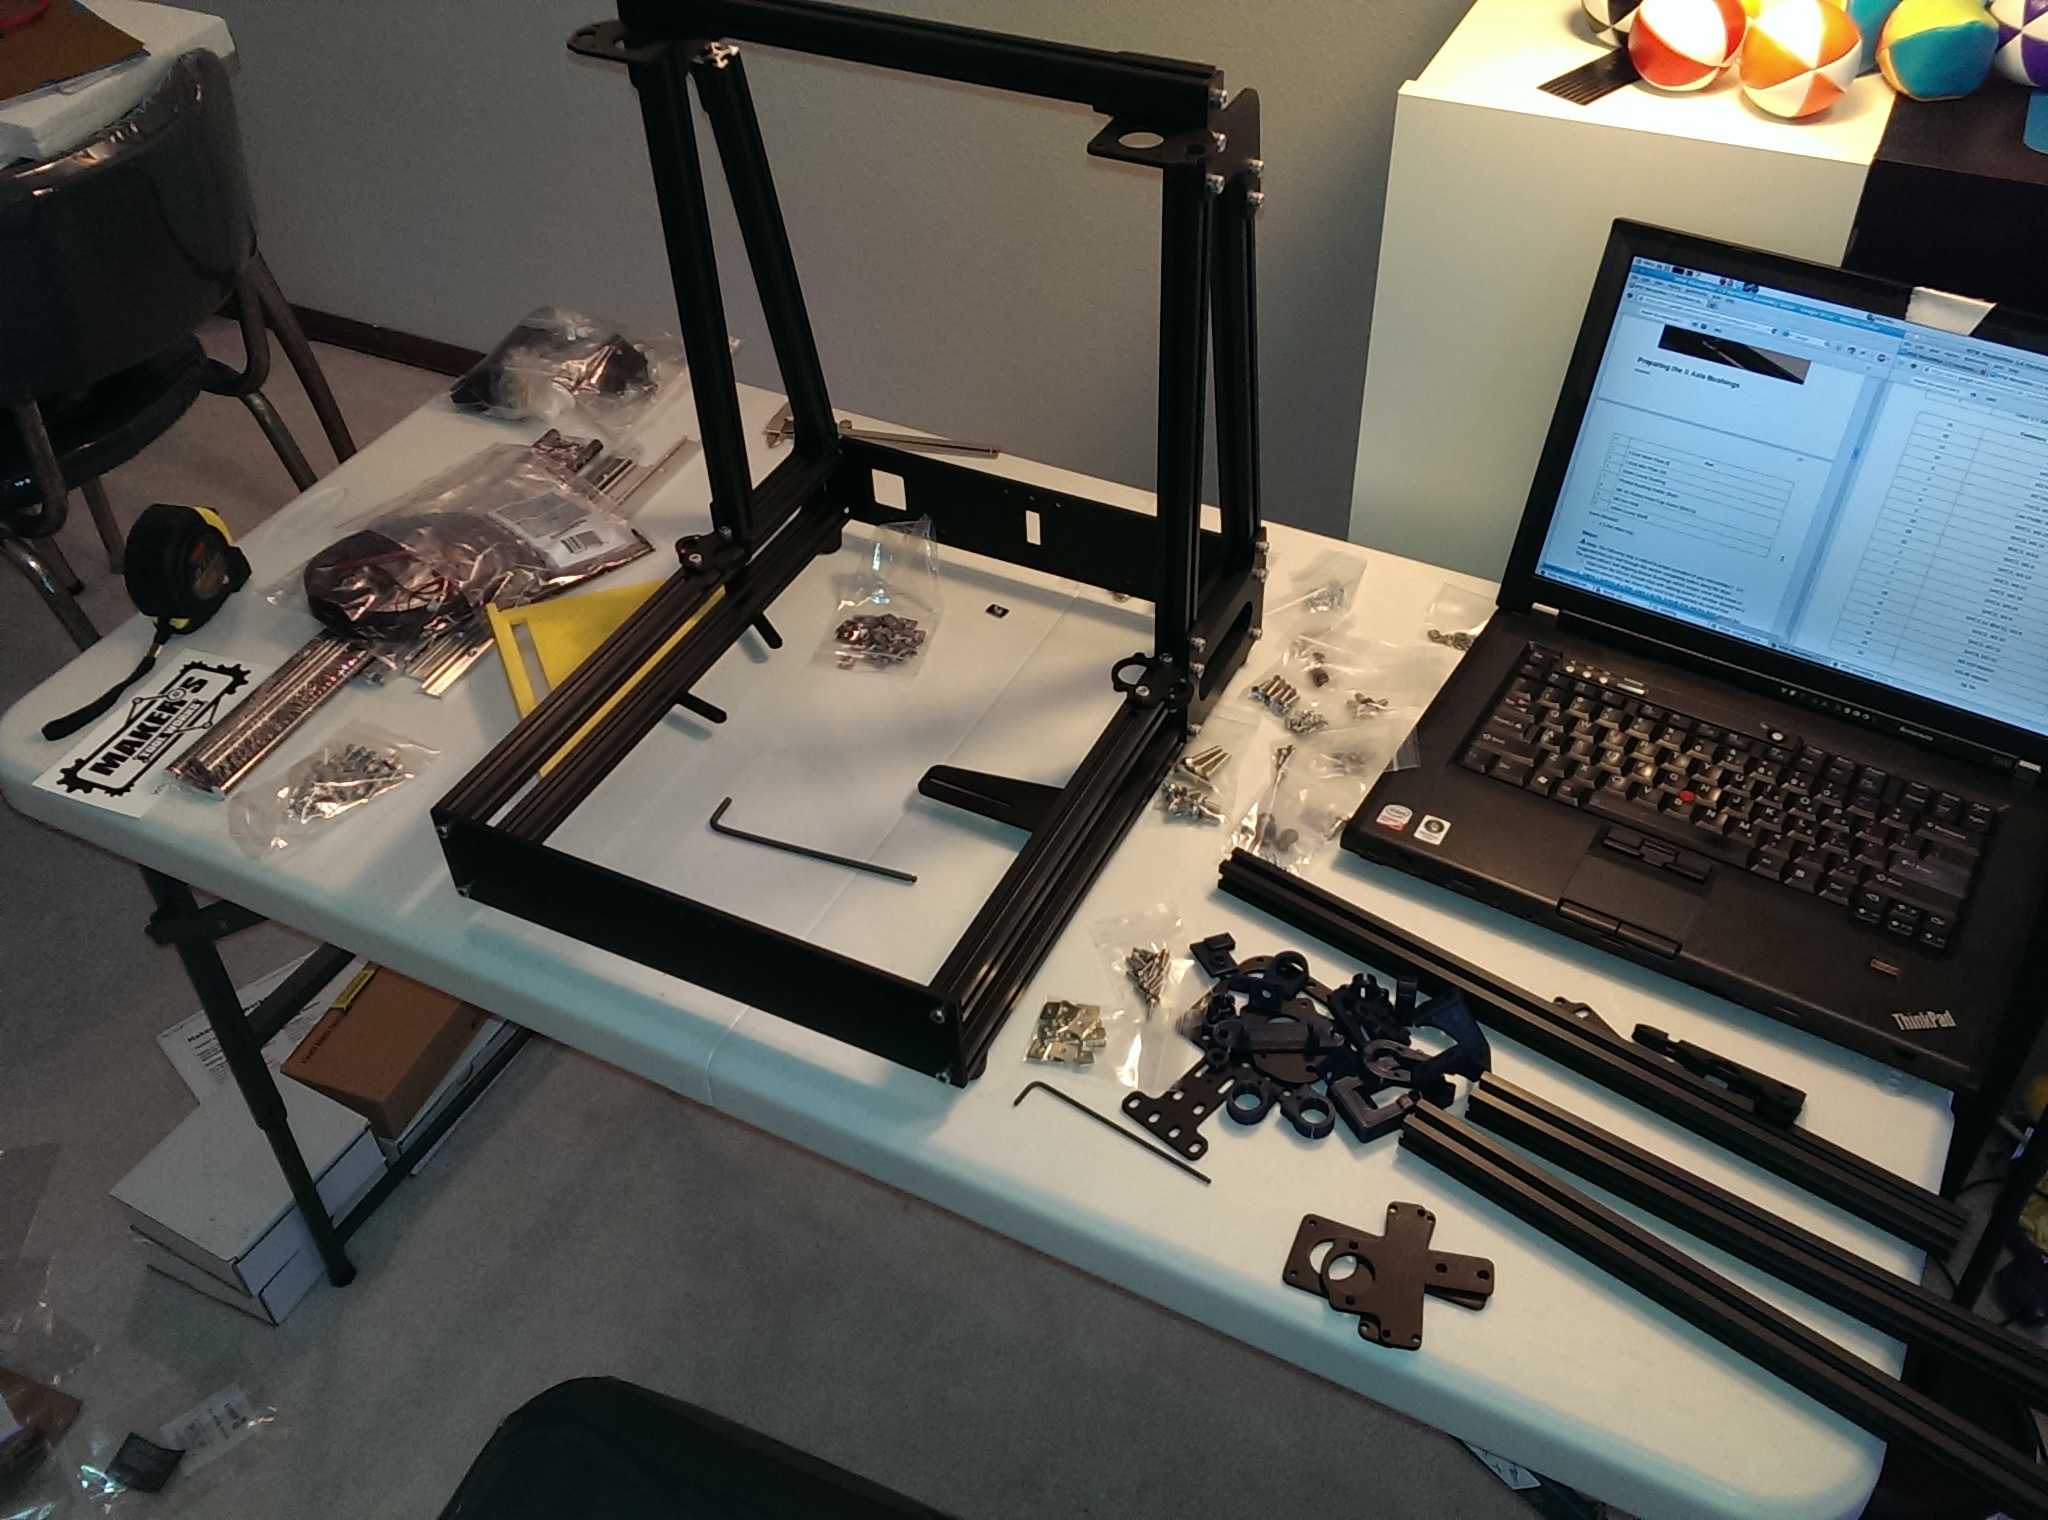
X Axis Assembled
X-axis assembled

Z Axis Installed
Z-axis installed

X Carriage Installed
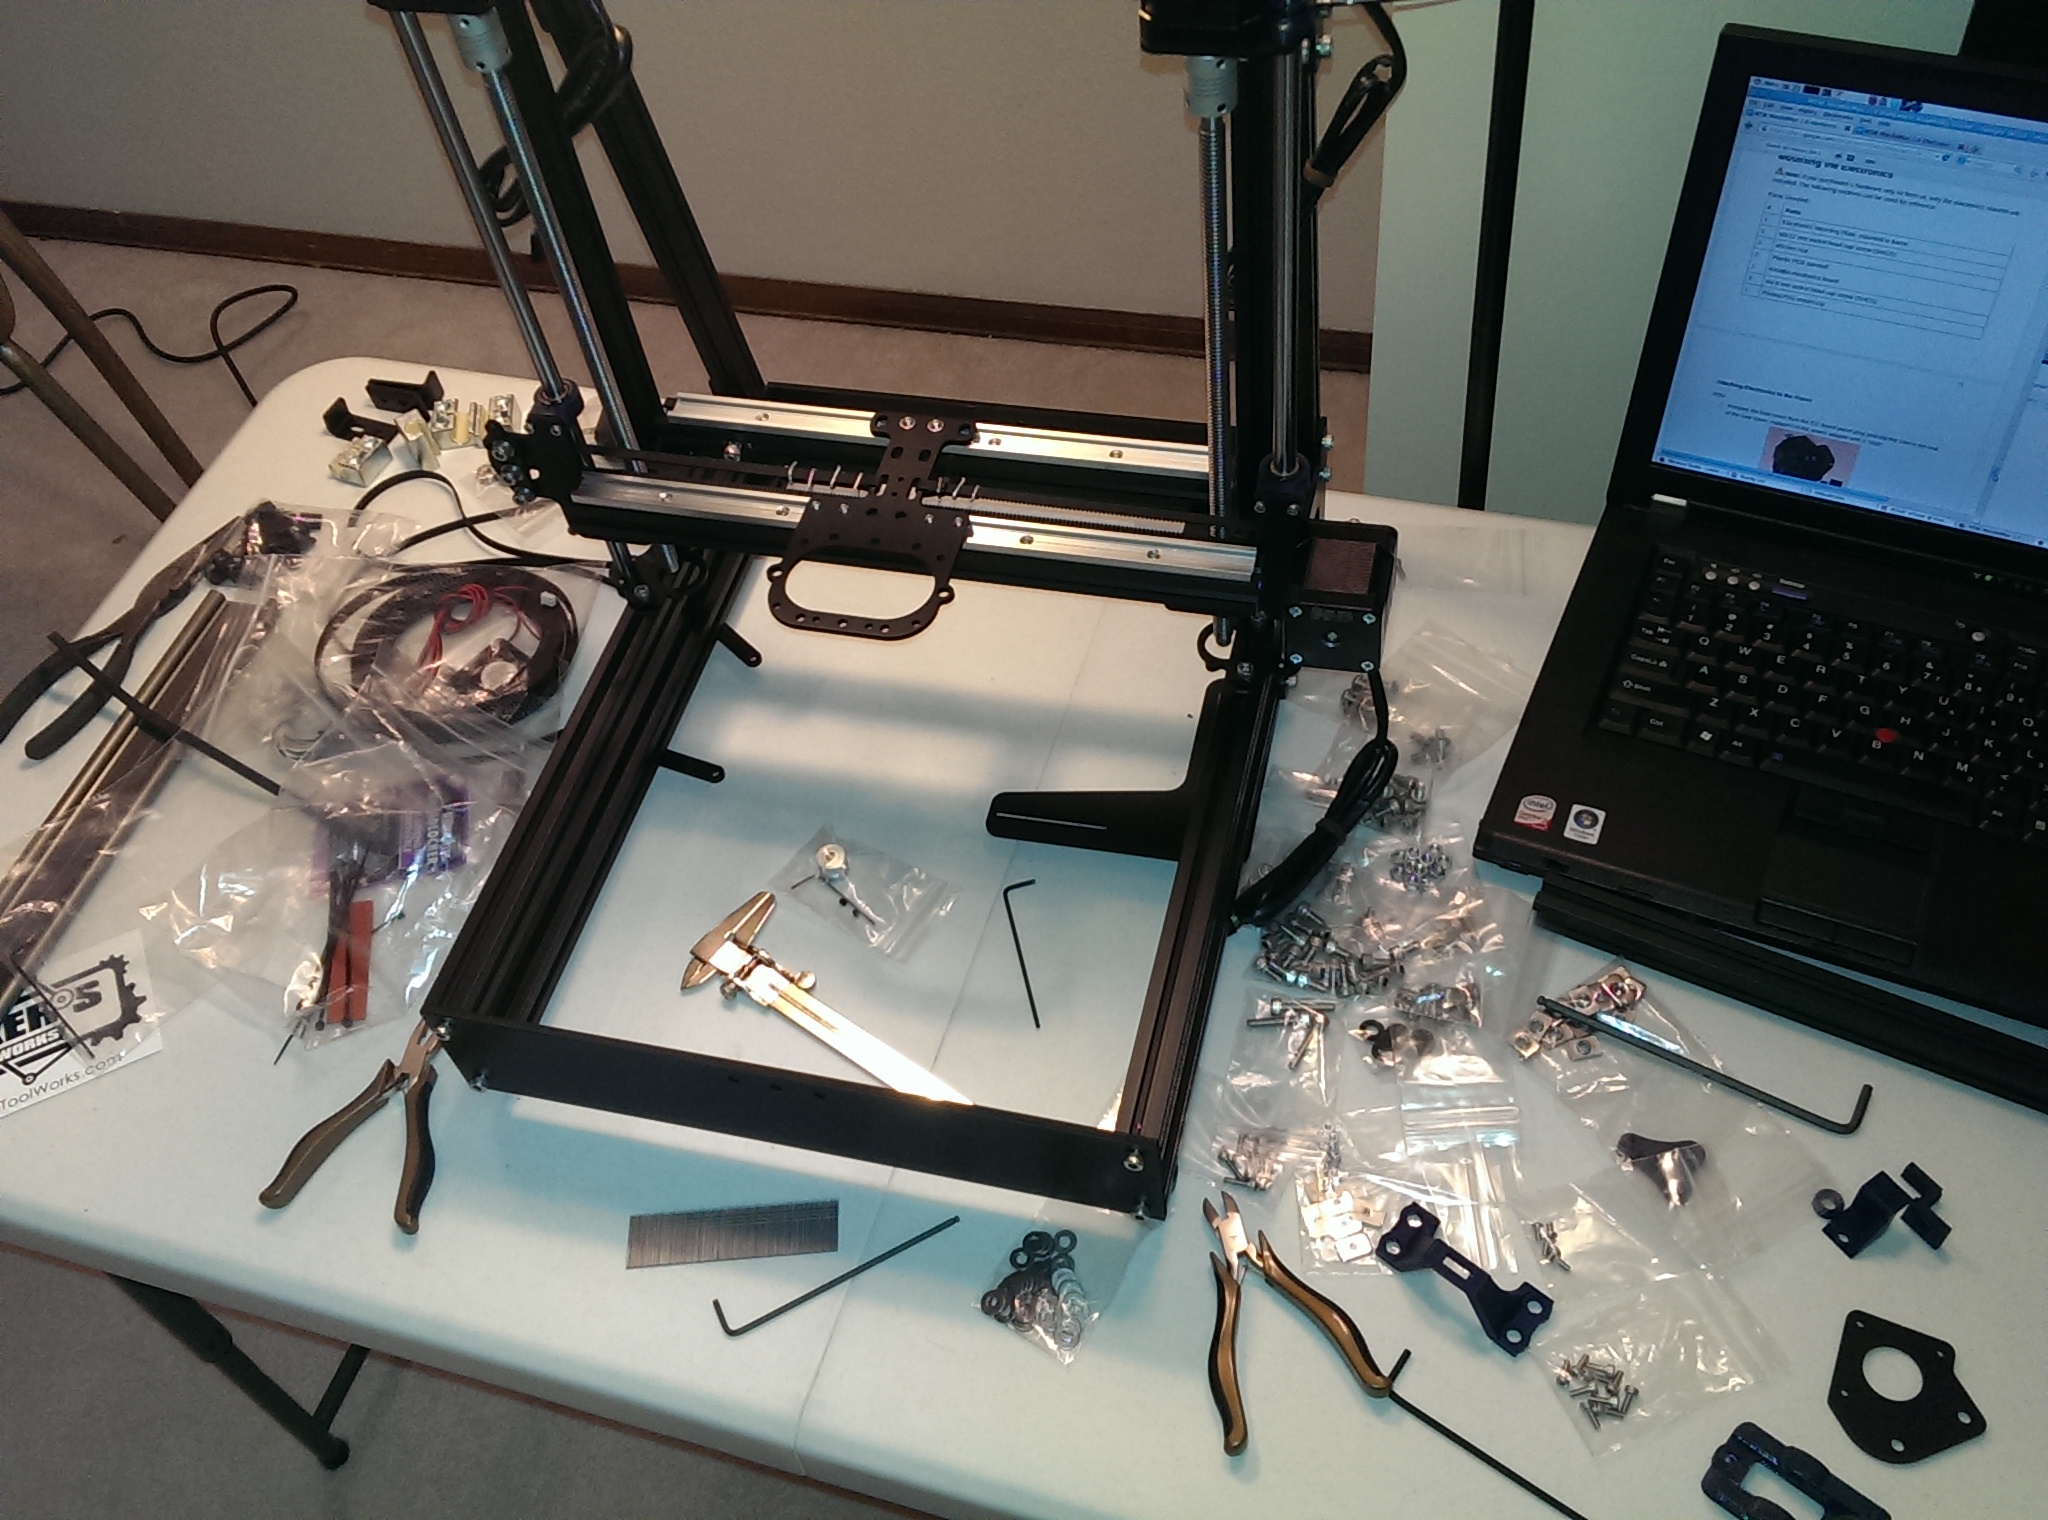
X carriage/belt installed

Y Axis installed
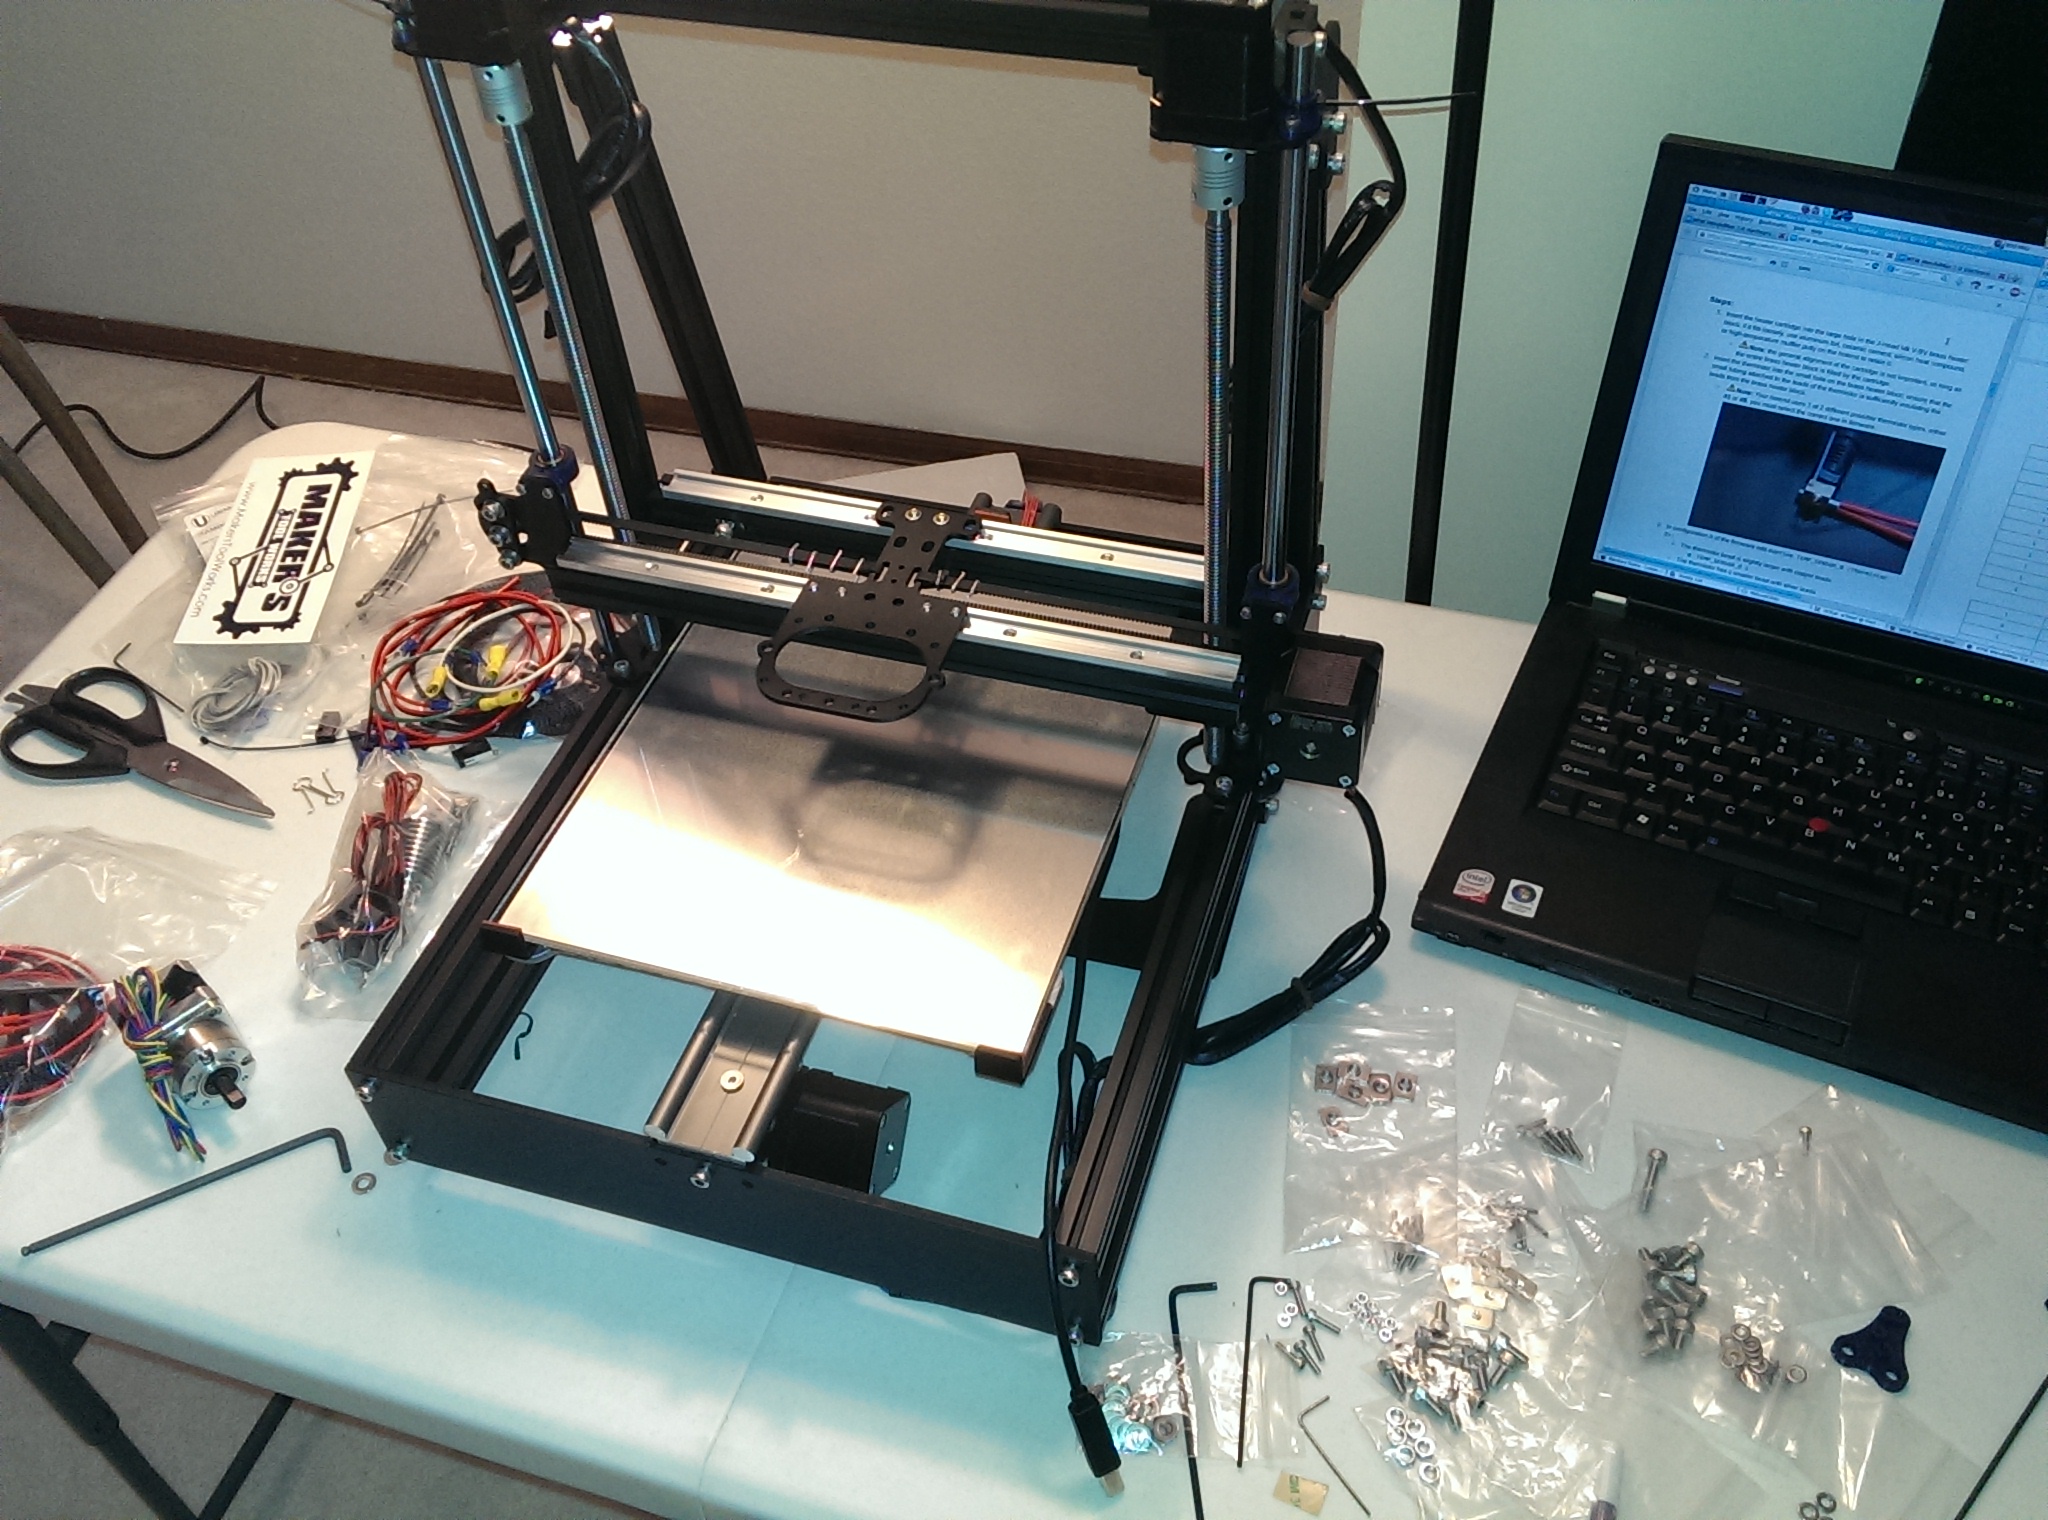
Y-axis/bed installed

Electronics Installed
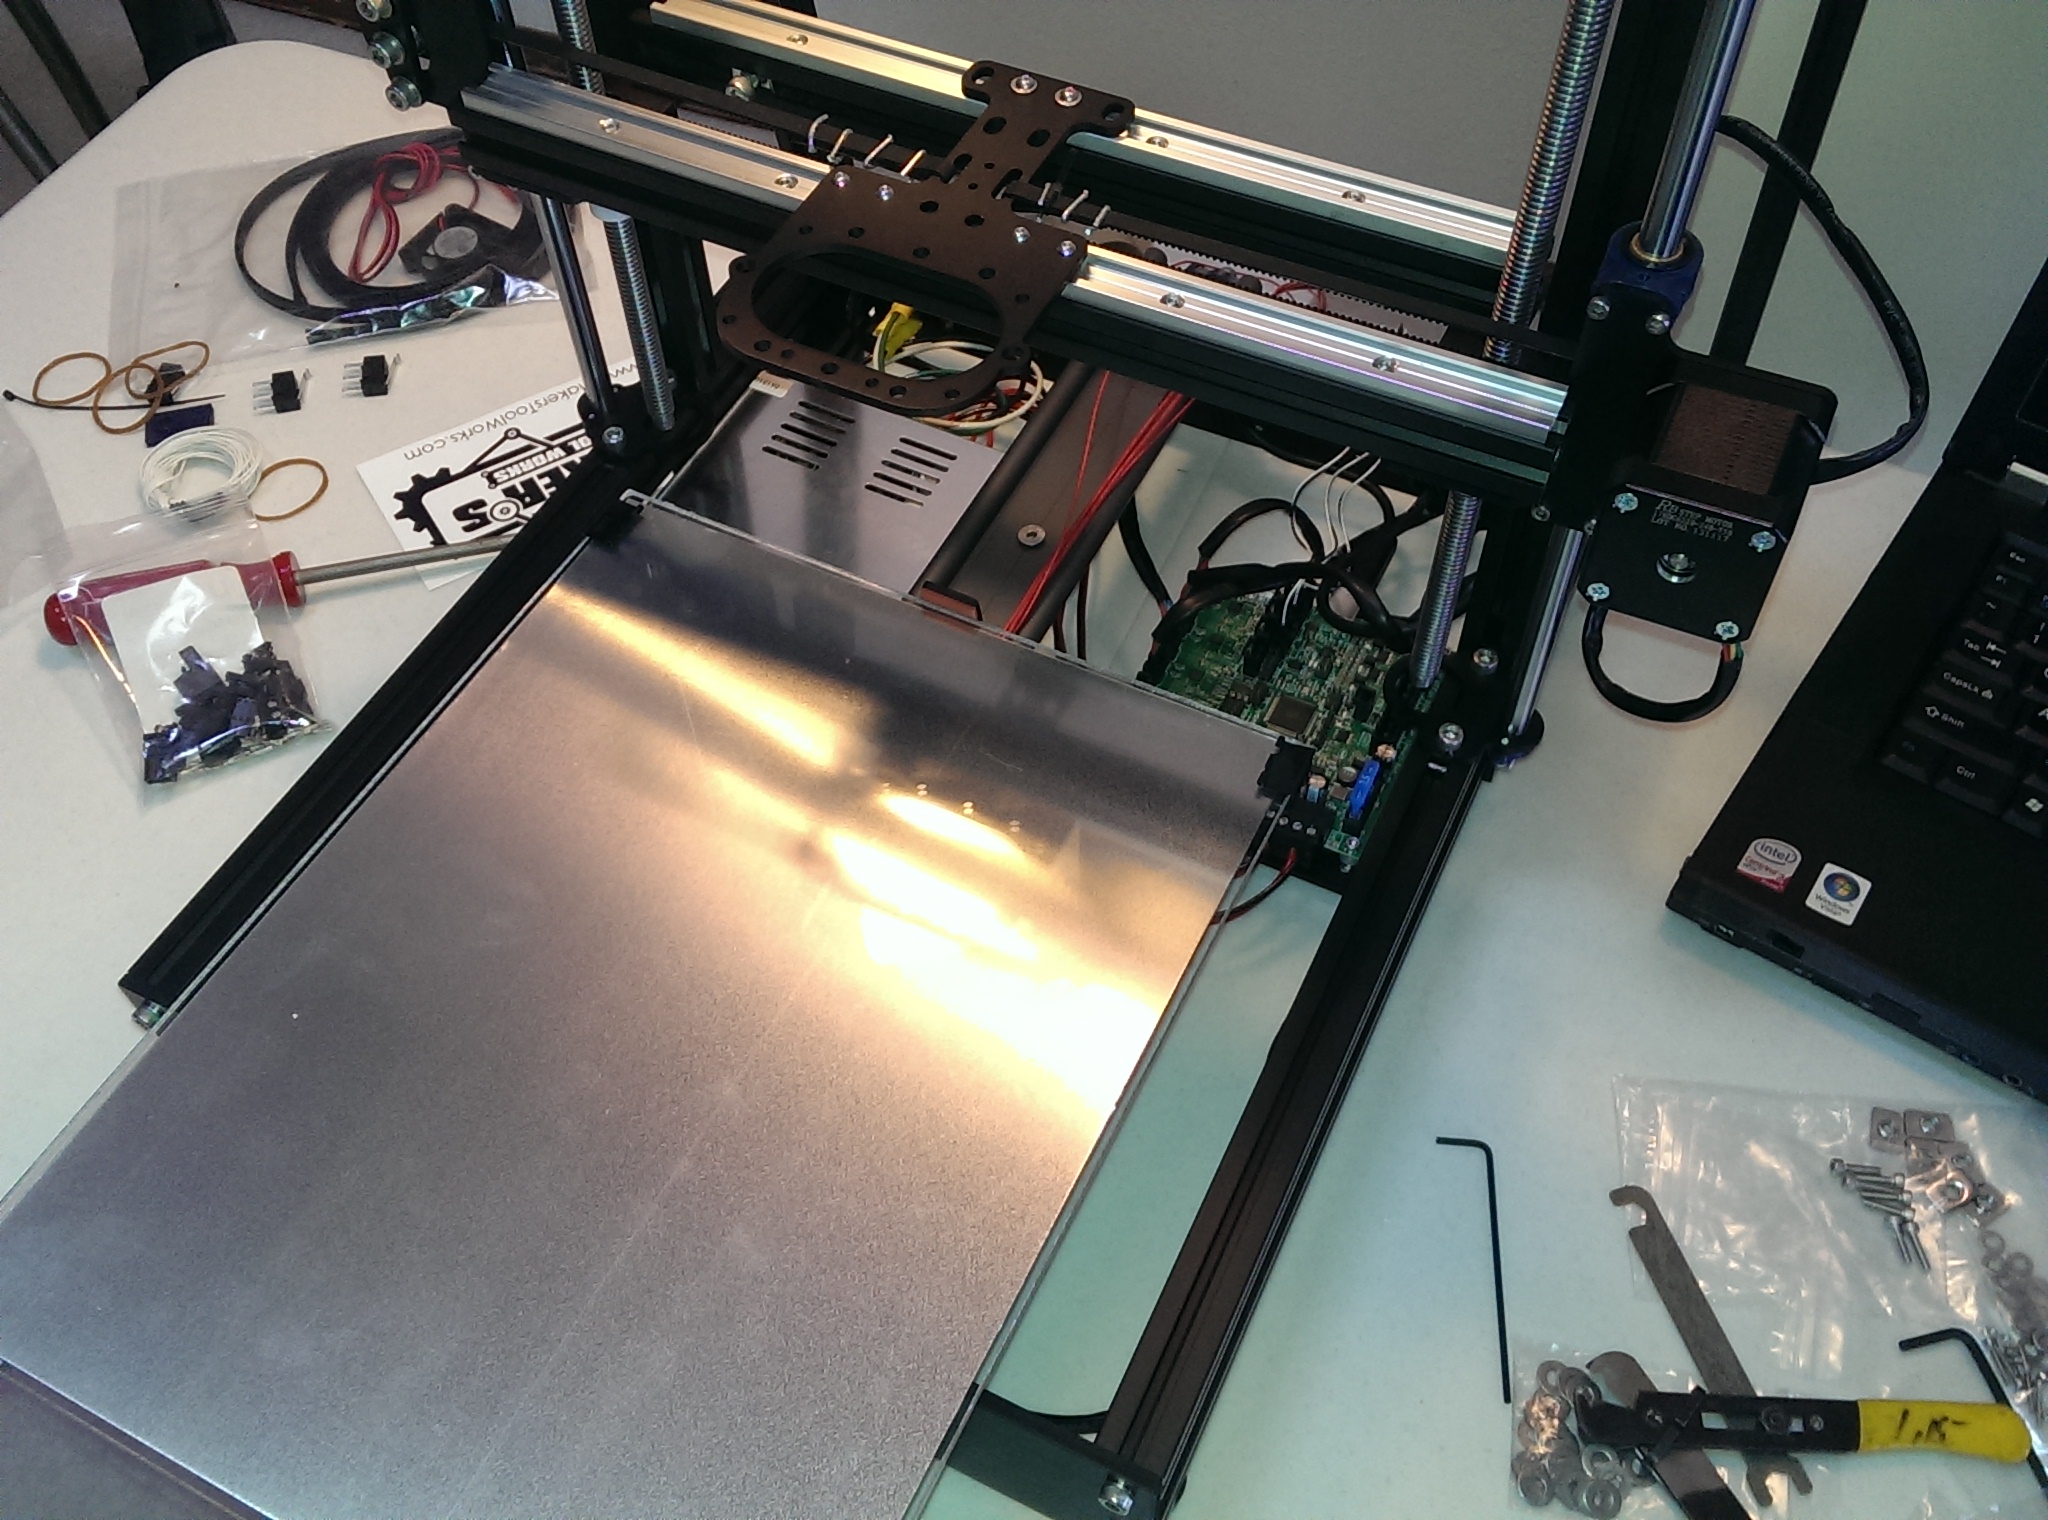
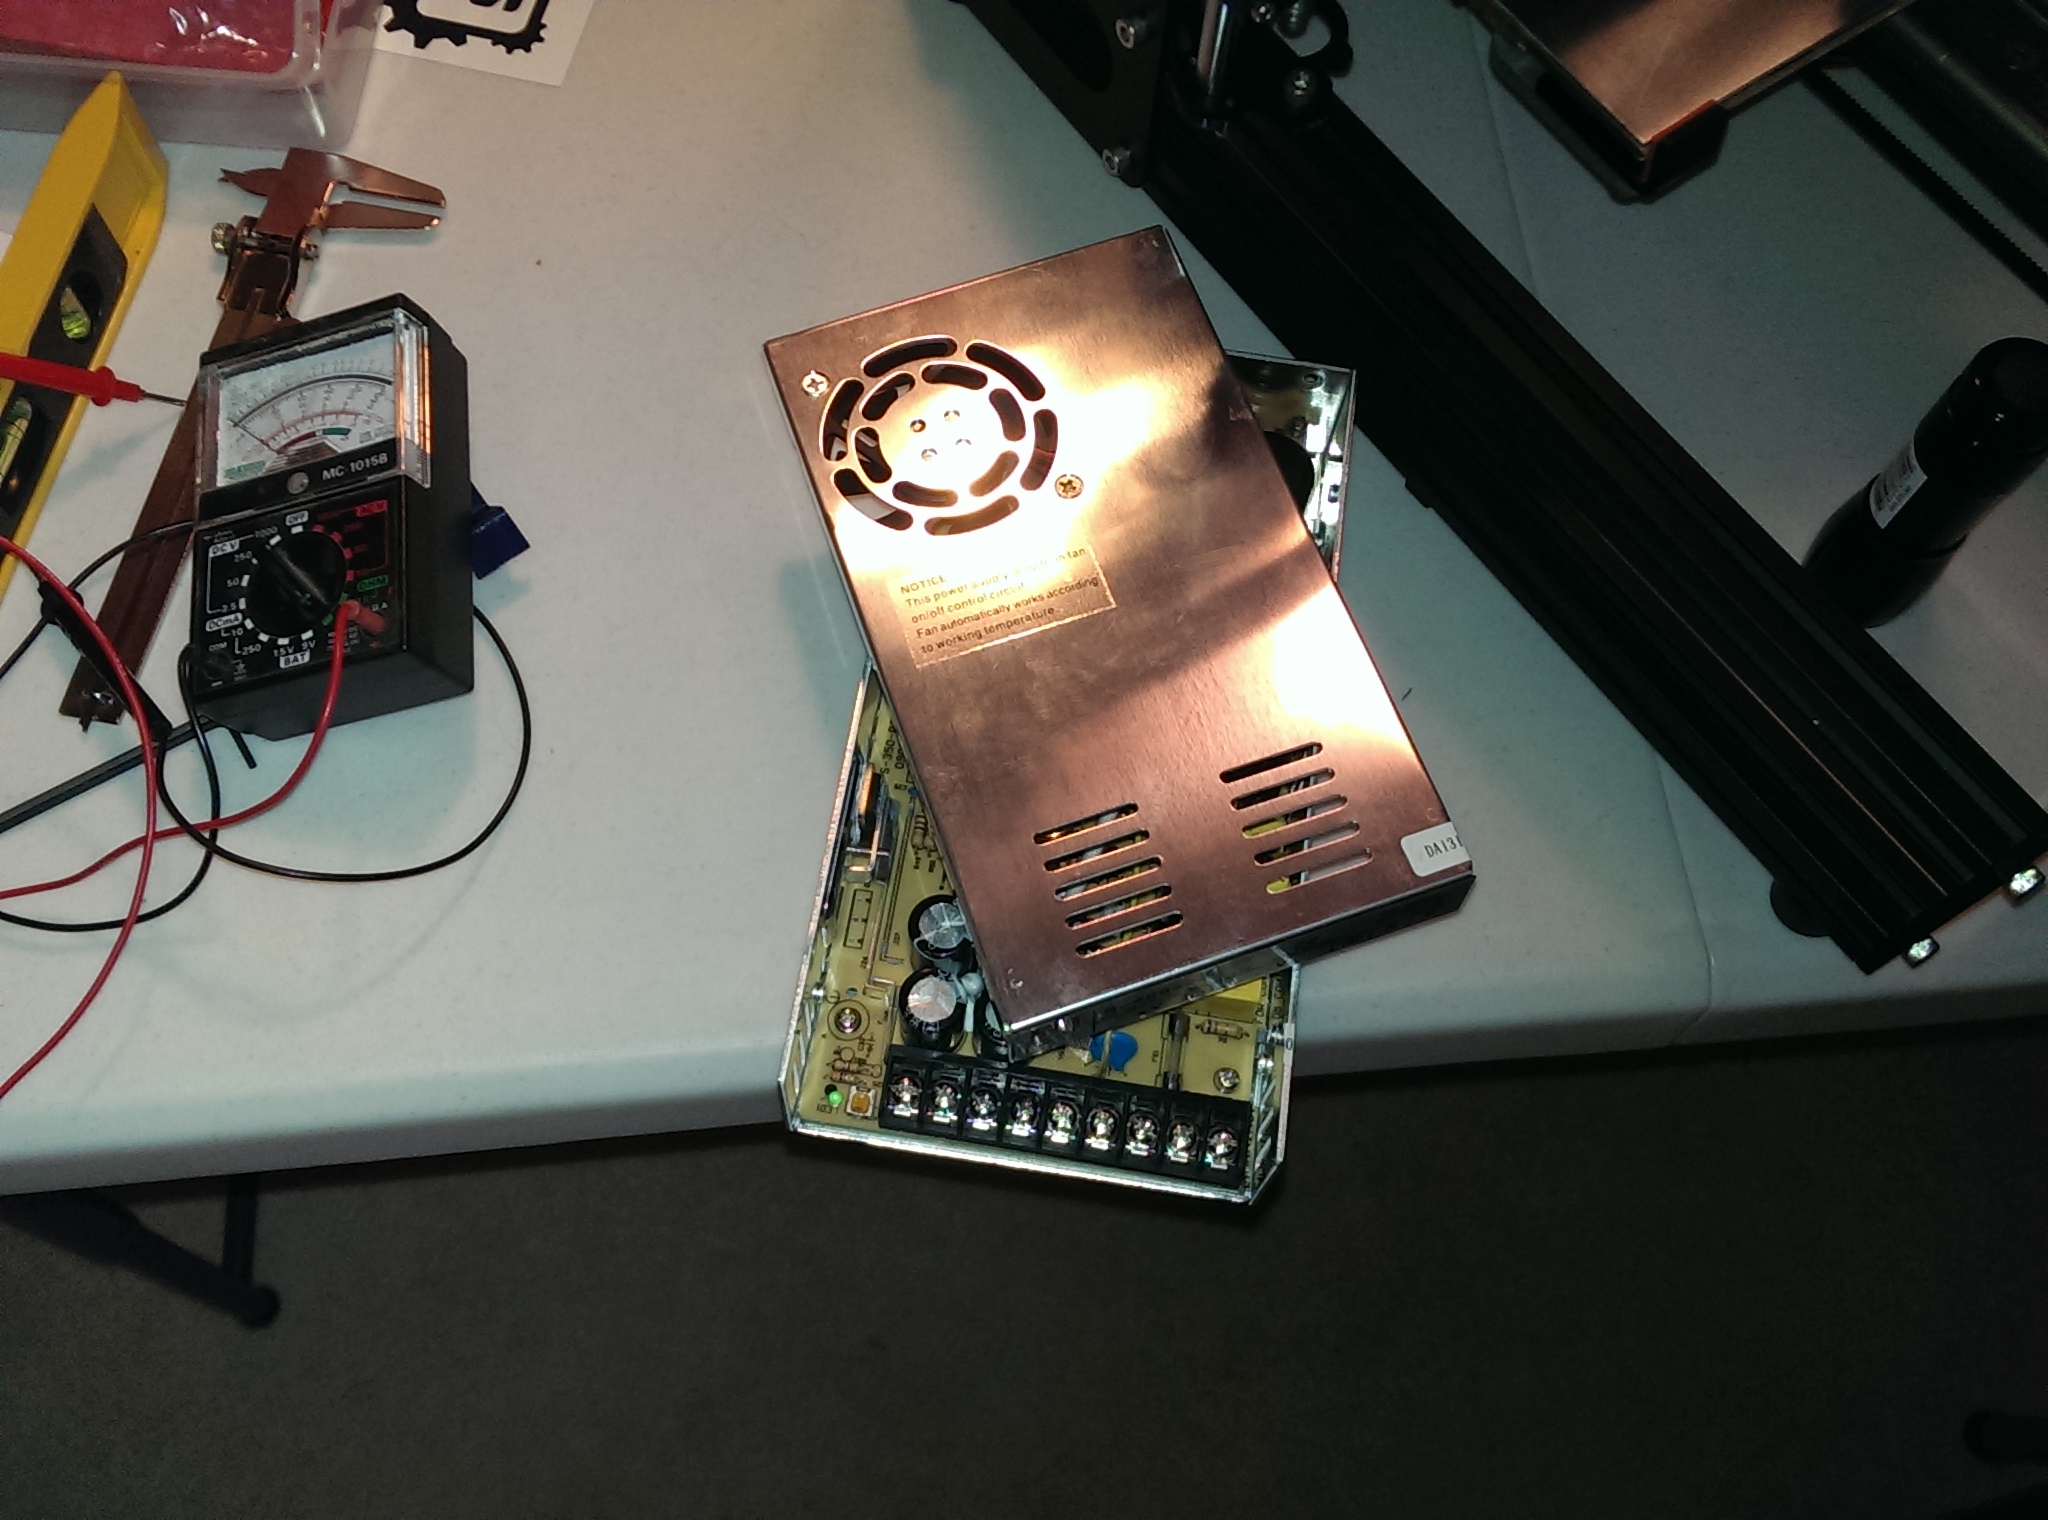
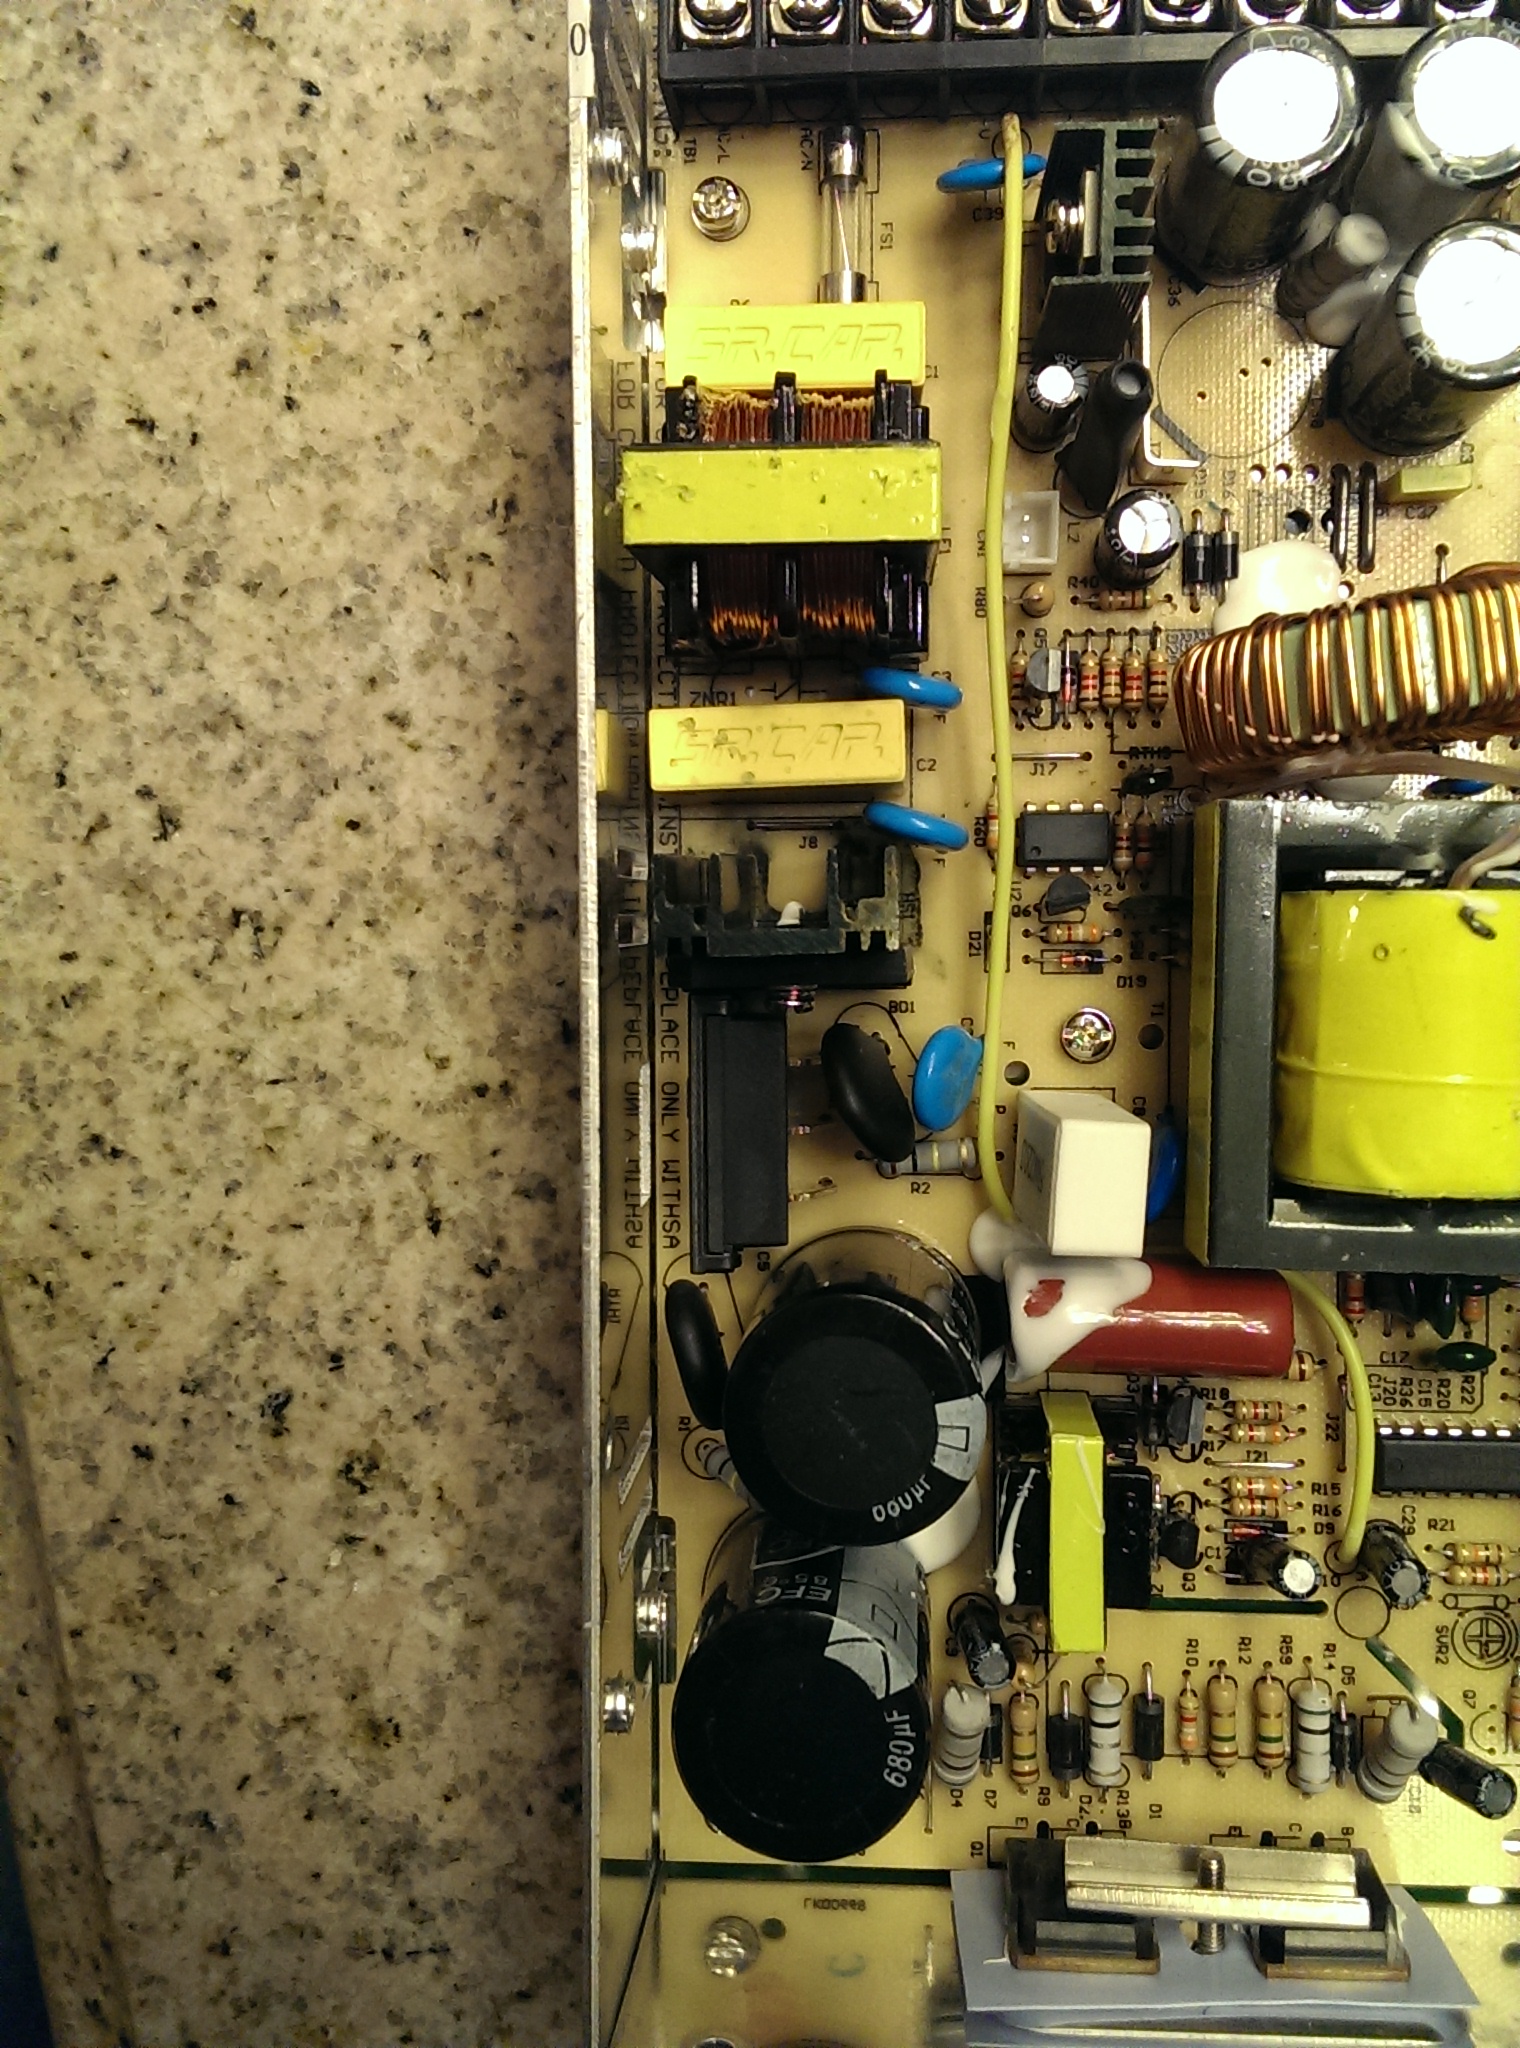
Electronics installed (but not wired)

Extruder Installed
Extruder installed

Wiring Completed
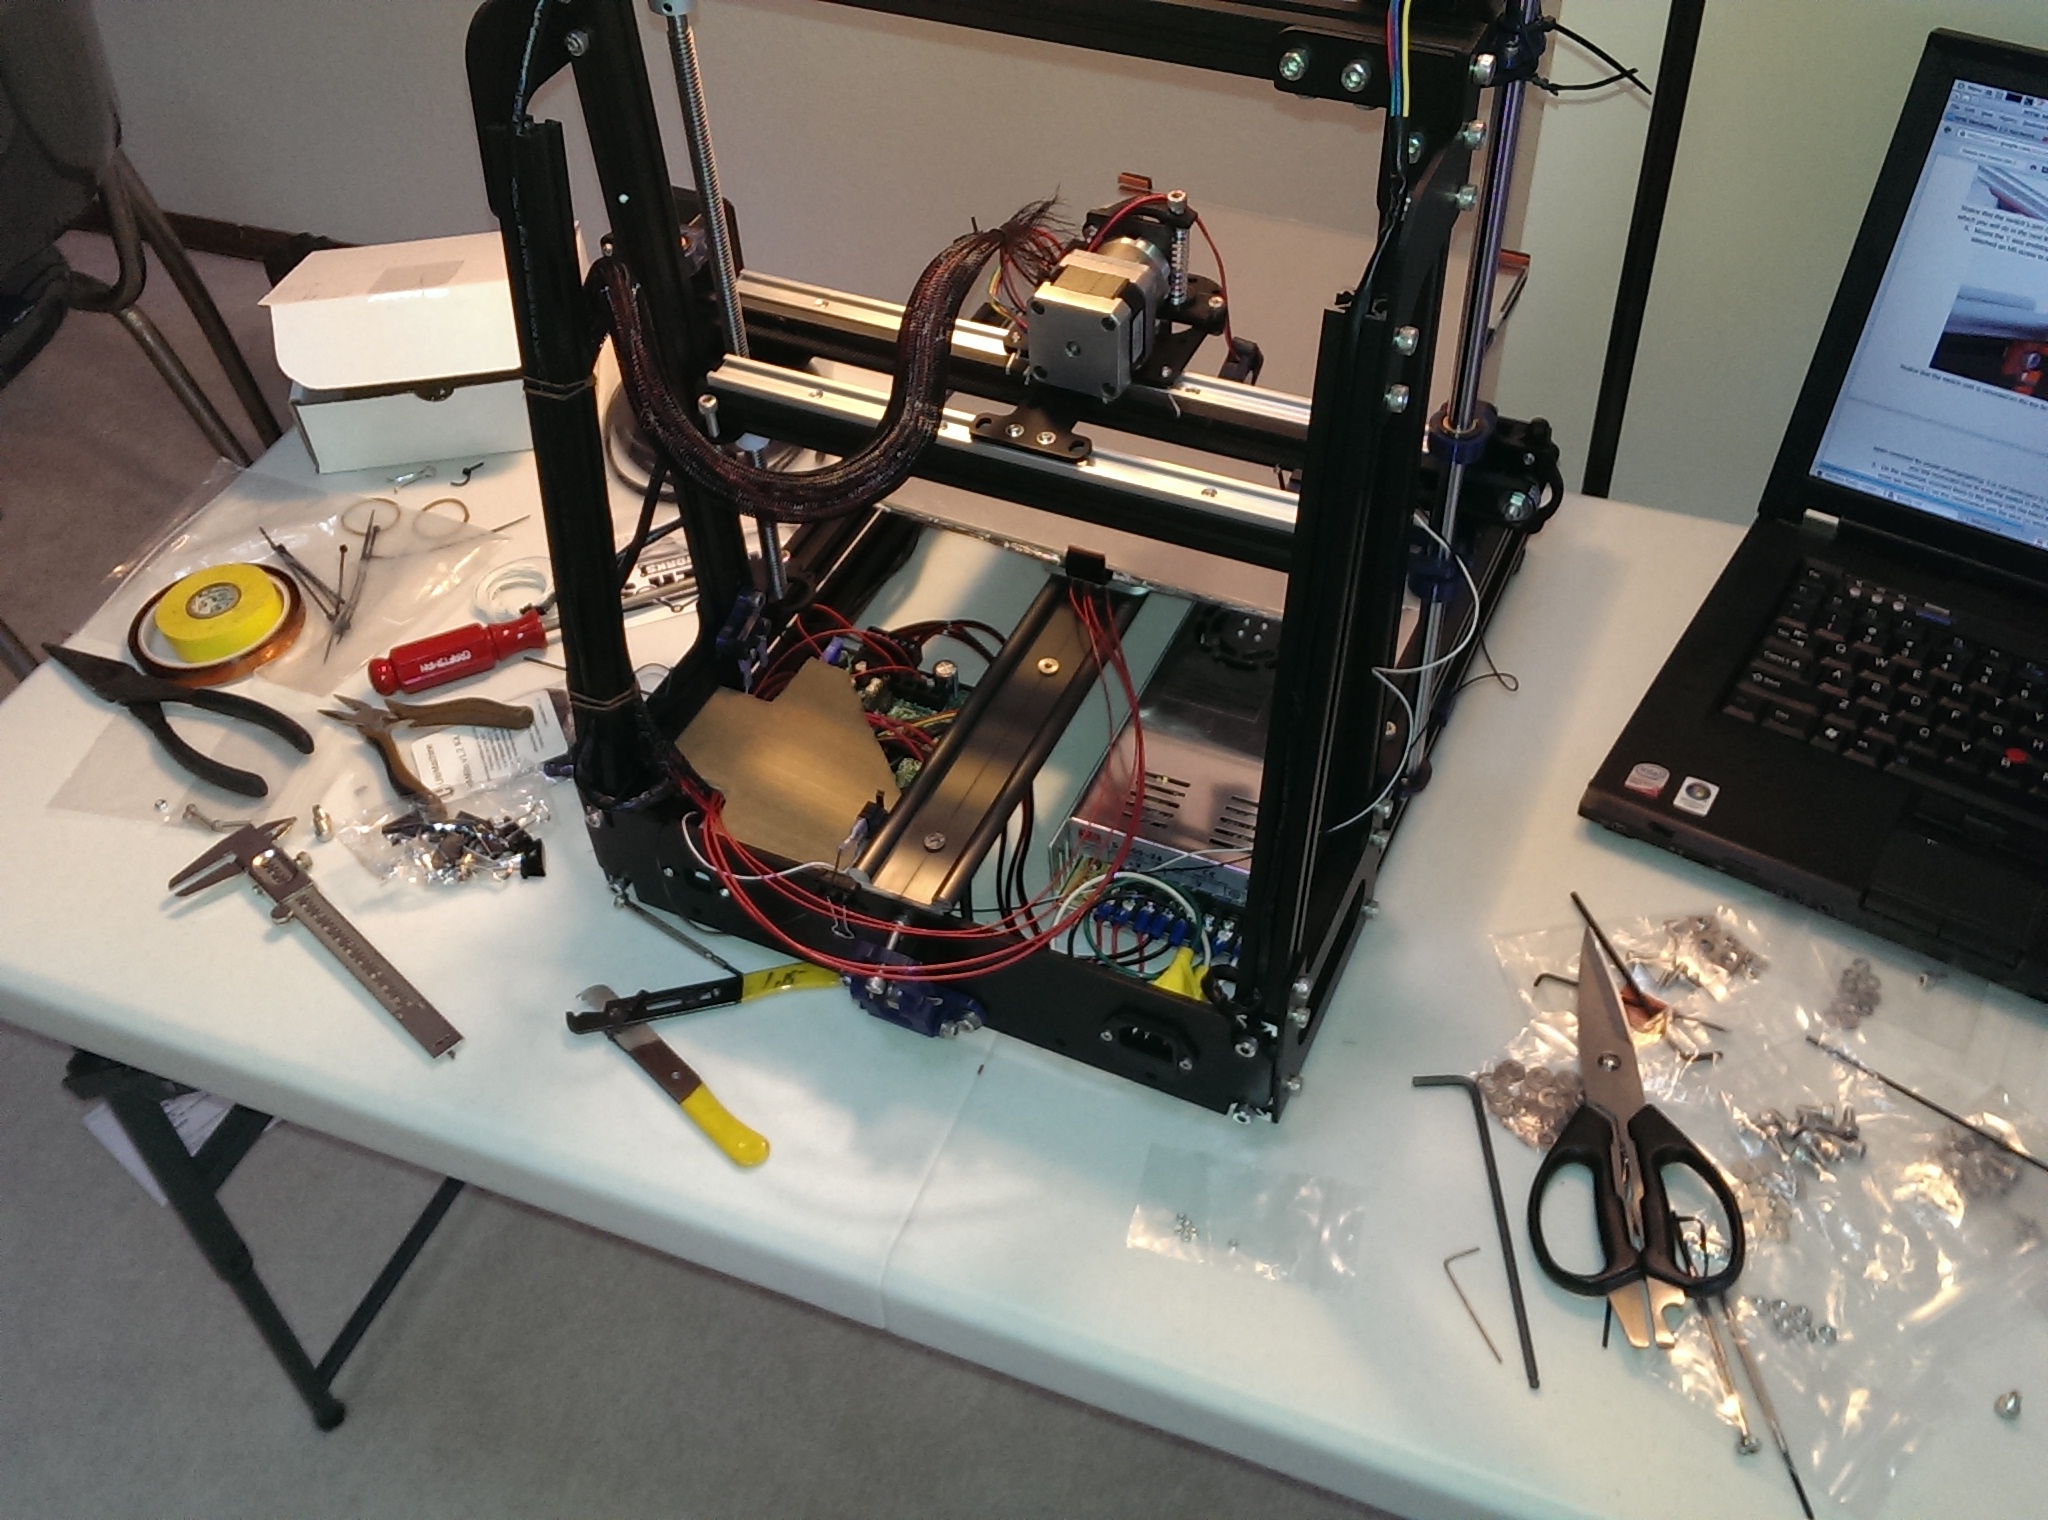
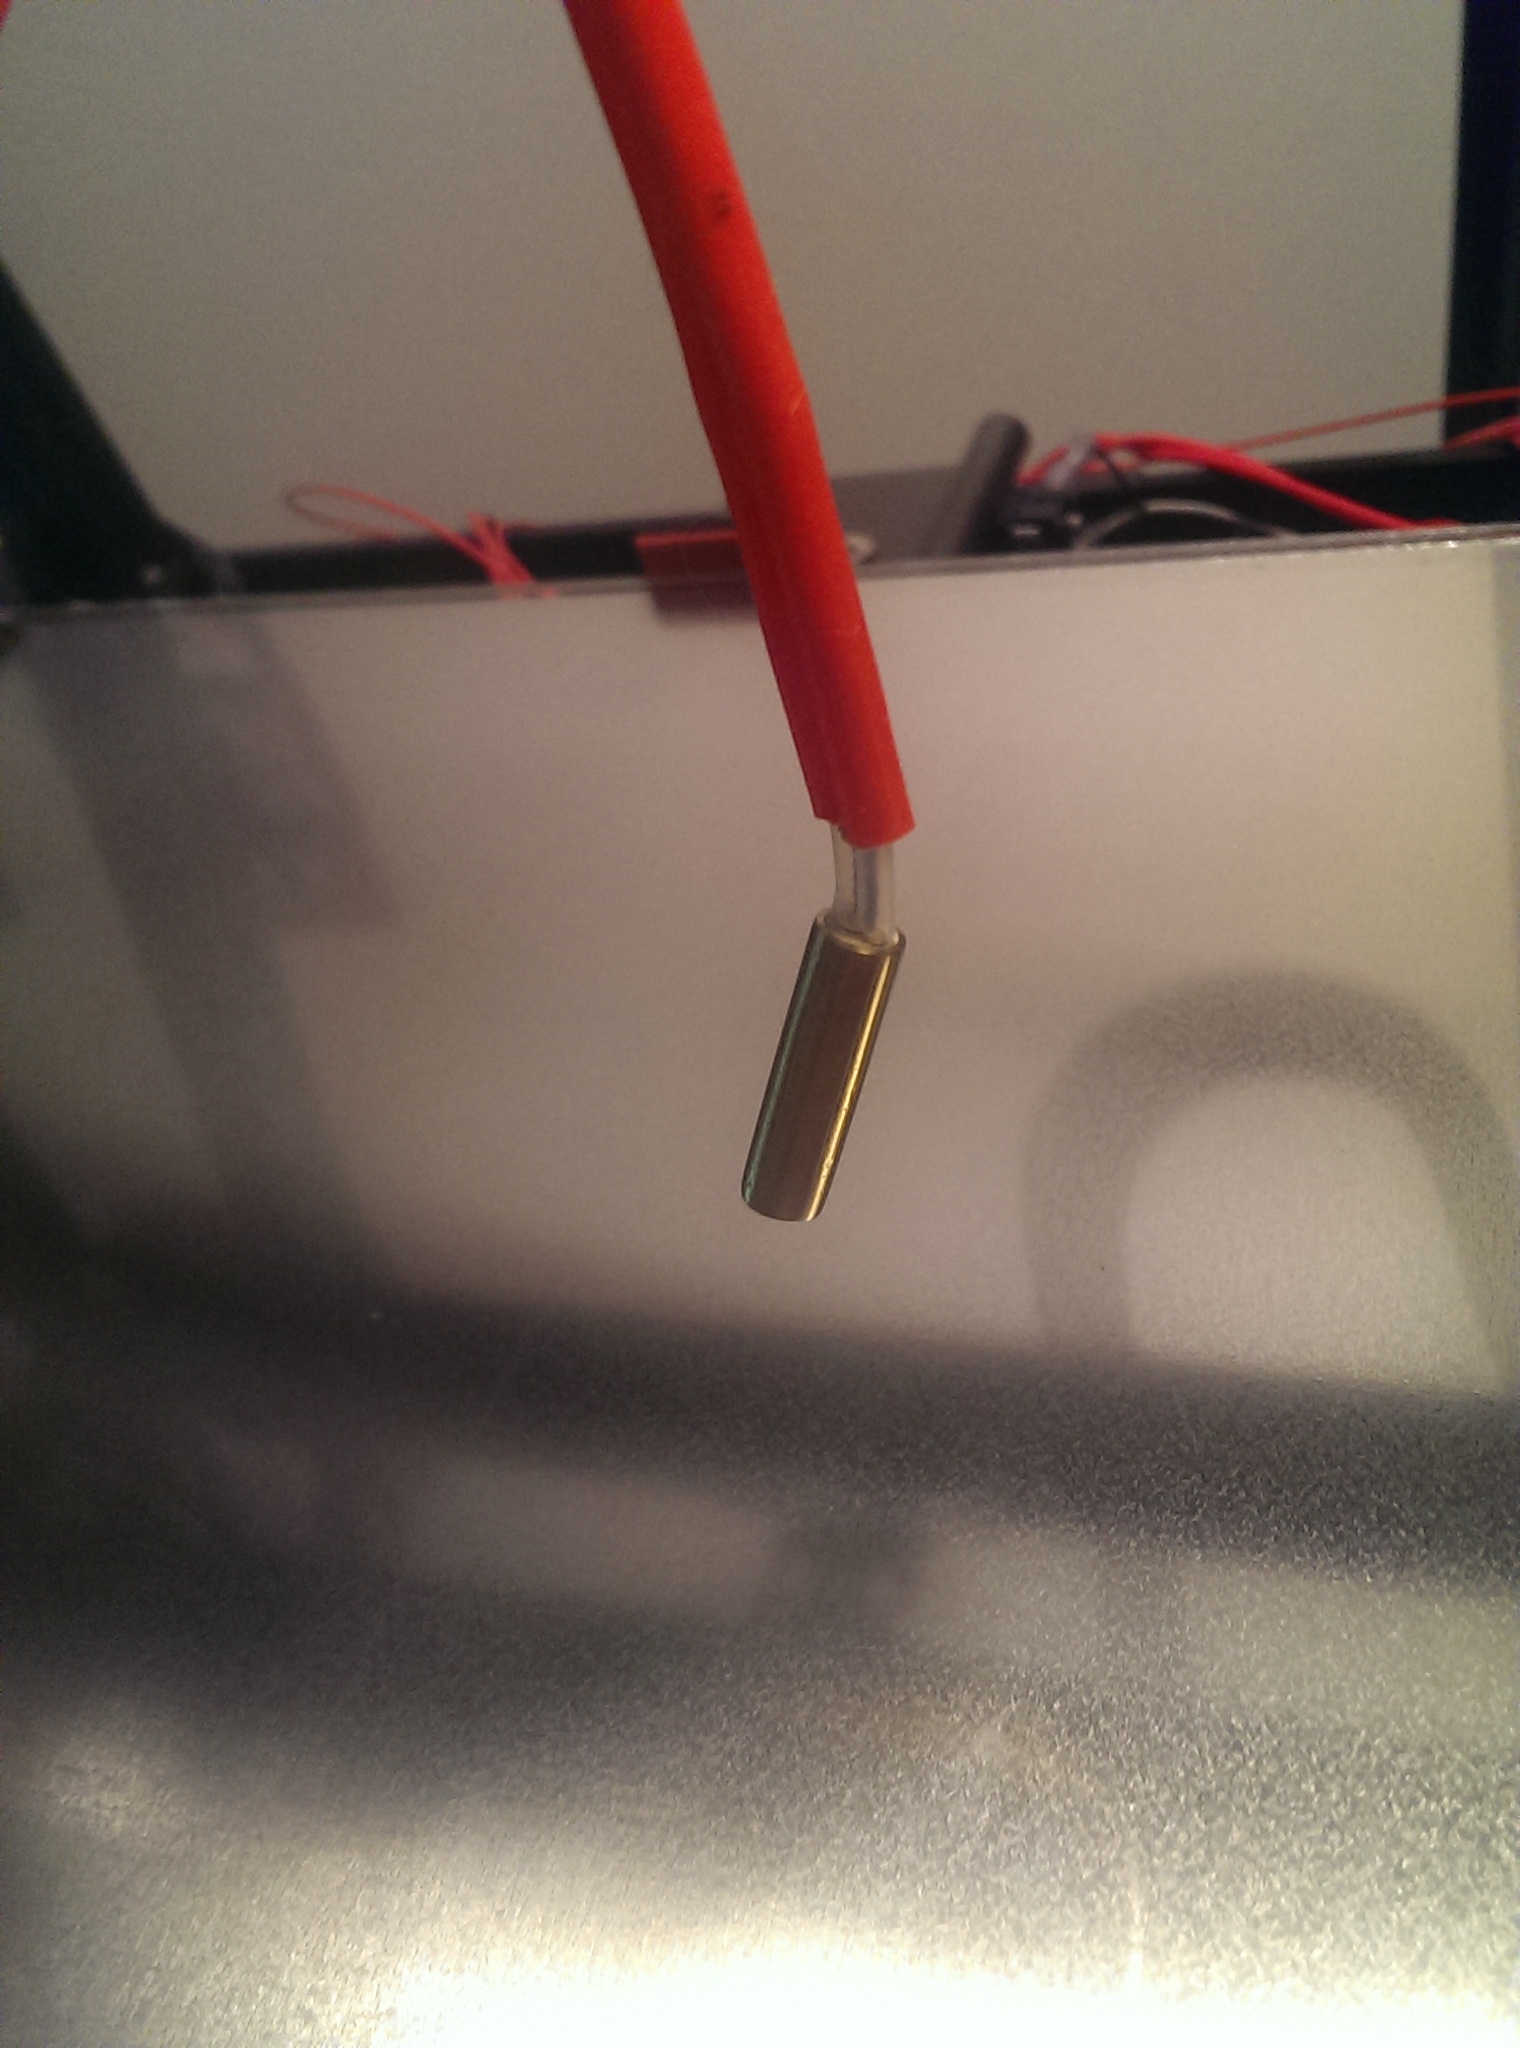
Wiring complete (including endstops)

LCD Installed
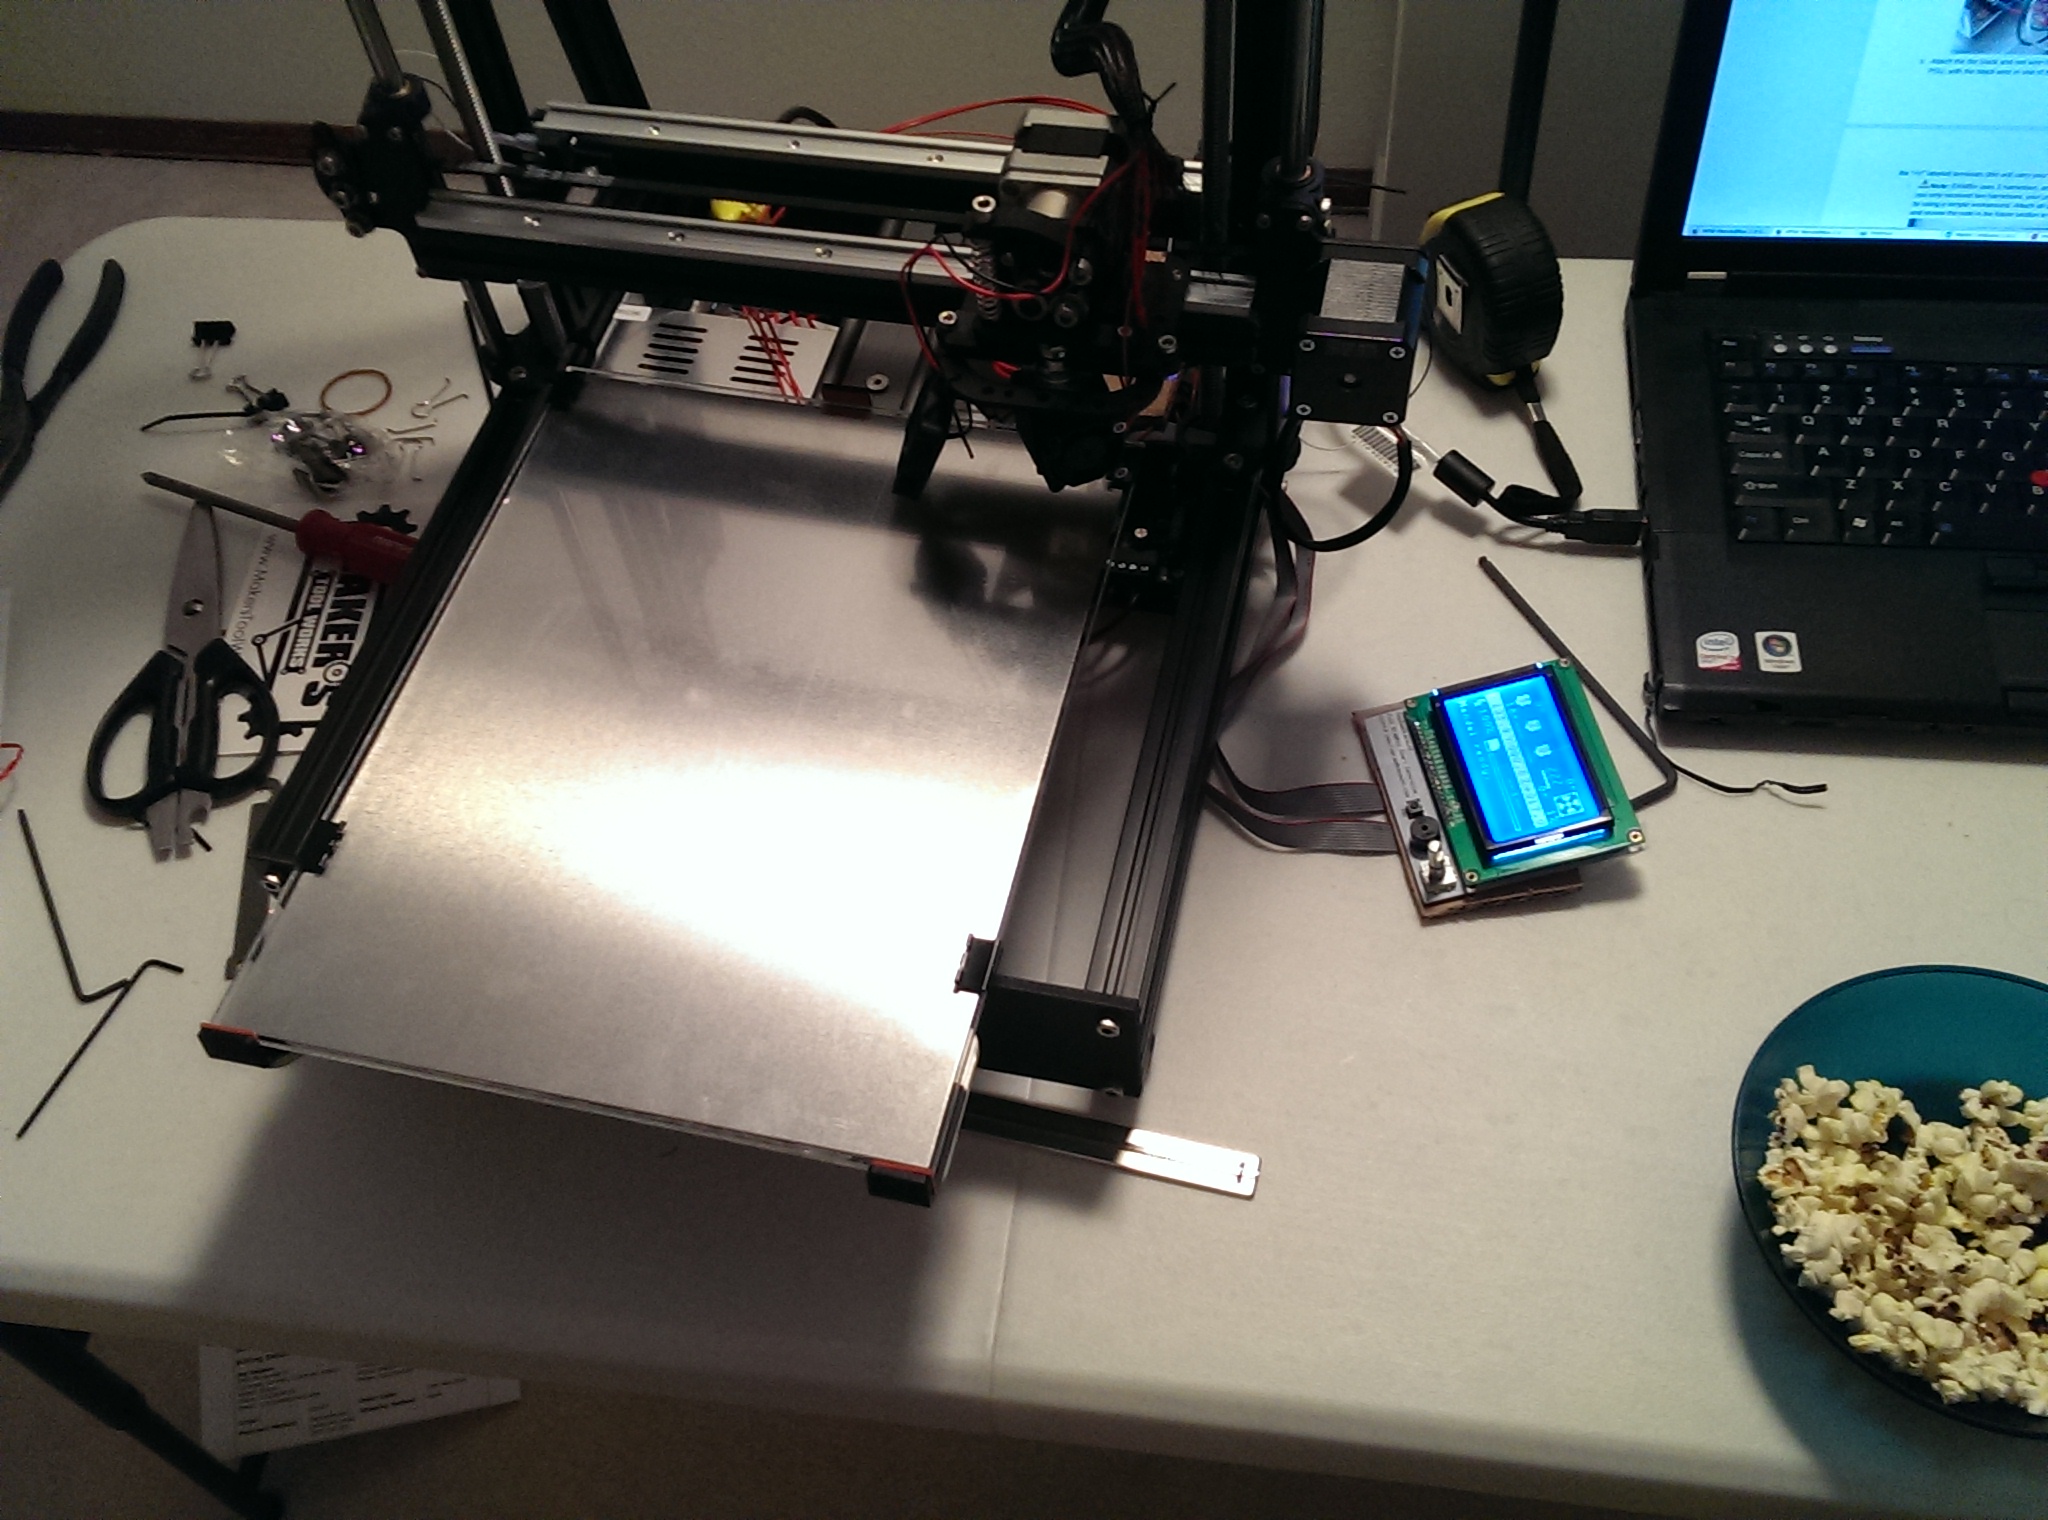
LCD installed and working

Extrusion Testing
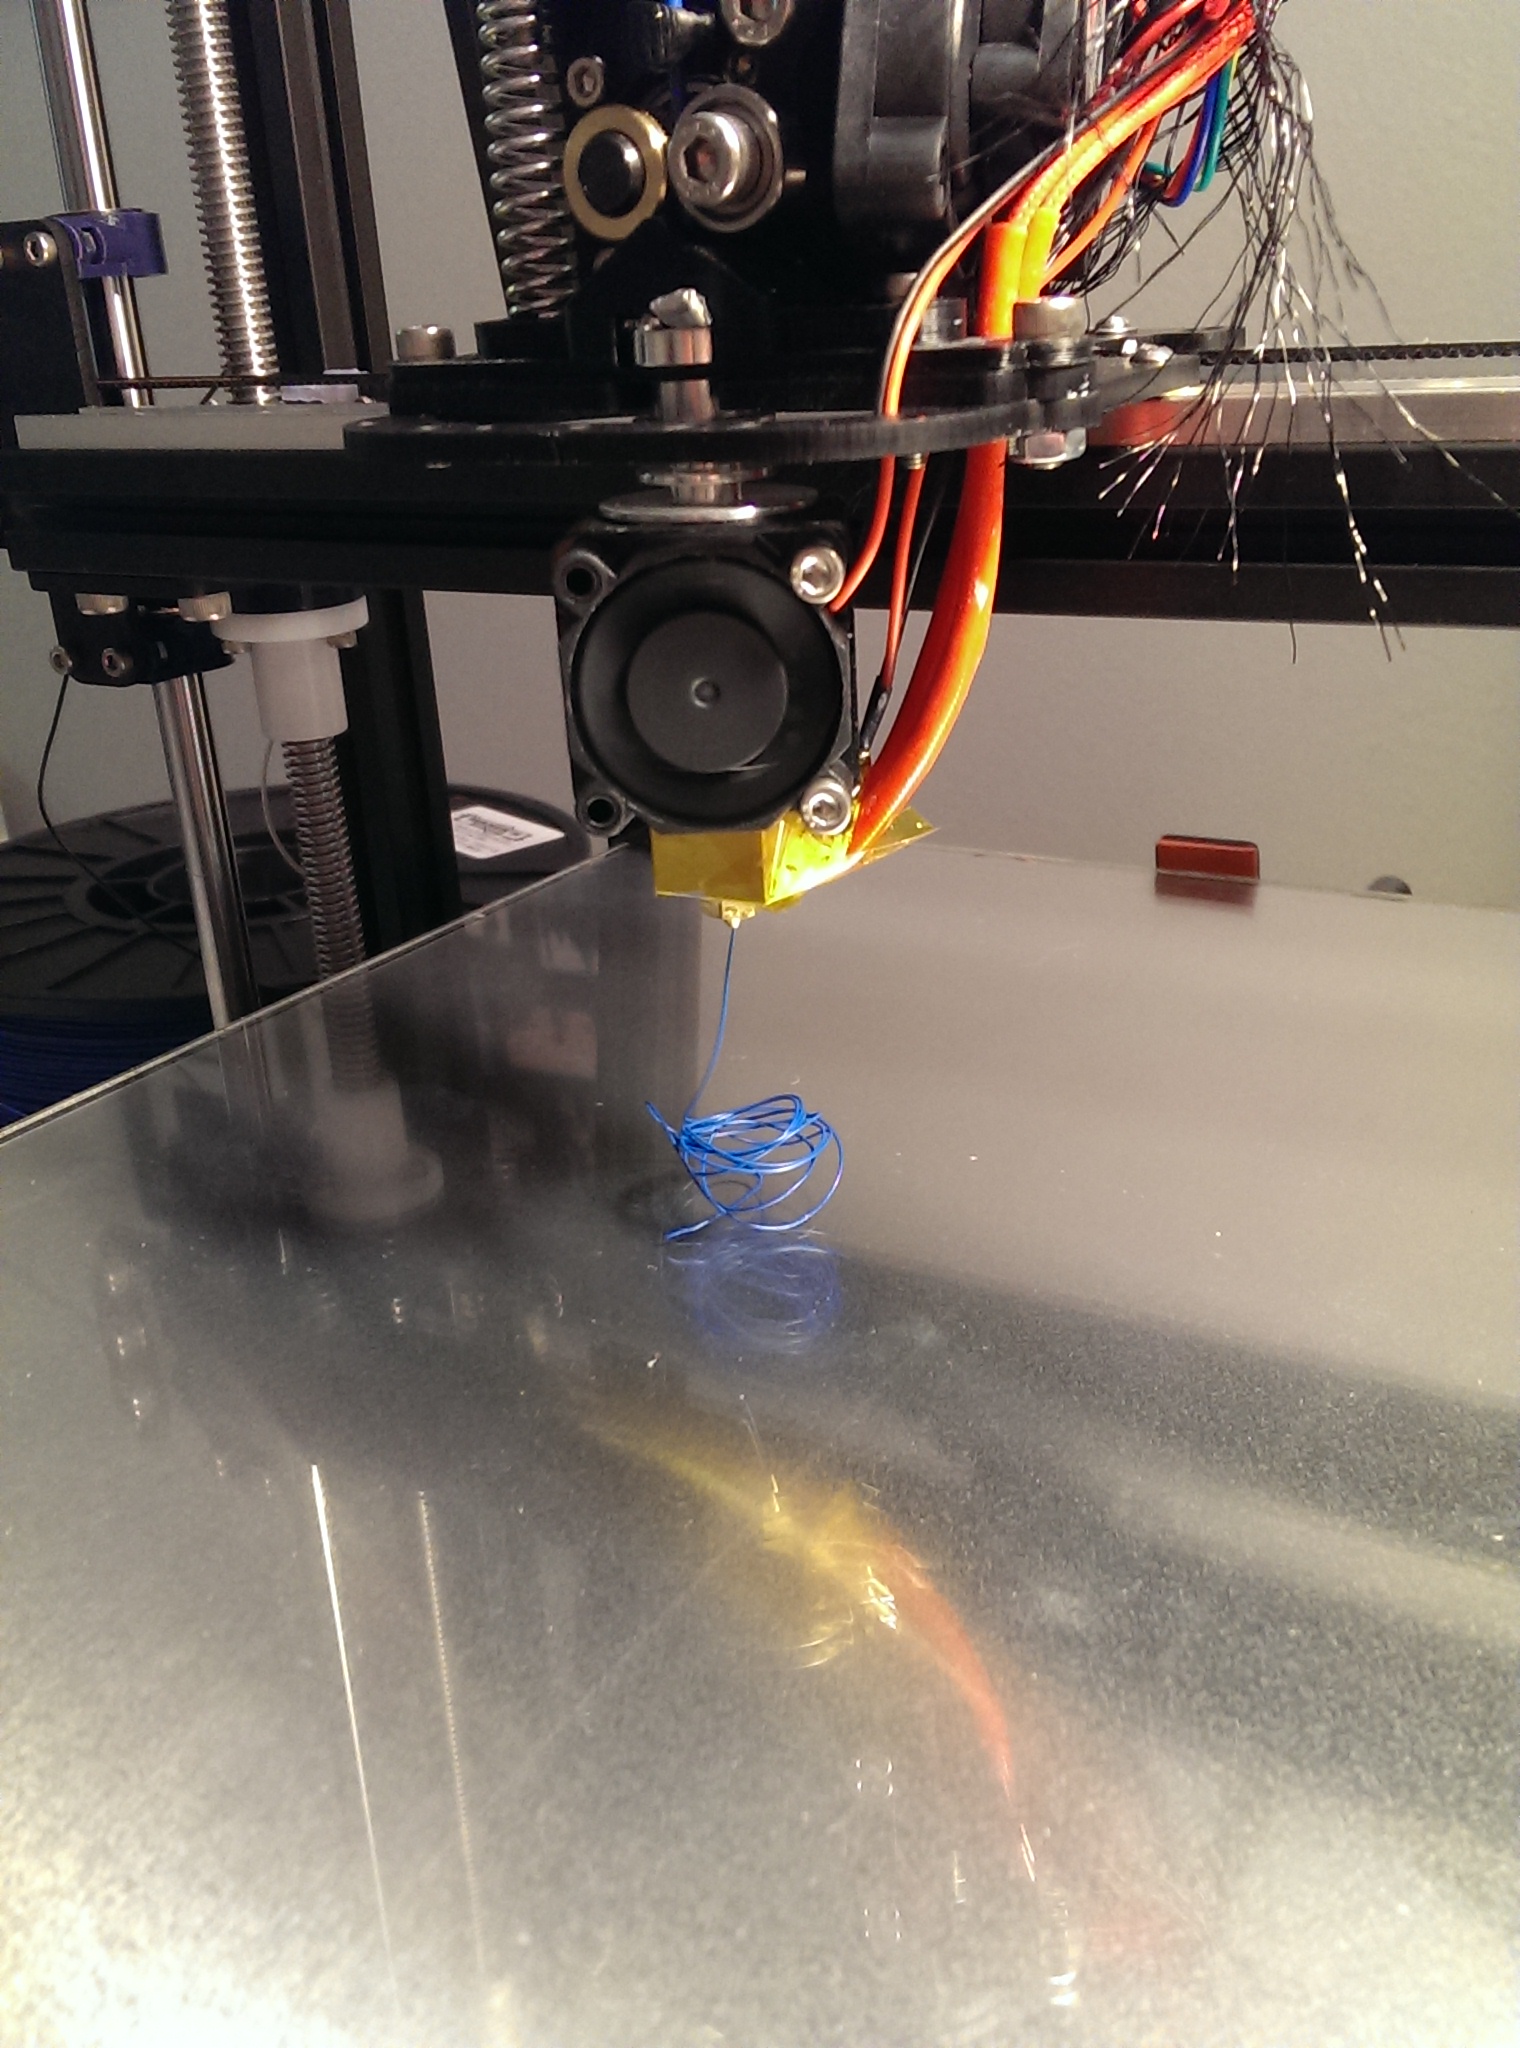
Testing the extruder

Bonus/reward for scrolling this far, video of my first print:

Infill layers
More infill

The Saga Continues

See this piece:
Dead Heater

That’s the heater cartridge that I burned out today. It turns out the heater will burn out if the temperature sensor isn’t well-connected thermally to allow the temperature to be controlled quickly. As best as I can figure my hotend is a mix of the new thermistor but not the latest heater block, which means there wasn’t a hole for plugging in the thermistor I got such that the end would be against metal. I didn’t realize the heater could be burned out if you’re not careful so I just inserted the thermistor in the through-hole on the far side of the block from the heater and stuffed some aluminum foil in the other end of the hole. That got me valid temperature readings, but they lagged the actual heater temperature by a bit too much: when I set the target temp to 300C to tighten the nozzle (so thermal contraction would form the seal between parts) the heater worked intermittently for a brief while and gave out.

I’ve since taken my dremel tool and embiggened (I’m sure it’s a word) the hole for the smaller thermistor so mine will fit, but I didn’t have a bit the exact right size so it’s a bit loose. I’m planning to essentially glue it in with thermal paste (which was suggested in the first place) before I tape it down. I also paid an absurd amount to have a new heater cartridge overnighted so I should have that Friday afternoon.

On the bright side, I can now upload firmware and the printer seems to be working properly mechanically. I was even able to extrude a small amount of plastic before I realized the heater wasn’t heating any more:
Extrusions

The fact that I could still push plastic through easily so long after the heater had apparently shut off is a pretty good indication that it well surpassed the 300C I had targeted.

The one thing I have left that I may be able to work on is the firmware: the lcd is attached and displays data, but I haven’t been able to access the menu I thought it offered (there’s a button and a knob for input). It’s entirely possible that there’s more to it than just turning on the “display” flag in the firmware so I’ll be looking for that tomorrow night.

The Destroyer of Dreams

Perhaps delayer of dreams would be more accurate. This is the power supply that isn’t powering my new 3d printer right now:
Dead power supply

I spent maybe 30 minutes trying to figure out why I couldn’t upload the customized firmware to my printer before I came across a post where someone had the same error message I was getting and in their case it was because they’d forgotten to turn on the power supply (usb apparently provides enough power to blink the LEDs but not to upload firmware). I pulled out my multimeter and sure enough, 115 volts were going in and 0 were coming out. The only switch on the entire thing is the 115/230 volt switch, which I had set properly to 115.

I asked the people who sell the printer kit I got about it – no there isn’t some power switch that I’d missed and my checks with my voltmeter were exactly what they asked for for diagnosis. Apparently they’ve had some other bad power supplies in the batch mine came from and they put in an order to ship me a new one this week. Once I was told they didn’t see any point to having me ship a dead power supply back to them I opened it up to check the internal fuse (still good) and extract the fan (I’m sure I can find a use for a small DC fan). I didn’t notice it at first, but while I was trying to get the fan unplugged (took pliers) I noticed some slightly singed spots on the circuit board:
Singed Board

I have no idea what that component is for, but it’s got a rather large heat sink (that got hot at some point) but isn’t just glued to the side of the case with thermal paste like almost all the other cooled parts.

I took a bunch of pictures of my printer as it grew from a pile of parts to a complete machine. I’ll sort through them and either post them in the next couple days or when I’ve successfully printed something (and include pictures of calibration prints).