My sister decided that she wanted to cast something out of aluminum, and since I’m home I got to help. She has a large supply of aluminum cans because she used them at one point for an art project and people have just kept giving them to her.
We were trying to use the lost wax process to cast them. The idea is that you carve your model out of wax (which is soft enough to carve easily), then encase that in plaster with air holes and a spot to pour the metal in, then you melt the wax out in the oven, and pour melted metal back into the hole. It sounds simple enough, but this was our first time trying any of it so we were figuring it out as we went (didn’t exactly do much research).
I was planning to use a coal fire in my dad’s old blacksmithing forge to melt the aluminum. We haven’t used that in around ten years, so I had to dig it out from behind the shed (almost literally, the handle on the crank and two of the feet were sunk into the ground) and get it working. It turns out it was stored with a belt that was rather tight on two of the wheels, so the frame seemed a bit warped and it had rusted solid in a couple places. Dad loosened a bunch of connectors and got the wheels turning (though not well and the handle was rotted off so the crank is just a bolt), and I worked the handfull of coal and a dirt dauber nest out of the blower to get it moving. It works pretty well, though it’s hard to turn and a bit unstable (but it was always unstable).
Dad didn’t know where to find the cast iron pan he used to melt lead when he was making diving weights, so I had to go out and get a pot and ended up with this. It’s a small cast iron pot with feet long enough to stabilize itself on a bed of coal and a rounded bottom to gather all the melted aluminum.
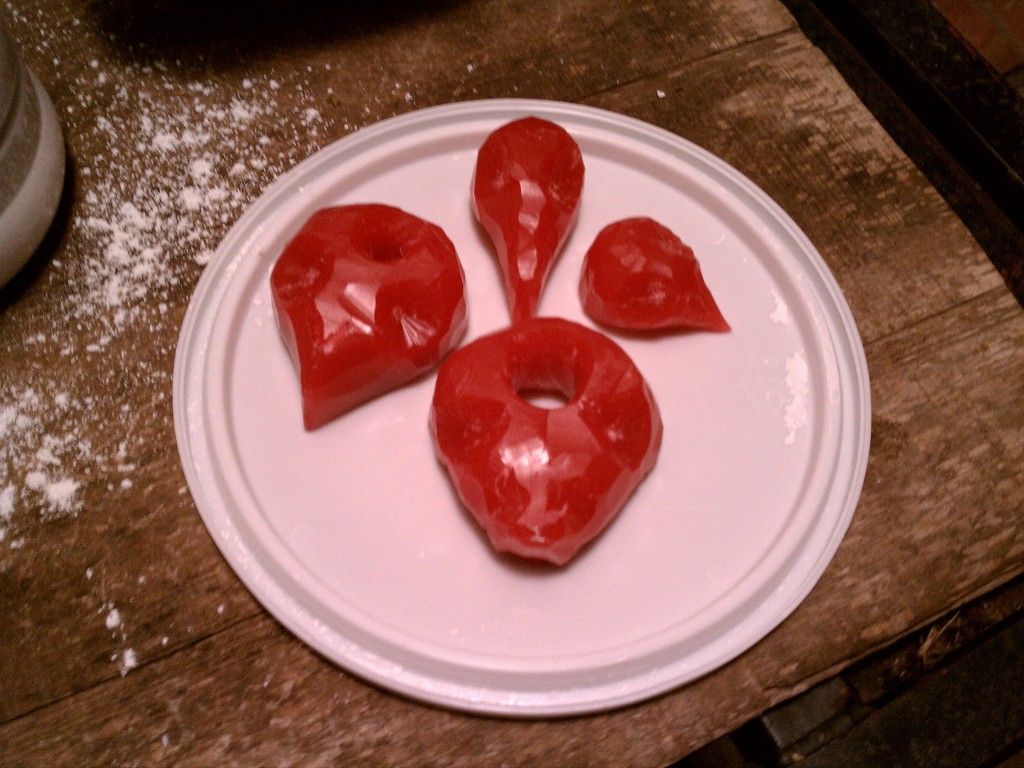
Allison made blocks of wax and carved them down to approximate the shape of a bird skull. She was thinking candle holders or pendants I think, but this is how they turned out:
I got the job of encasing them in plaster such that they could be used for casting. I did a terrible job of it. I needed a block of plaster tall enough to mostly have the wax shapes standing on end, and I needed to have a funnel leading to them and at least one air hole going to the bottom of them. I tried to just make one big block of plaster with all of them in it, but I misjudged the area required for all of them, then I used up all the plaster without fully covering the wax smoothly and ended up just mashing plaster around the top. The plaster we had set far faster than I expected so I couldn’t go back and correct anything, and in fact had trouble pouring some of it before it was setting in the jar I was mixing in. I was also using bamboo skewers to make the air holes, except the plaster soaked into the skewers and I only ever managed to pull one of them out. I did drill into one of the holes with a screw driver to make an air hole and I carved funnels into the plaster after it set because I didn’t have enough plaster to cover it deep enough to use the funnels Allison gave me.
Melting the wax out was slow, but not really hard (didn’t have to do anything but wait). Since I didn’t have a smooth top on my mold I had to prop it up on a disposable baking tin for the wax to drip into. We started the oven on 200 degrees F (candle wax should melt at around 150 F), but when that only produced steam as it dried the plaster we cranked it up to 300 F and that finally melted the wax out. The plaster was supposed to air dry for twenty four hours, and probably longer for a chunk like what I had, but we just gave it about twelve hours and baked it for two or three of those. It didn’t feel fully cured when we were pouring aluminum into it.
This is the finished mold:
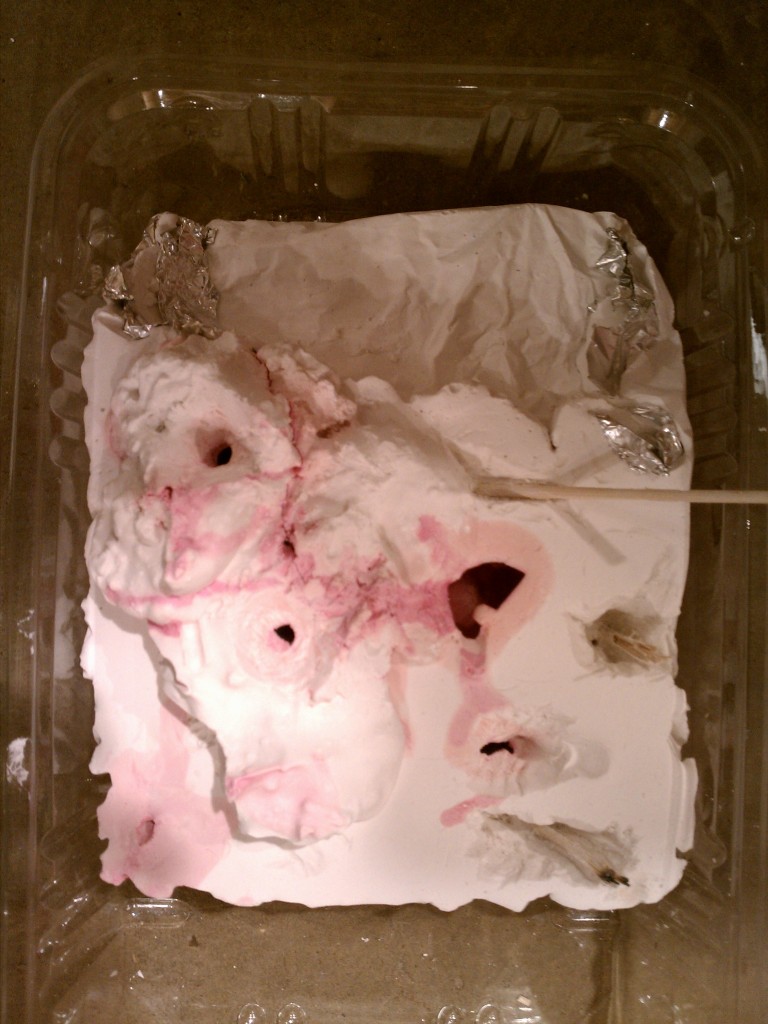
You can see where I tried to carve the bamboo skewers out unsuccessfully, and you can also see my sad attempts at carving funnels into it. The pink splotches are where the melted wax soaked into the plaster. After the first pouring of aluminum didn’t go particularly well I carved funnels much bigger on the last two spots.
This morning I went out and attempted to get the fire going. The wind was strong enough that I couldn’t keep a match lit, and coal is hard to get started anyways, so I tried for a good while with a couple of wax based fire starters and eventually got my dad to come help. He added a good bit more coal (I just wanted enough to go around the pot), then got out a torch and eventually got it going. We then rearranged it to get the pot in the middle and it went out. Turning the crank to get the blower going was painful (the handle was a bolt and it’s hard to turn), so we eventually got an old vacuum cleaner out, stuck the hose on the exhaust hole, and used it as the blower.
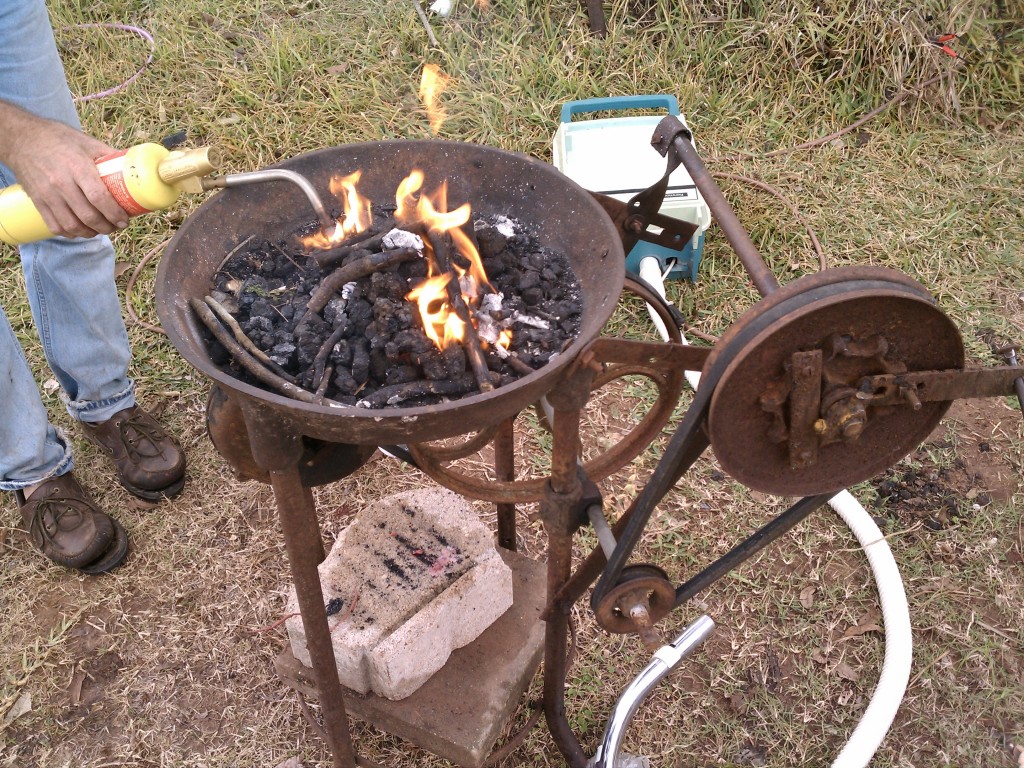 That picture was probably taken after I turned the crank long enough that the axle for the top wheel where the crank is slipped out of one of the holders and I bent the other holder. It still turns, but that was about the time Dad got the vacuum.
We never did get a great hot spot under the pot, but Dad still had the canister of MAPP gas out so between that burning the top and the vacuum fed coals on the bottom we were able to melt aluminum reasonably quickly. A large portion of the stuff in the pot wouldn’t melt and floated to the top, so we scooped that off to get the puddle of aluminum. Having a large amount of contaminants wasn’t surprising considering that not all the aluminum cans were cleaned and they’ve got paint on the outside to start with.
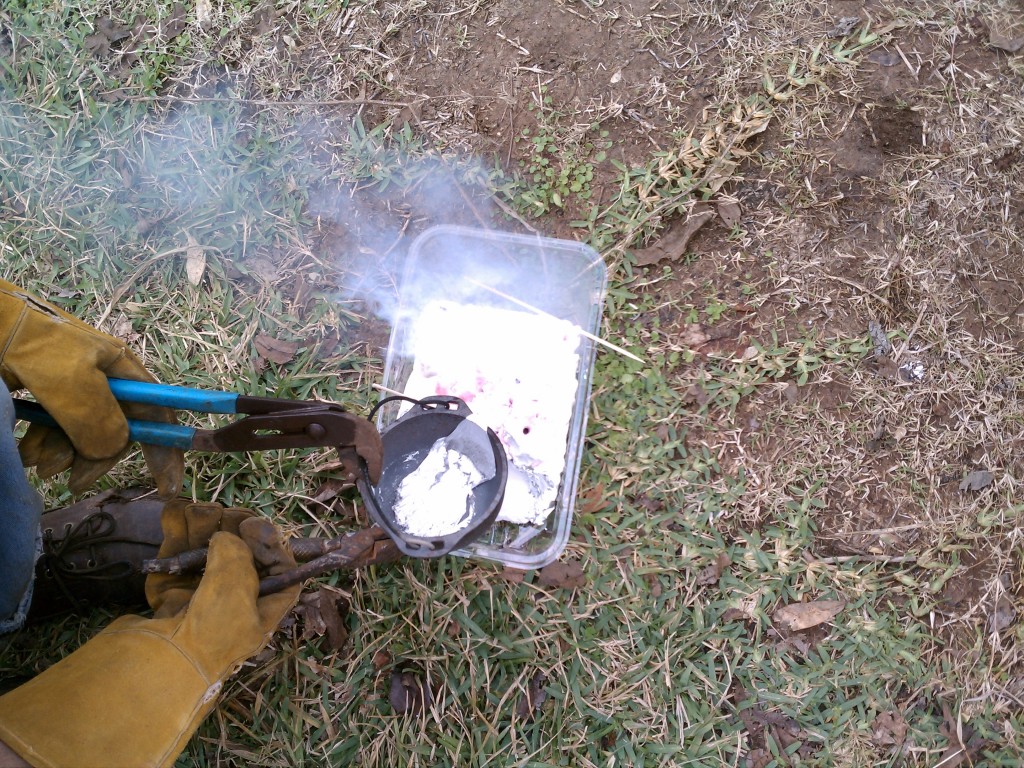
That’s the first pouring. The aluminum didn’t photograph very well since it was very reflective and it was reasonably bright outside. The mold didn’t come out because there was apparently a good bit of wax left in the mold and it was burning out, and the air hole I drilled wasn’t enough to do anything so we were getting bubbles of aluminum coming out. That was one of the smaller figures so we overfilled it and the overflow blocked the pour hole for the next one over. I was hoping that it had filled that mold too, but it was too cooled to flow into the hole by the time it got there.
The larger figures took a lot of aluminum can pieces to fill. We didn’t manage to get enough aluminum in either on the first pour, though one of them went very smoothly till the aluminum was too solid to pour the last little bit. Trying a second pour on top of the first to finish filling the mold didn’t work at all.
Breaking the plaster mold was rather easy once I had a hammer. The weak parts were the gaps between the plaster and the aluminum, so just hitting the corner of the block of plaster till it took a large chunk off revealed the cast aluminum quickly.
This was the empty mold where the first pour blocked it:
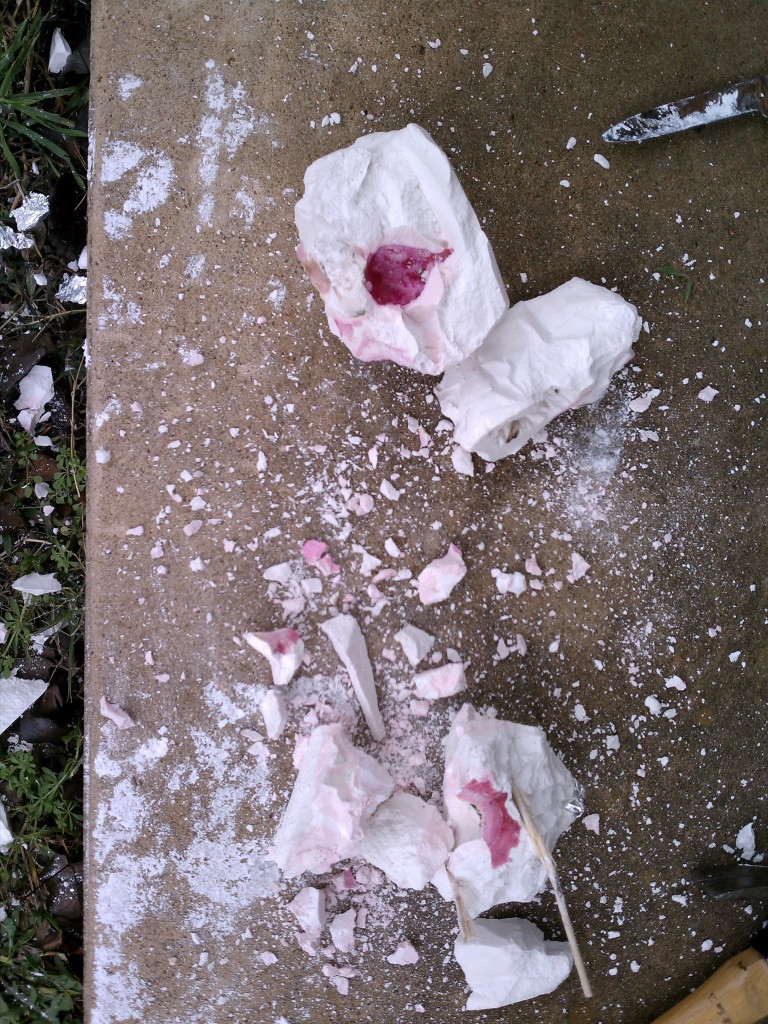
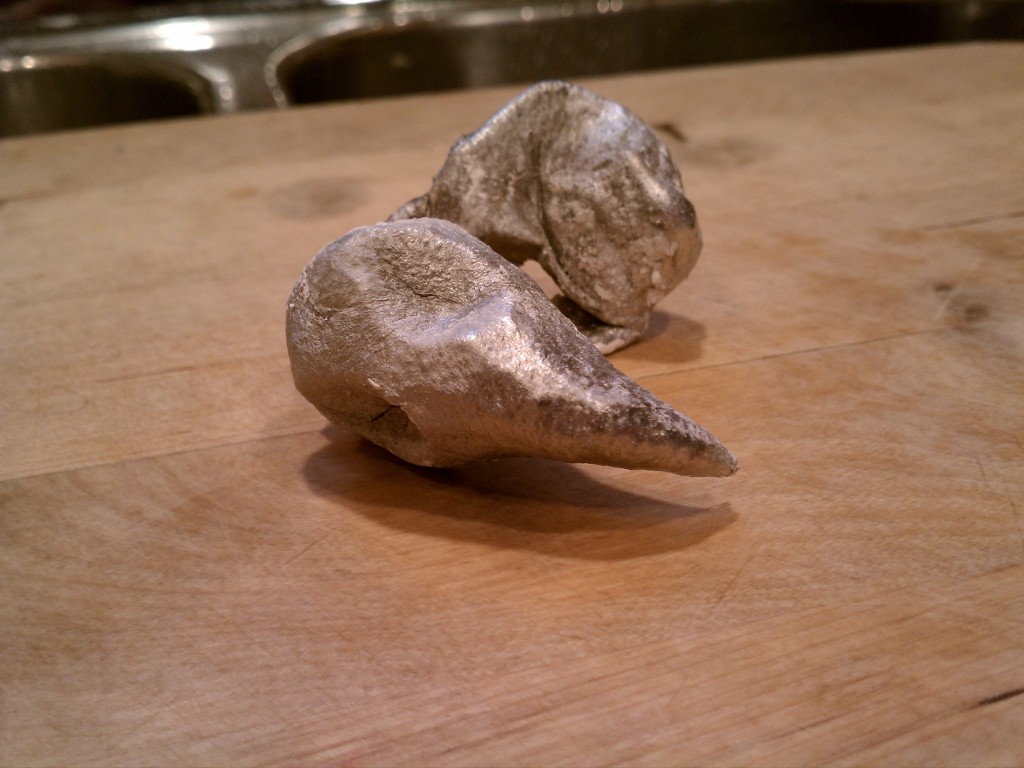
Here are the two large figures:
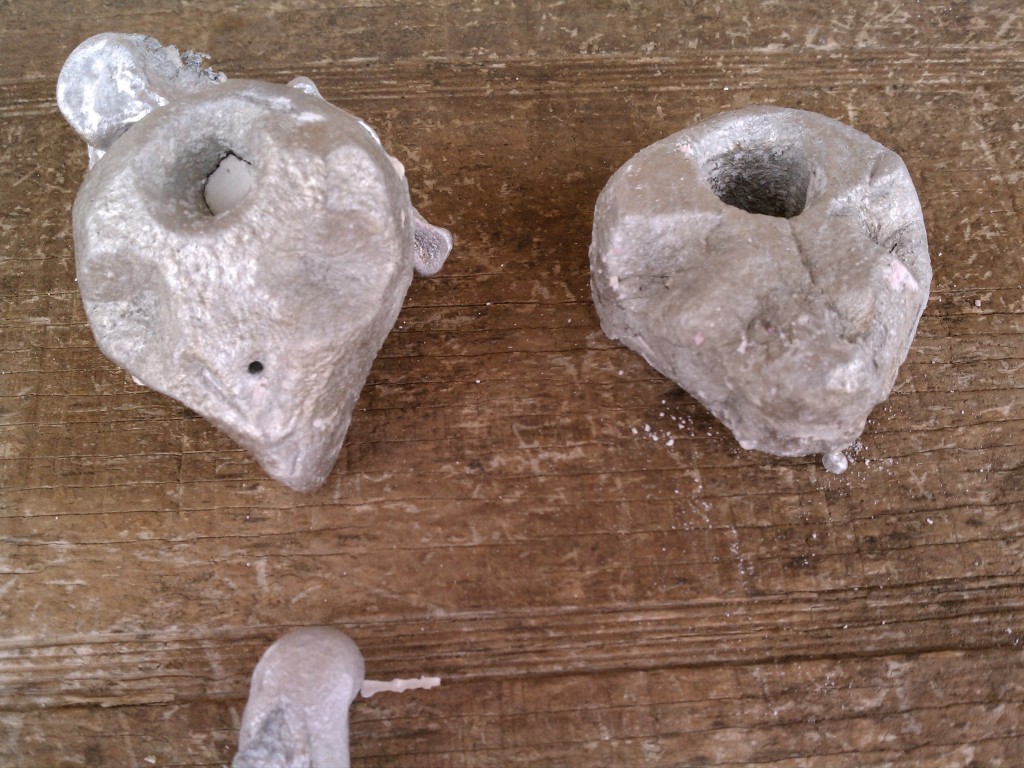
I think the black spot on the left one is where a piece of bamboo skewer was poking into it when we poured the aluminum in.
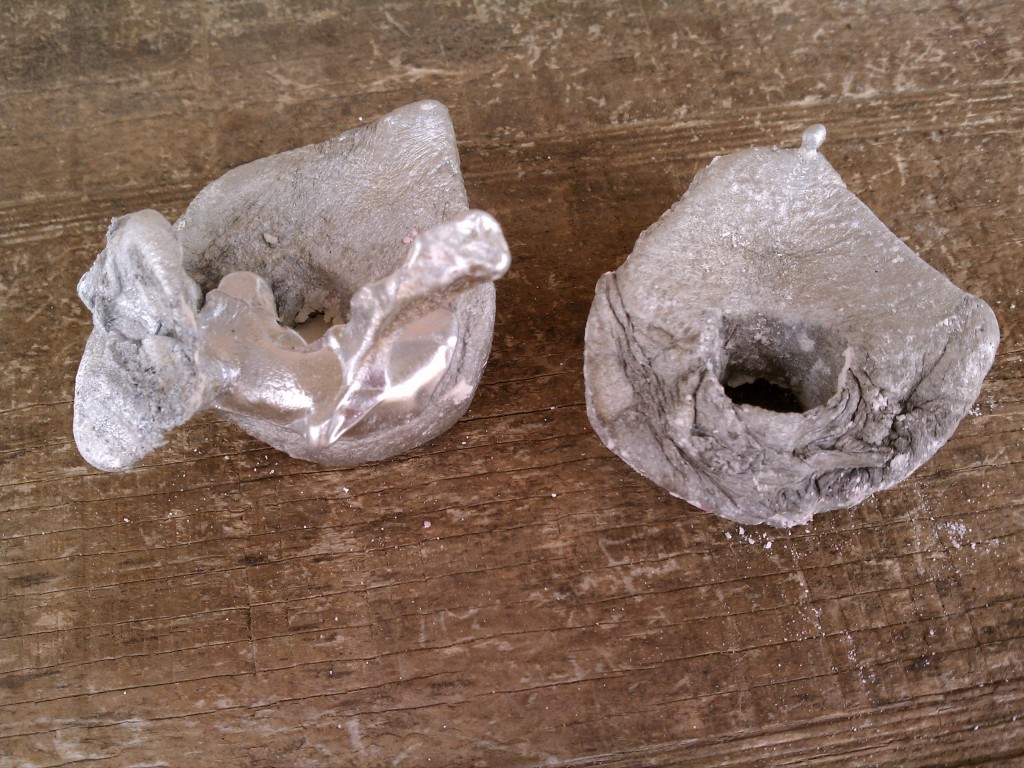
This is how the bottoms of them turned out where we tried to pour extra aluminum on top after the first part was cooled:
This is the small figure that actually came out:
I didn’t expect it to come out that well considering it was the first we poured and it was bubbling a lot when it was being poured. The large chunk of aluminum on the back of it was the part that spilled out onto the top of the mold.
We still need to find a way to polish and trim the figures, but overall the project was a success. Lessons learned:
- Use tall but narrow containers to make the molds in. The large, single mold was nice for stability, but individual ones will waste far less plaster and let you fix your mistakes on the later molds.
- Use coffee stirrers or something smooth to make air holes, then do any trimming of the mold before baking the wax out.
- Bake the wax out of the mold at 300 F or higher, and make sure you let it sit long enough to get all the wax out. Not waiting the full time for the plaster to set wasn’t at all a problem.
- Have large funnels to pour the metal in and plenty of air holes to let the air out. The funnel should have a bit of spout where it meets the figure so that any wrinkles from the metal cooling at the top of the figure happen there instead of on the figure.
- Make sure you’ve got plenty of metal to fill a mold in one pour.
- Pour quickly (don’t hesitate but be careful) so the metal doesn’t harden while you’re pouring.
- Find a better way to heat the aluminum evenly. A larger cone of coal with the pot on top might do, but maybe get a lid for the pot to keep the top from hardening.
